From Messy Hall Closet to Pantry
Last weekend I began one of my New Year’s resolutions for the house: seriously organize the hall closet and turn it into a pantry. The first couple weeks of a new quarter at school are like the calm before the storm, so I wanted to get going on this before I got too busy again.
My first step was to take pictures of the current situation. I’m trying to get better with taking pictures before I start a project, because I have a habit of just starting a project, and then I have nothing to show how far I’ve come.
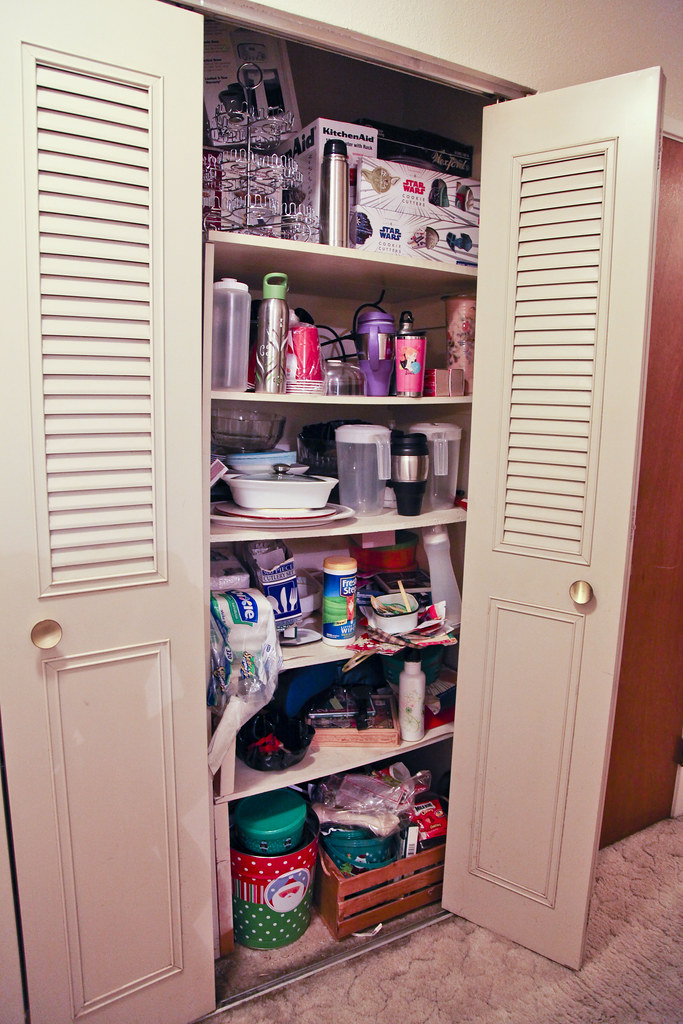
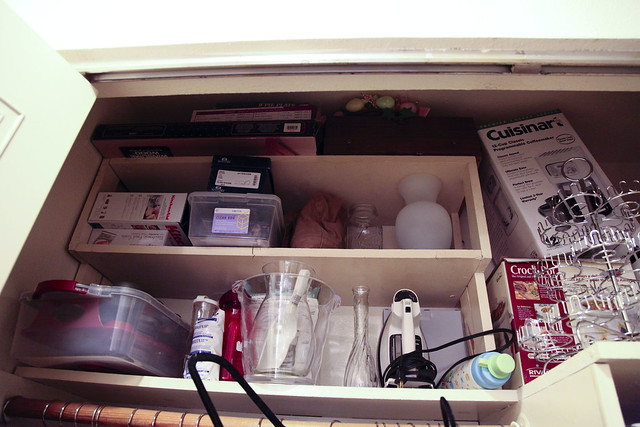
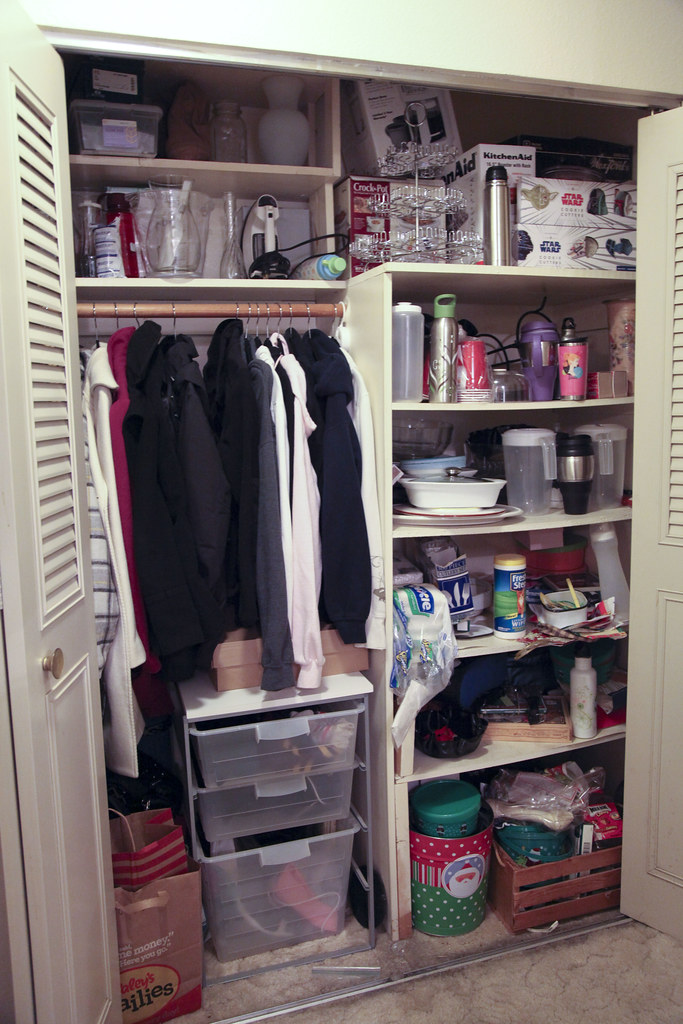
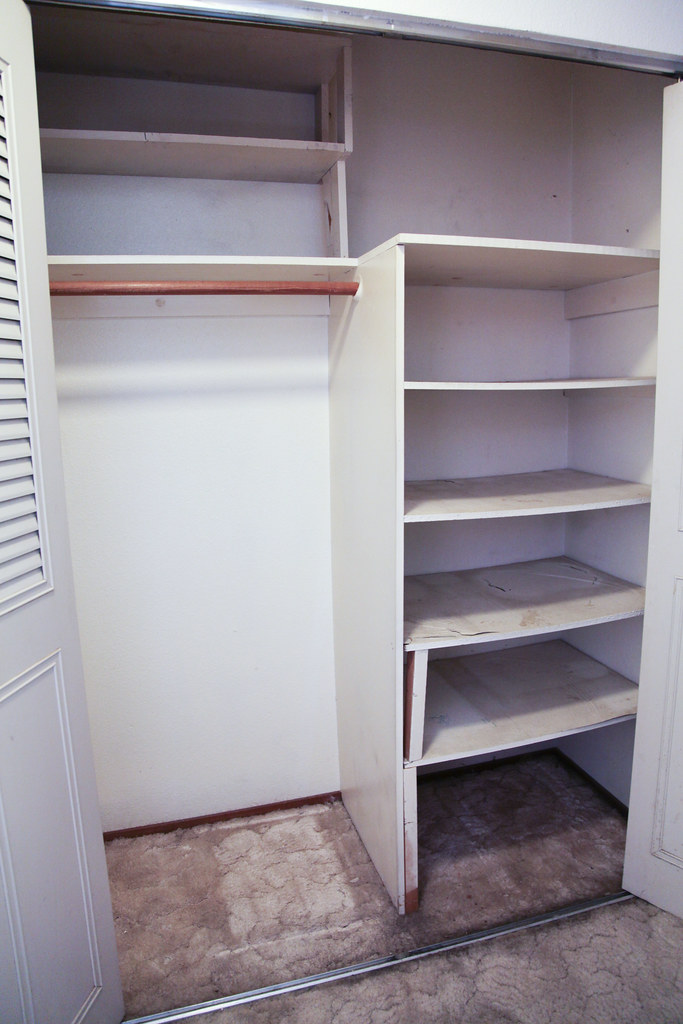
Below was the current situation. The closet wasn’t much of a pantry to begin with. In fact it was more of a pantry when my late grandmother lived there. Instead, half the closet had our jackets and sweatshirts, and the other half had random kitchen/entertaining odds and ends. I’ve attempted to organize it on more than one occasion, but it would always end up looking like this.
Next I did some research. Not only have do I have a “Pantry” board on Pinterest, but I was looking at Google Images and Flickr for inspiration as well.
Follow Cristina Robinson’s board House | Pantry on Pinterest.
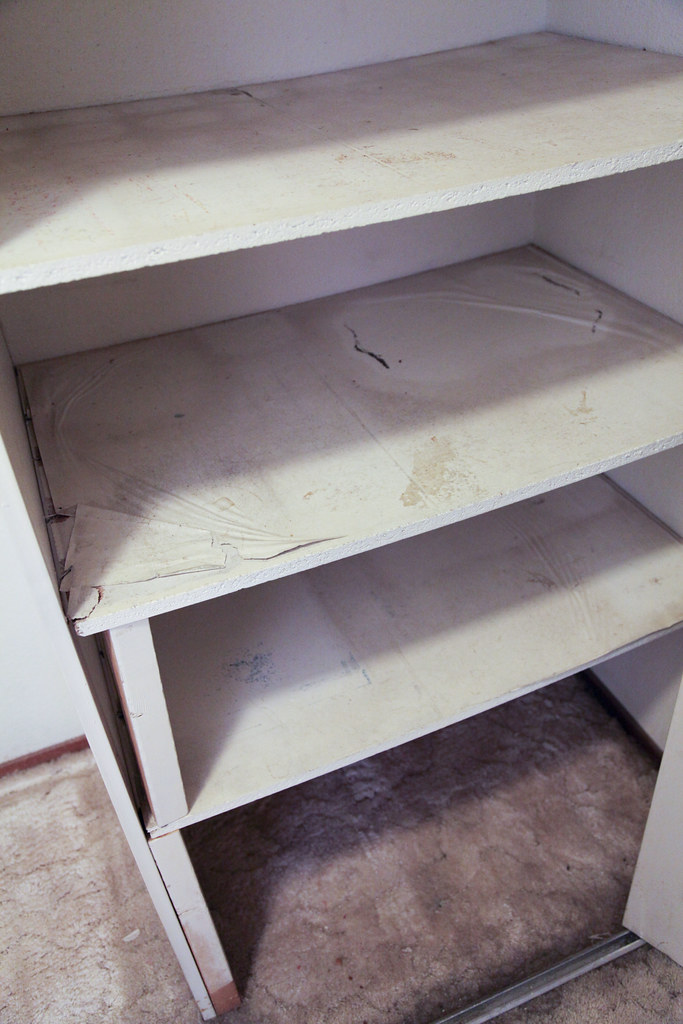
After doing a bit of research and getting an idea of what I wanted, I began going through everything in the closet. I discovered that I was hanging onto a LOT of empty boxes for kitchen things. Also, the closet was a mixture of kitchen things, laundry things, and entertaining things, all of which needed a proper home. Plus the shelving was gross and falling apart.
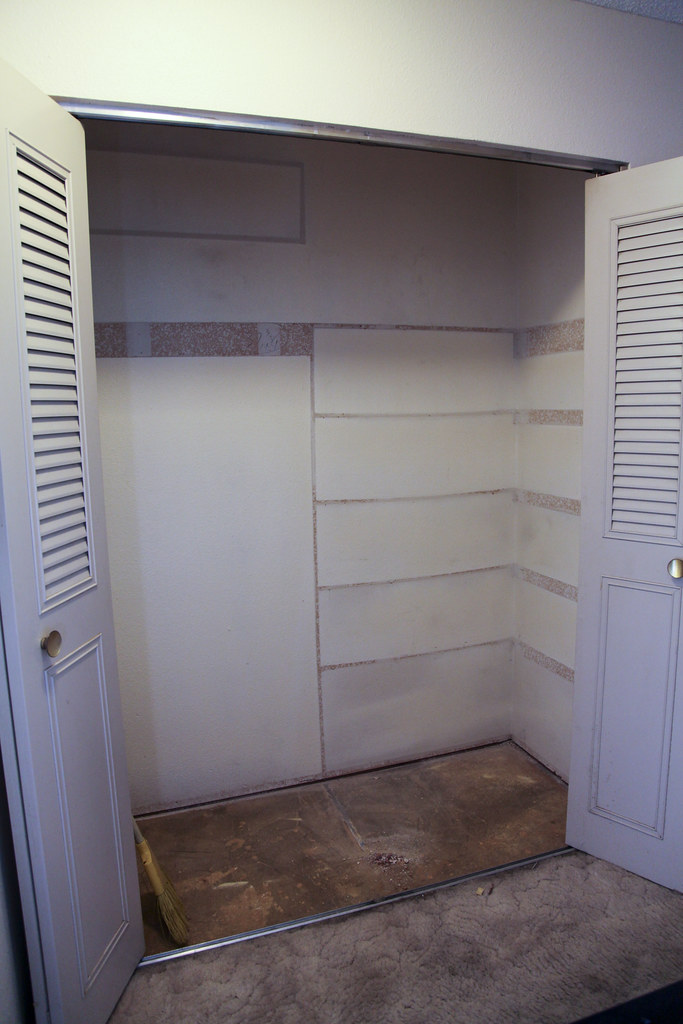
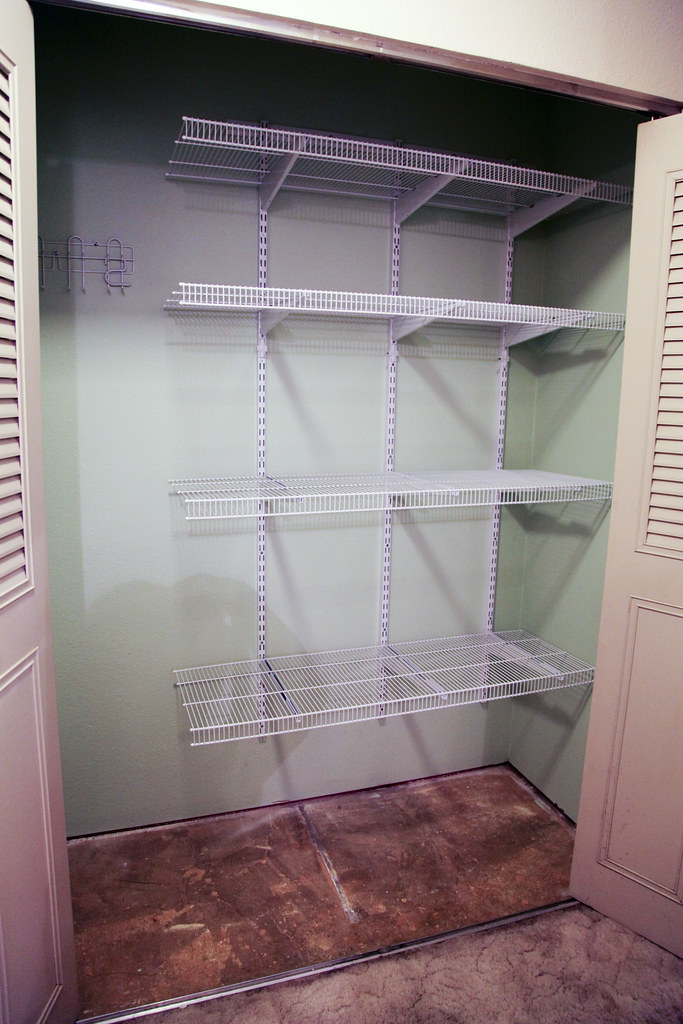
Once everything was out I began disassembling the shelving, which wasn’t difficult as the shelves weren’t installed properly to begin with. Then I tore out the carpet and base boarding. I would have kept both in, but the carpeting and base board were put in around the shelving; keeping it would have exposed the very obvious lack of carpet and base board.
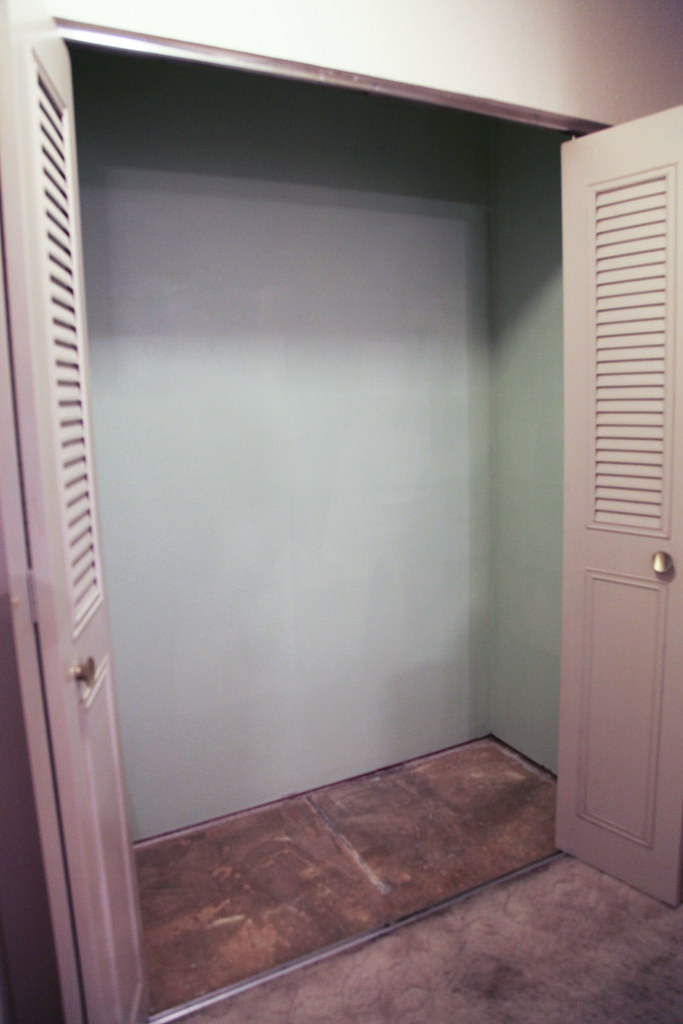
Next came sanding followed by priming and painting. I used the same color paint I used in the kitchen to keep things consistent.
When it came time to decide on shelving I wanted to go with something that could be transformed into a normal closet in the future. We went with Rubbermaid’s adjustable shelving, which allows you to easily add in hanging rods for clothes. While for us this closet will be a pantry, someday down the road it may go back to a clothes closet for someone else.
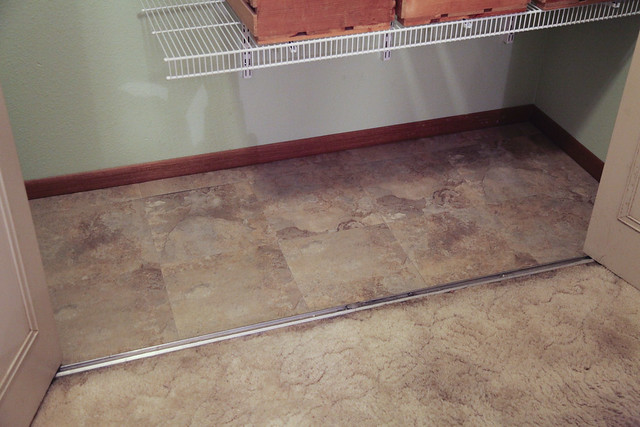
As for flooring, we used peel and stick floor tile. We had to get adhesive primer for the concrete subfloor before we could put the tile down, but once it was in and dried the tile went on perfectly. We also managed to get the same base boarding we used in the kitchen.
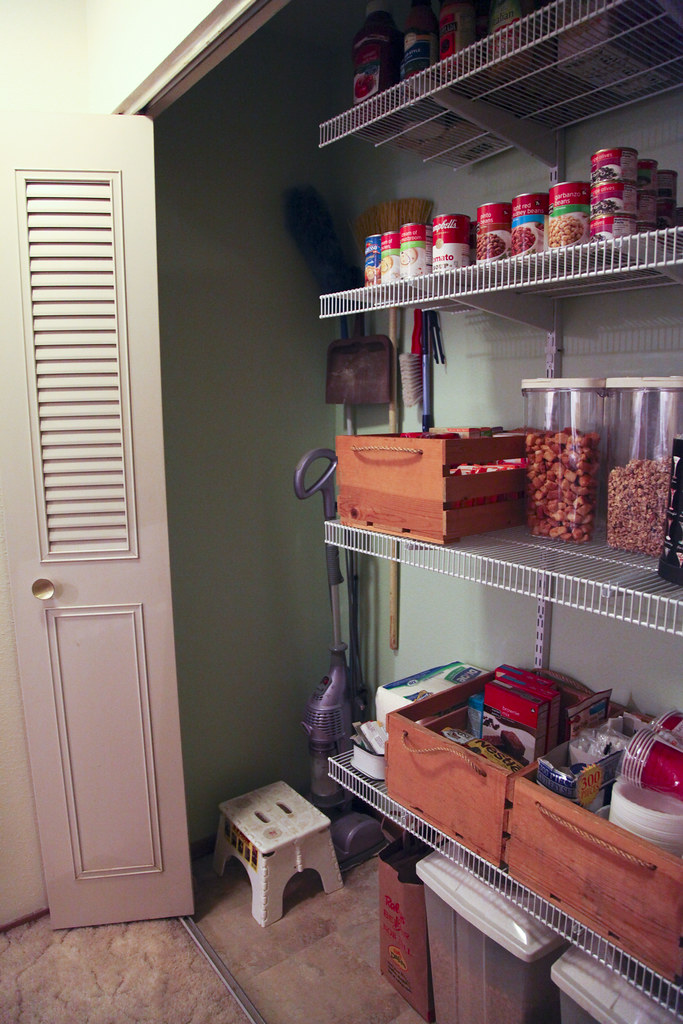
Once the shelving and flooring was done (YAY thanks to my hubby!) I began putting things back in and organizing.
Having this pantry has opened up so much more room in my kitchen. This entire process forced me to pretty much go through all my kitchen cabinets as well as the cabinets in the dining room. I did a complete overhaul of where things are stored now. Plus I ended up getting rid of a lot of stuff, mainly expired food, empty boxes and whatnot. Now, there’s no excuse for more home-cooked meals!
You Might Also Want to Read...
Note: This article may contain affiliate links. I only link to products that I know, love, and use. For more info, please view my disclaimers.
JOIN the LIST
Subscribe and stay up to date with the latest blog posts.
JOIN the LIST
Shop My Posts
Want to know where I get #AllTheThings from my blog or Instagram posts? Find what you're looking for below (or just ask).
LIKETOKNOW.IT
Amazon store

It looks great! I am really digging your wooden crates that you used.