The Big Kitchen Reveal
We’ve been pretty busy these last couple of months and for good reason: our kitchen got a facelift! Today, I’m so excited to share it with you, not to mention to finally say IT’S DONE! You guys, it looks SO GOOD! I can’t stop smiling!
Our Kitchen Before
Let’s start by taking a trip down memory lane, shall we? Here are a couple of snapshots of what it looked like when we first saw/bought the house.
Cherry cabinets, black appliances, and DAT WALLPAPER THO. 😳 Definitely not our style. But! Out of all the homes we’ve lived in this was by far the nicest kitchen. Even just removing the wallpaper and painting the walls prior to moving in helped a ton!
Planning the Remodel
After the sale of our first house earlier in the year, we finally had the funds to get going on the kitchen. Originally this was going to be one of the last major projects of the year, but because I preferred to be kitchen-less during the summer (so we rely on the BBQ), it ended up getting brought to the top of the list. That and once we got the ball rolling at IKEA they were ready to get started right away!
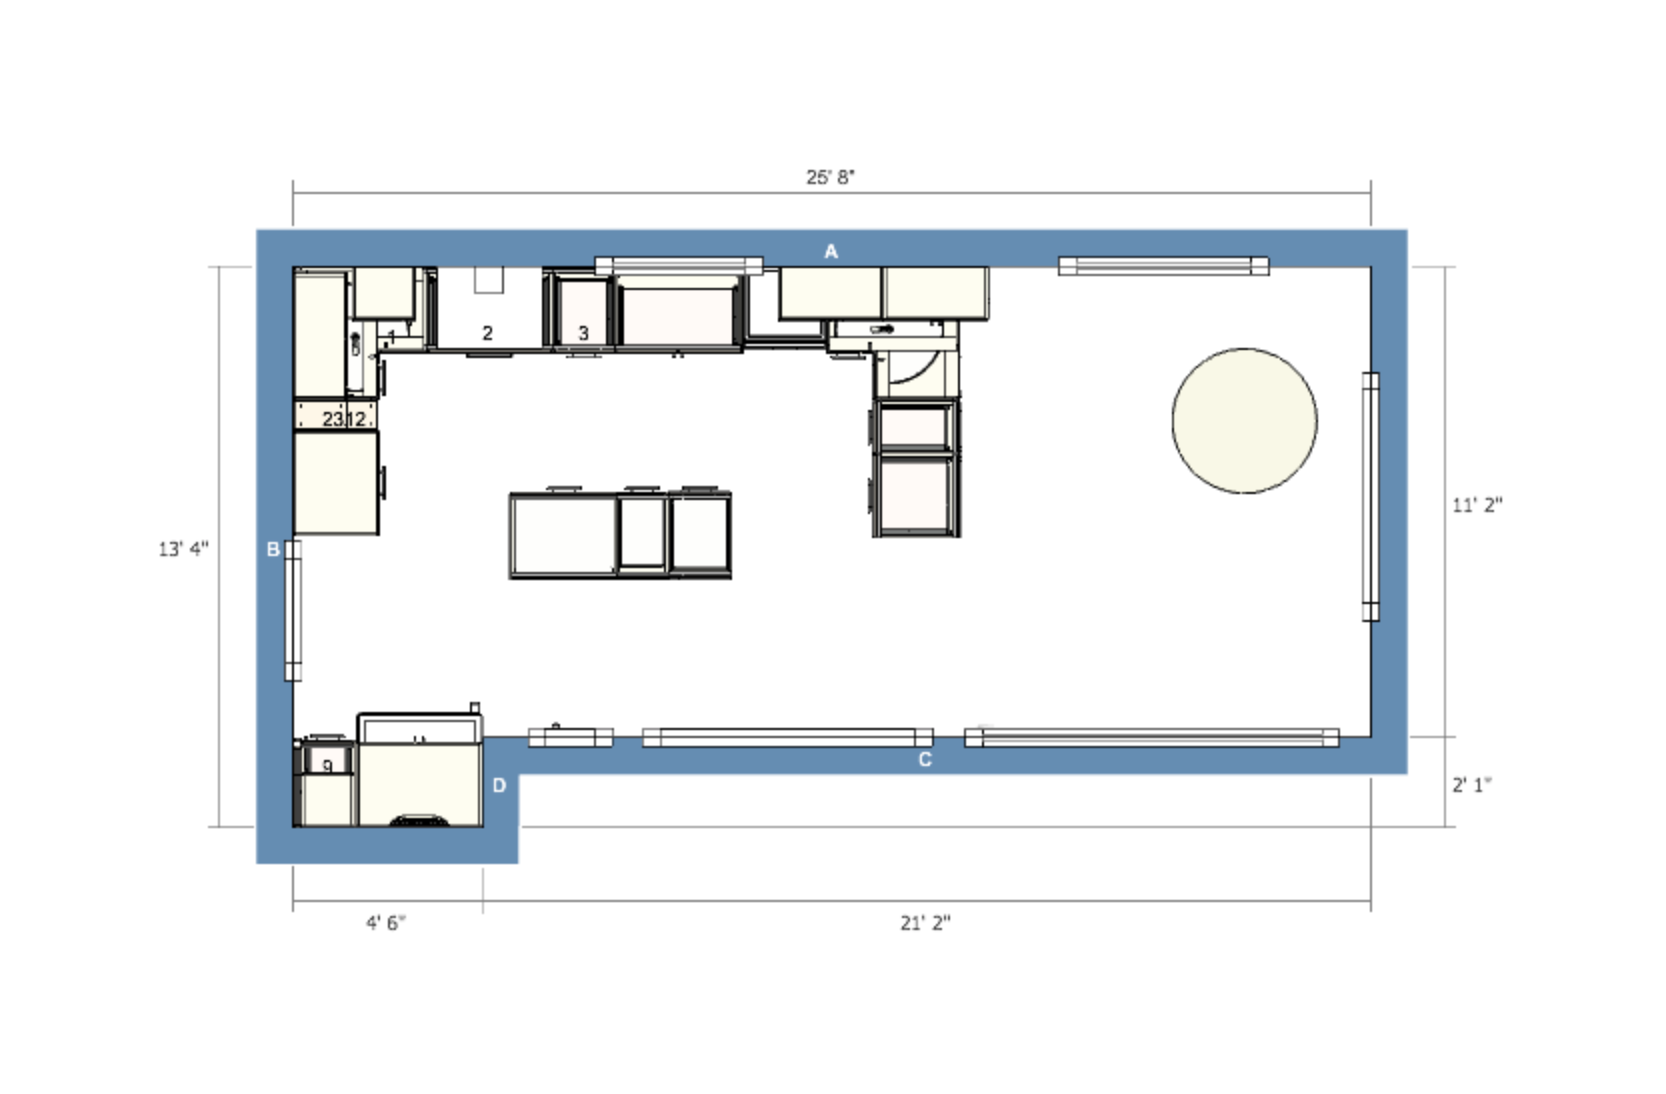
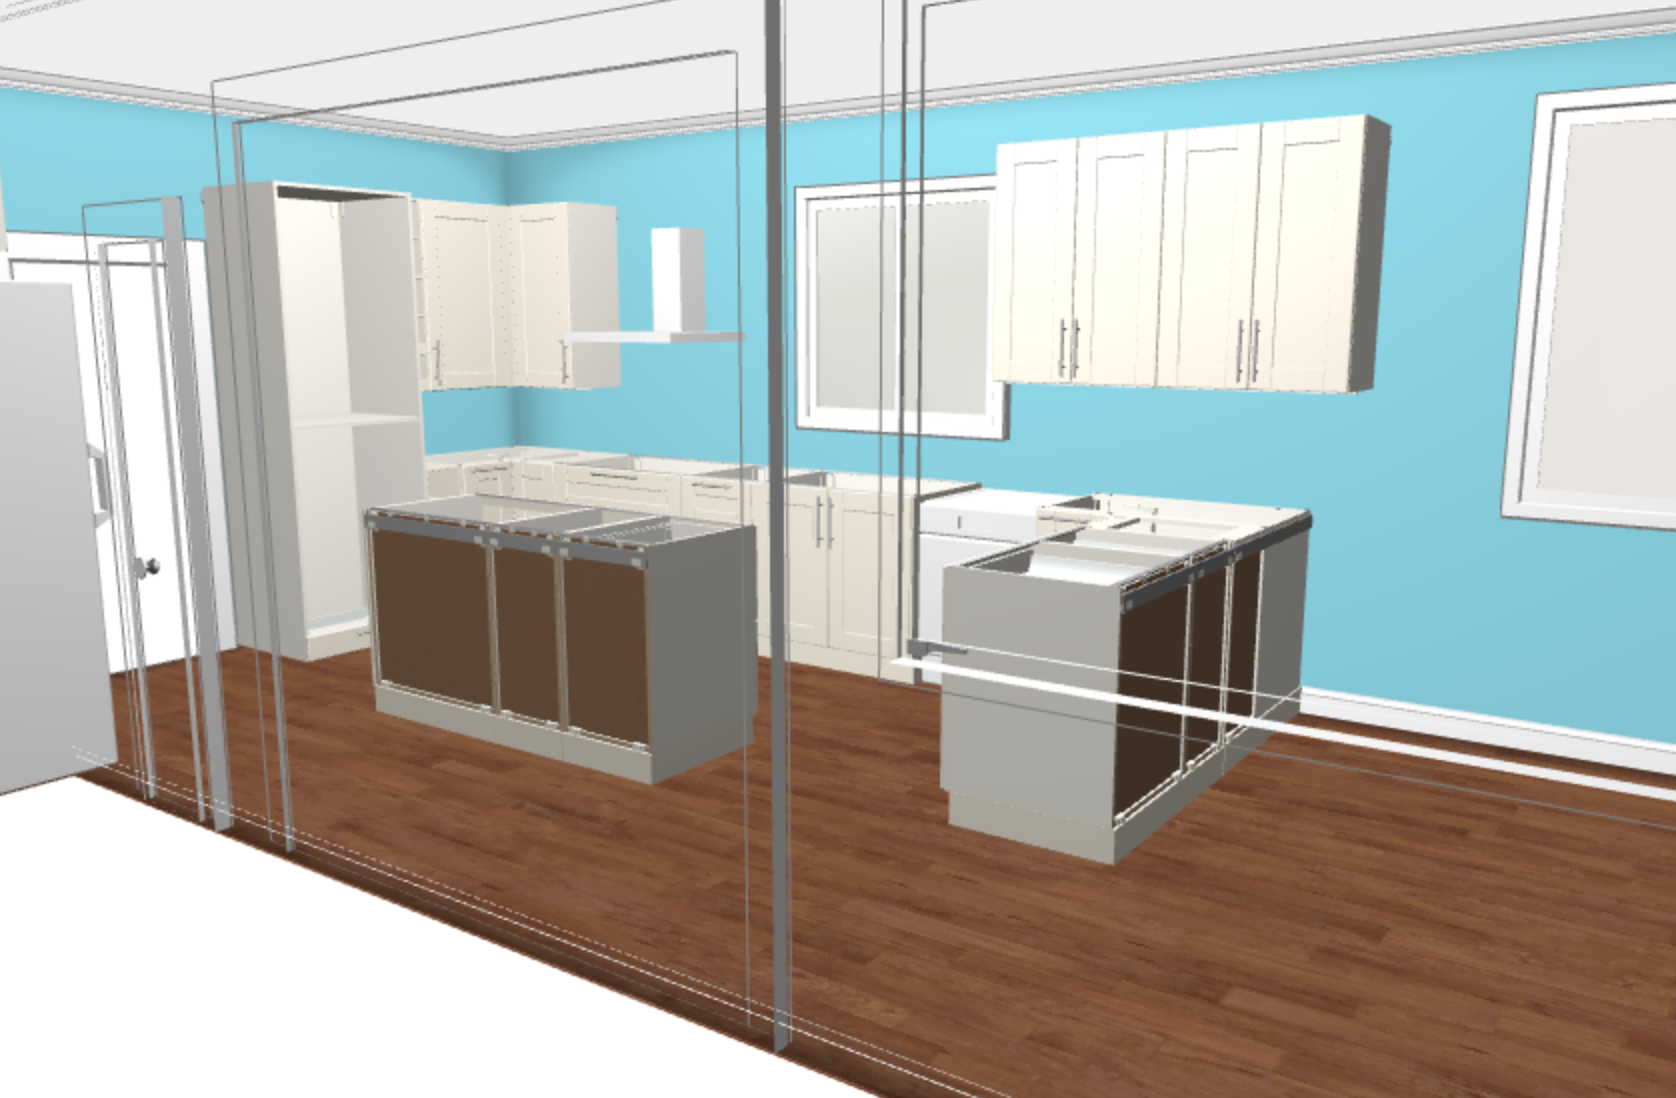
We spent a lot of time planning out our kitchen using the IKEA Kitchen Planner. Many trips were made to IKEA during the planning process to look at the showroom kitchens and physically see the actual drawers and cabinets we intended to use. This also helped later on when I bought accessories for organizing because I was able to get ideas on how to best utilize the space.
We opted to keep the footprint the same in order to keep costs down and avoid having to tear out the floor. Besides, the footprint worked fine, it was just a matter of making the cabinets work more efficiently for our needs.
Once our plan was dialed in, we made another trip to IKEA put the final touches on our kitchen with the associates in the kitchen department, and ordered all the pieces.
It was a long process and we happened to have our niece with us. She had fun designing her own IKEA kitchen though! 😂 The pieces were delivered directly to the house just in time for the installers to start putting our kitchen together.
IKEA has several options to choose from based on how much DIY you want to do. Since this was our first experience with an IKEA kitchen we basically had them do everything: measurements, planning, delivery, installation, and general contractor. However, there was some miscommunication about the actual planning part, and we had various frustrations with the third-party company in charge of the general contractor-type stuff. Joshua is still recovering from it all. 🤣
If we could do it all over again we’d strictly use them for measuring and get our own contractor. Down the road, we’re going to do IKEA cabinets for the laundry room, and we’re confident enough to do all of that ourselves.
Demo & Installation
We spent Memorial Day weekend tearing out our old kitchen in order to save some money and to be prepared for the installation the following Monday.
Thank goodness Joshua has his trailer because MANY dump runs were made. Seriously, they all know him and his car at the dump! 😂 All worth it though. We saved about $2000 doing the demo ourselves, not to mention it made the cabinet install go a lot quicker.
The cabinets were installed the first week of June, and then the kitchen sat like this for the rest of the month while we waited on our countertops. They would have been installed sooner, but Joshua was out of town for training so it got pushed out. It worked out in the end because we spent those weeks finishing the electrical, installing appliances and filler pieces, and organizing.
Countertops were finally installed the first week of July, and that’s when it REALLY started to come together! After that, we had some minor touch-ups with paint as well as a few other contractor-related items. Appliances were hooked up and things were going back in the cabinets. We were on our way to a completed kitchen!
Our Kitchen After
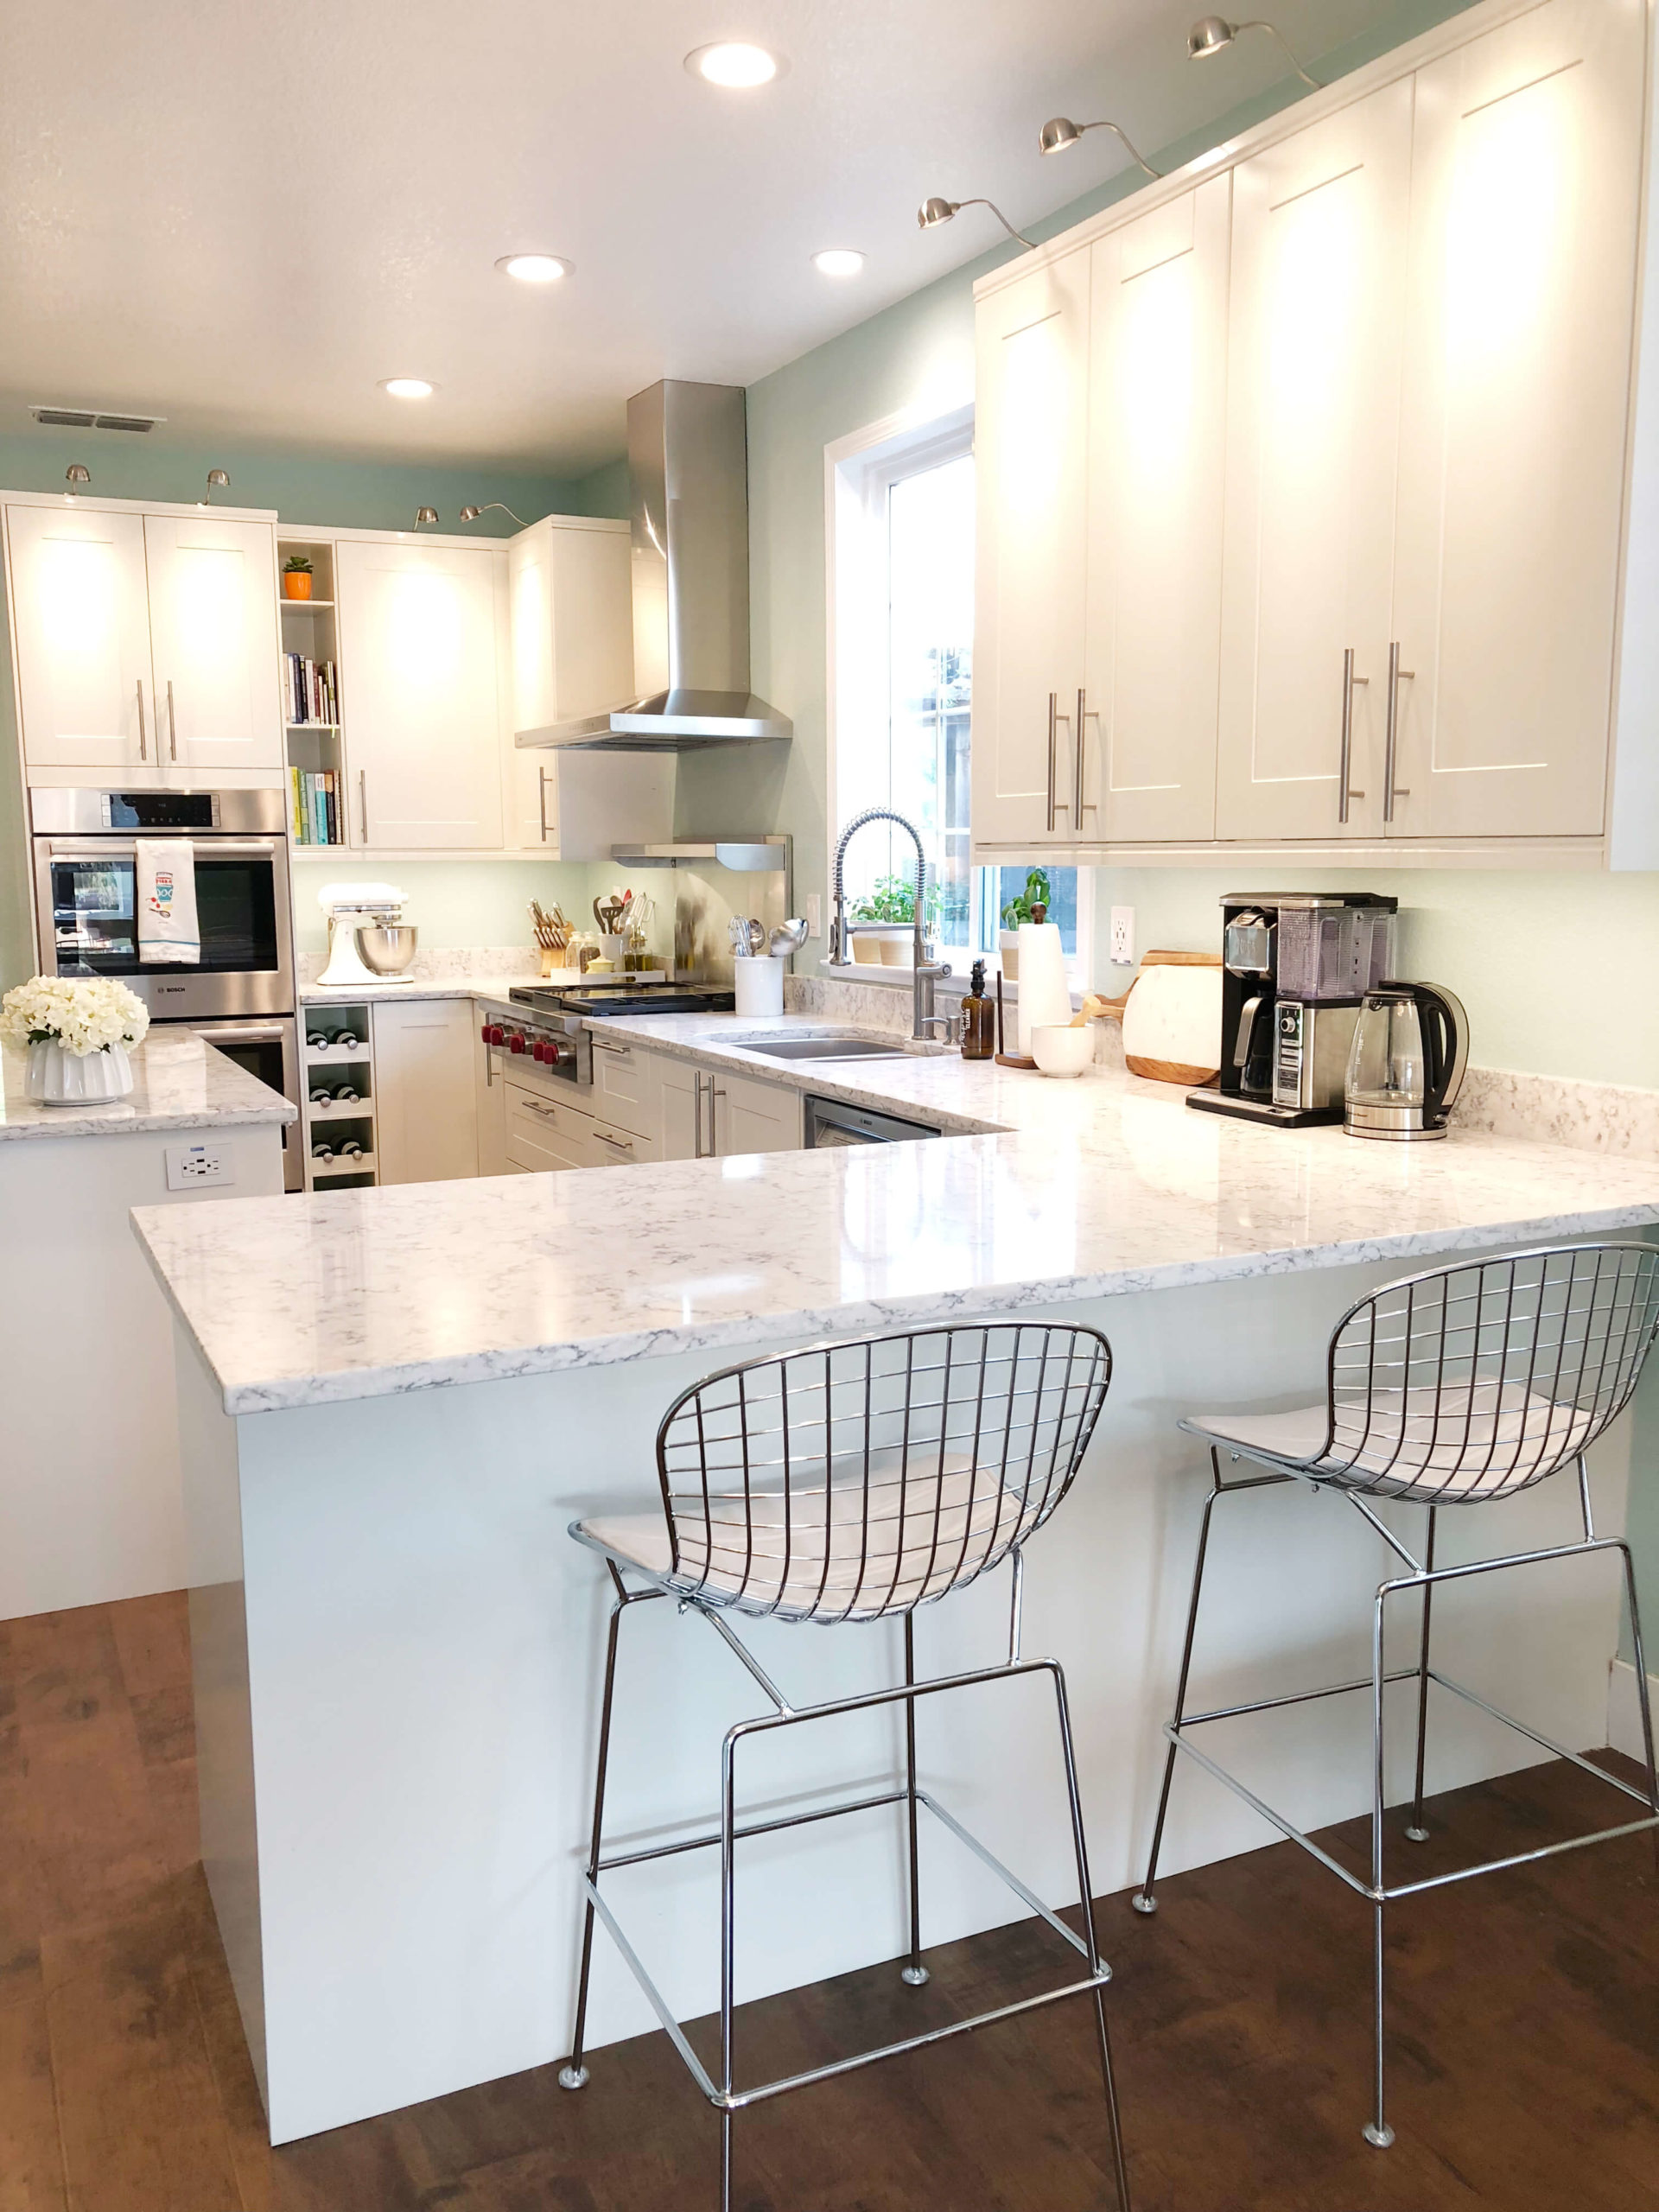
I can’t believe after countless visits to IKEA in the past 10 years dreaming of my future kitchen it has FINALLY happened! Our kitchen is done, and I am in LOVE!
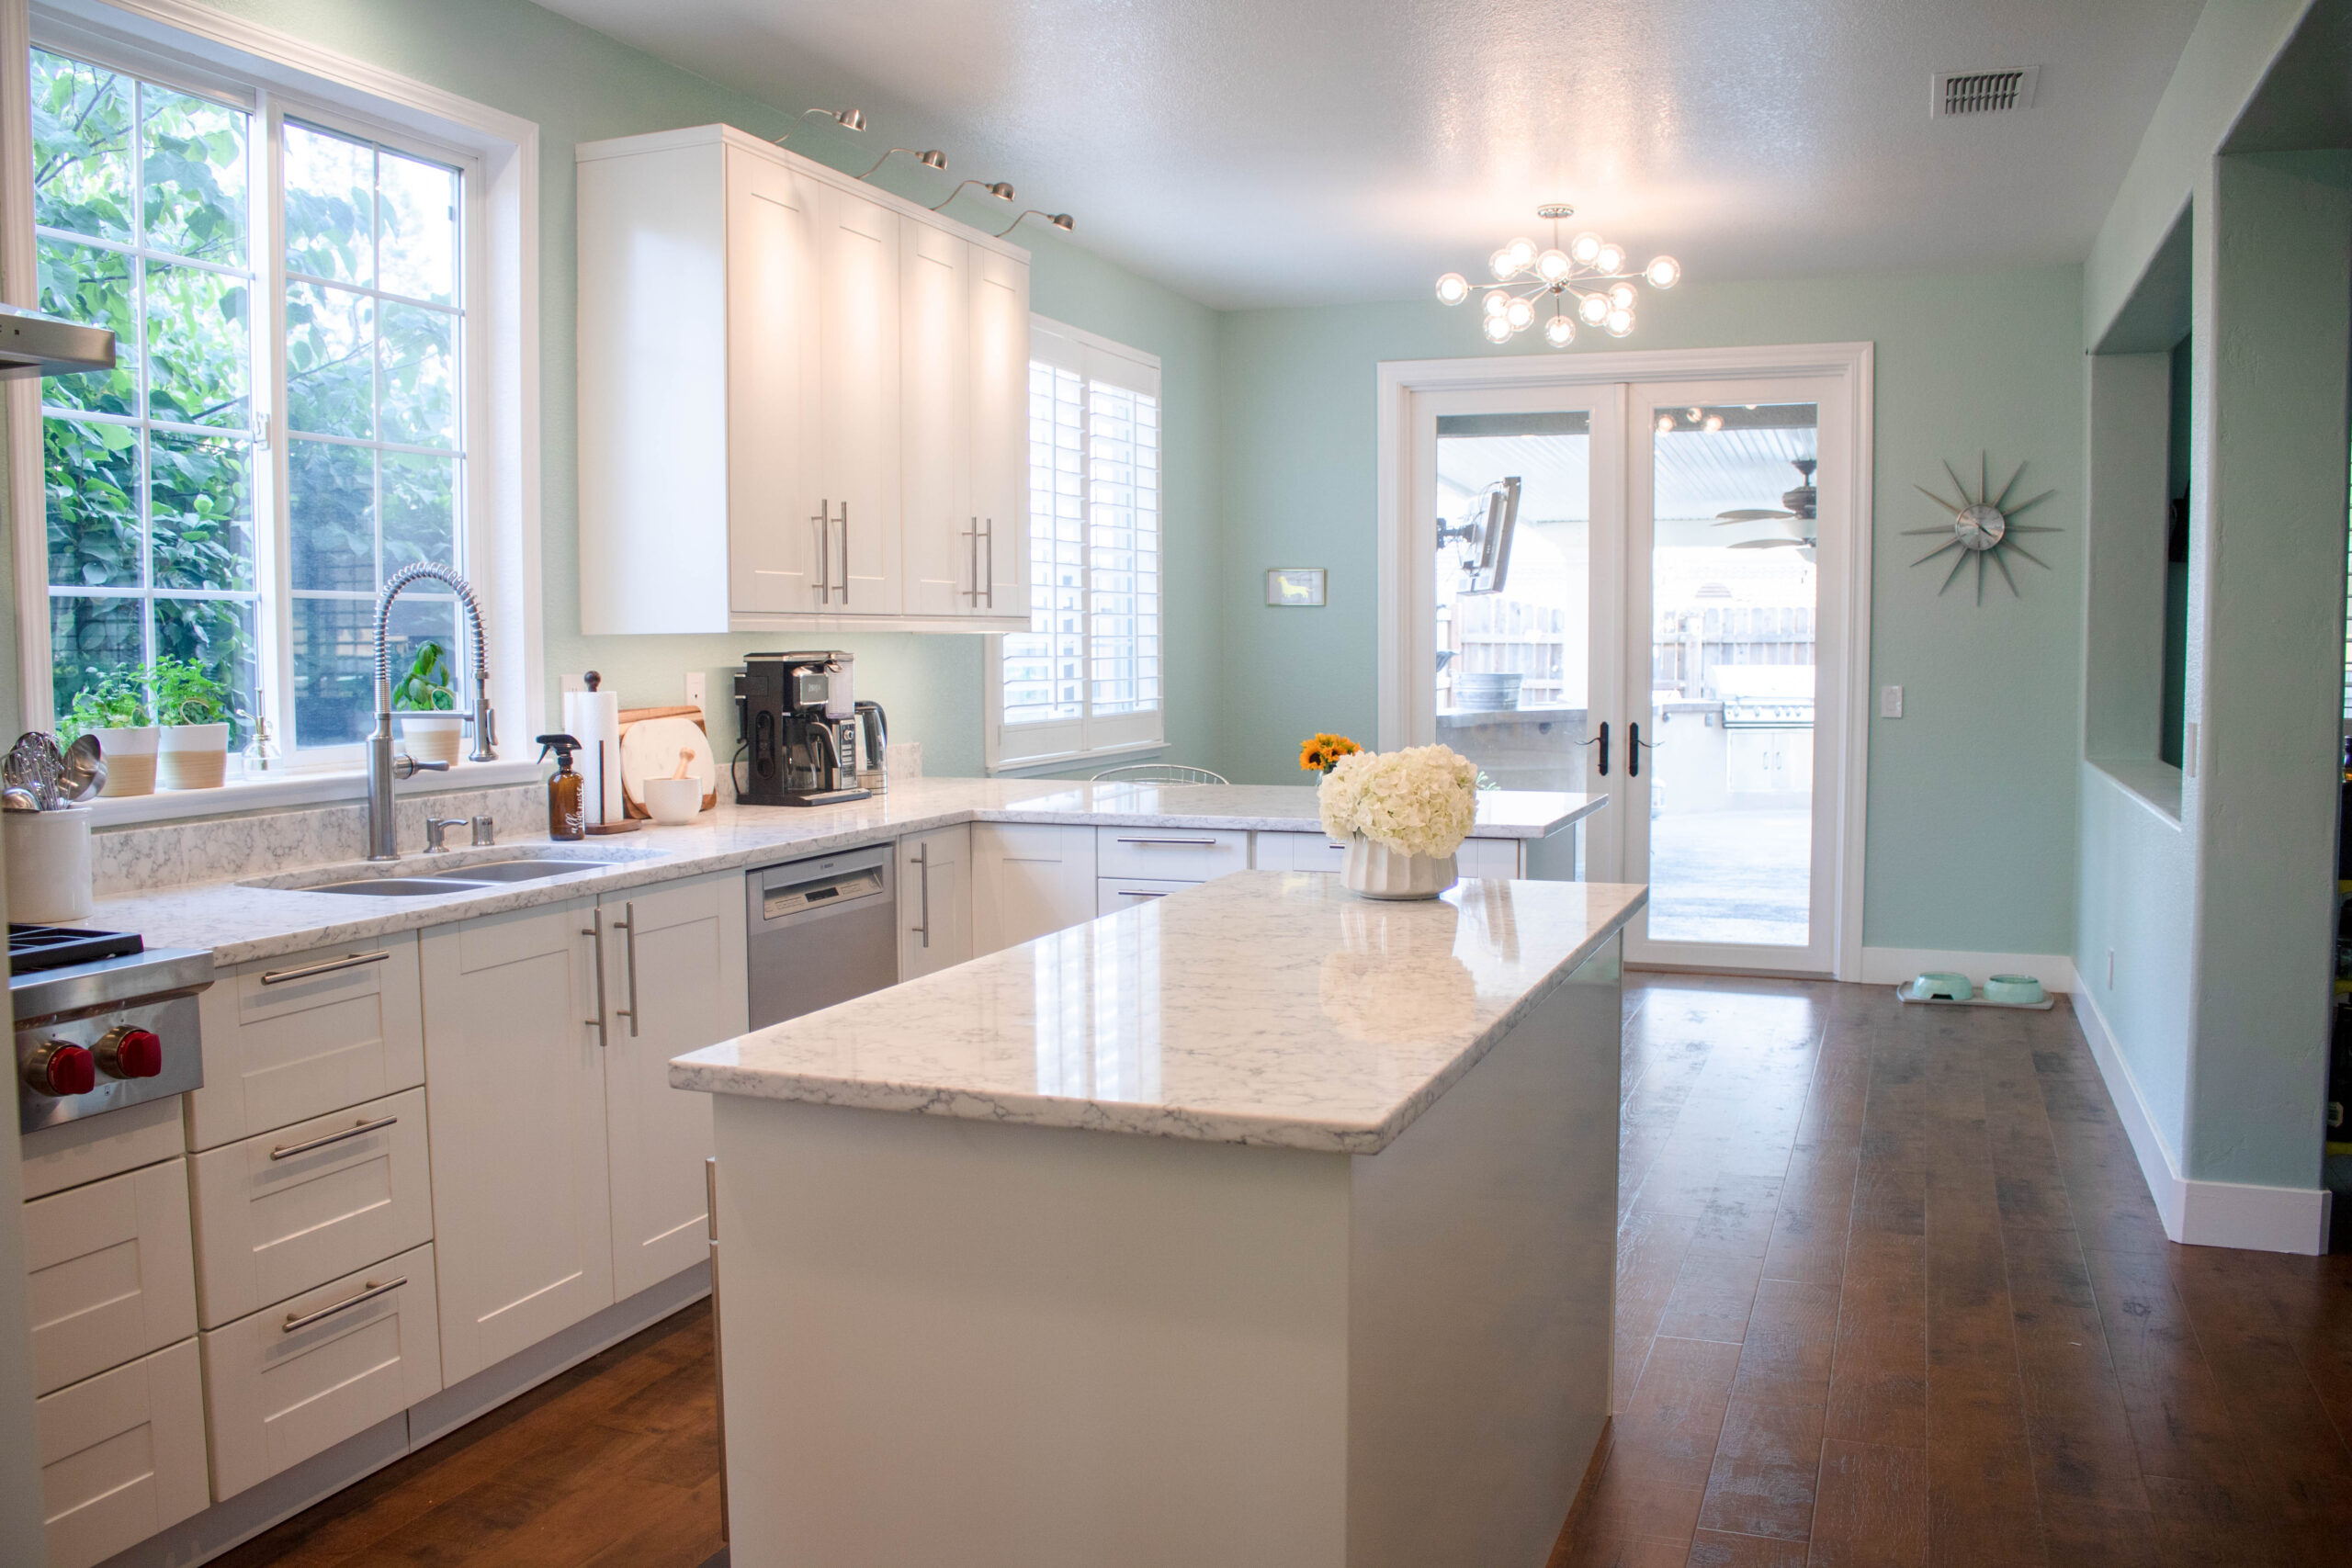
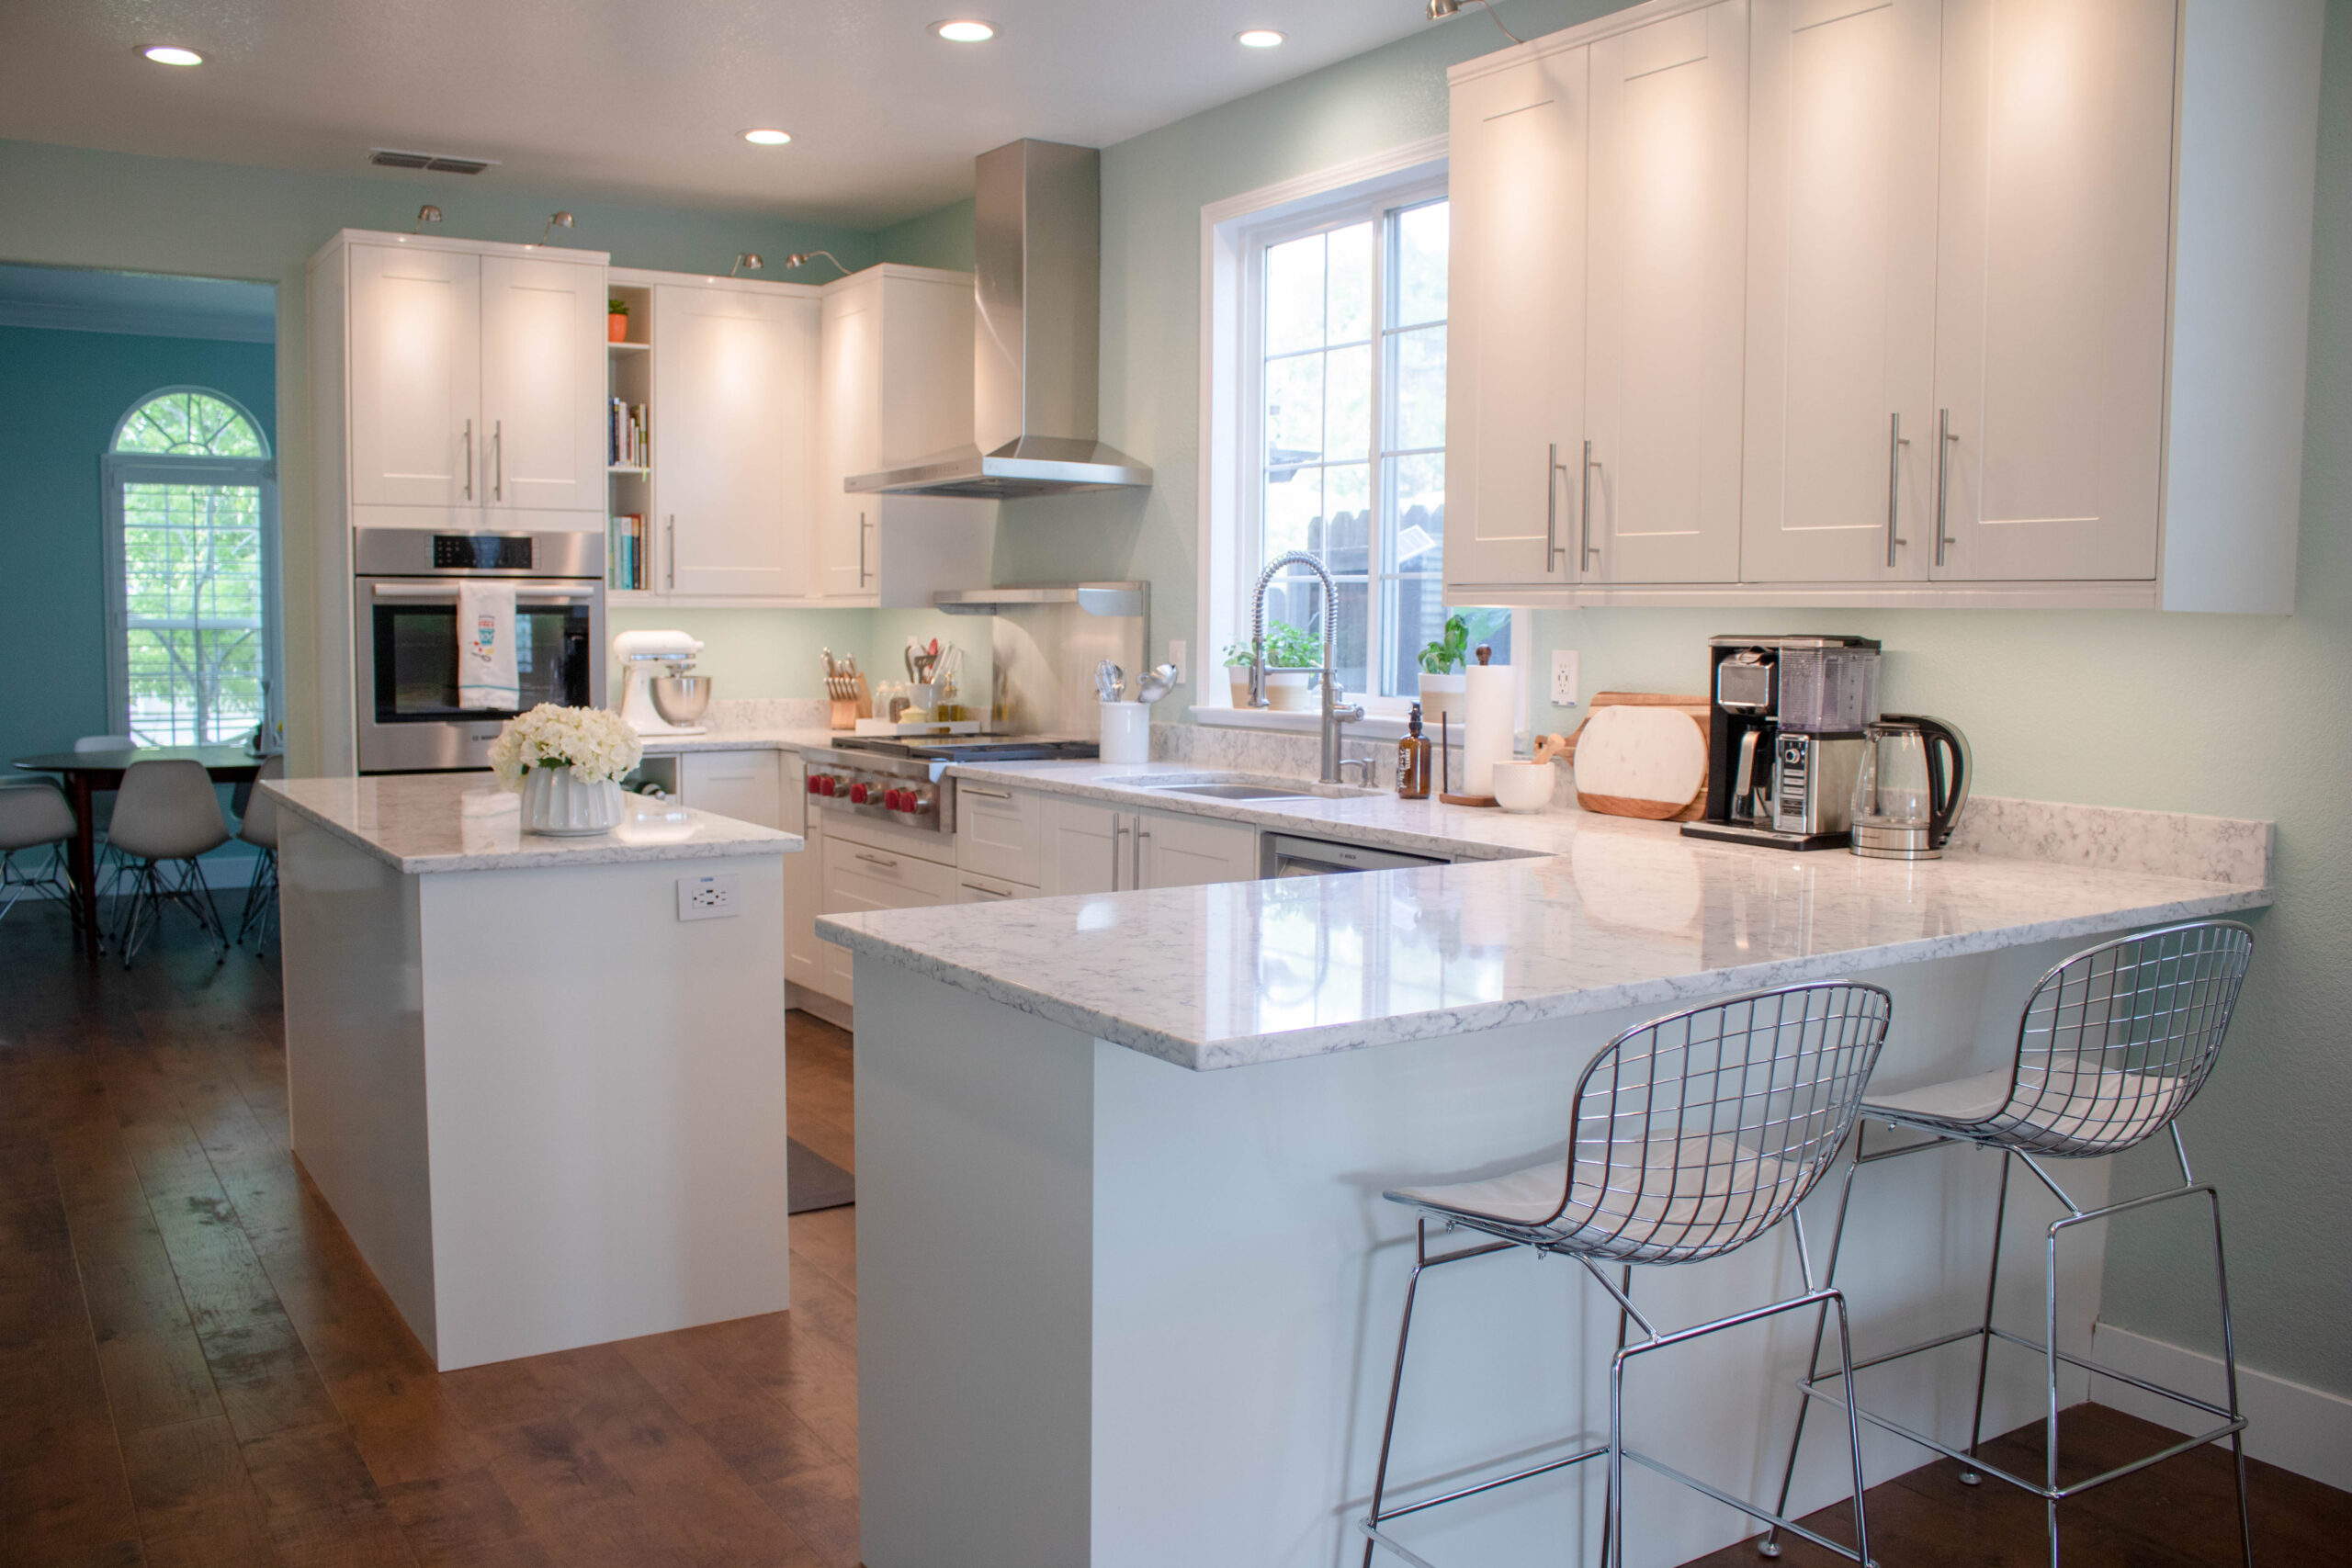
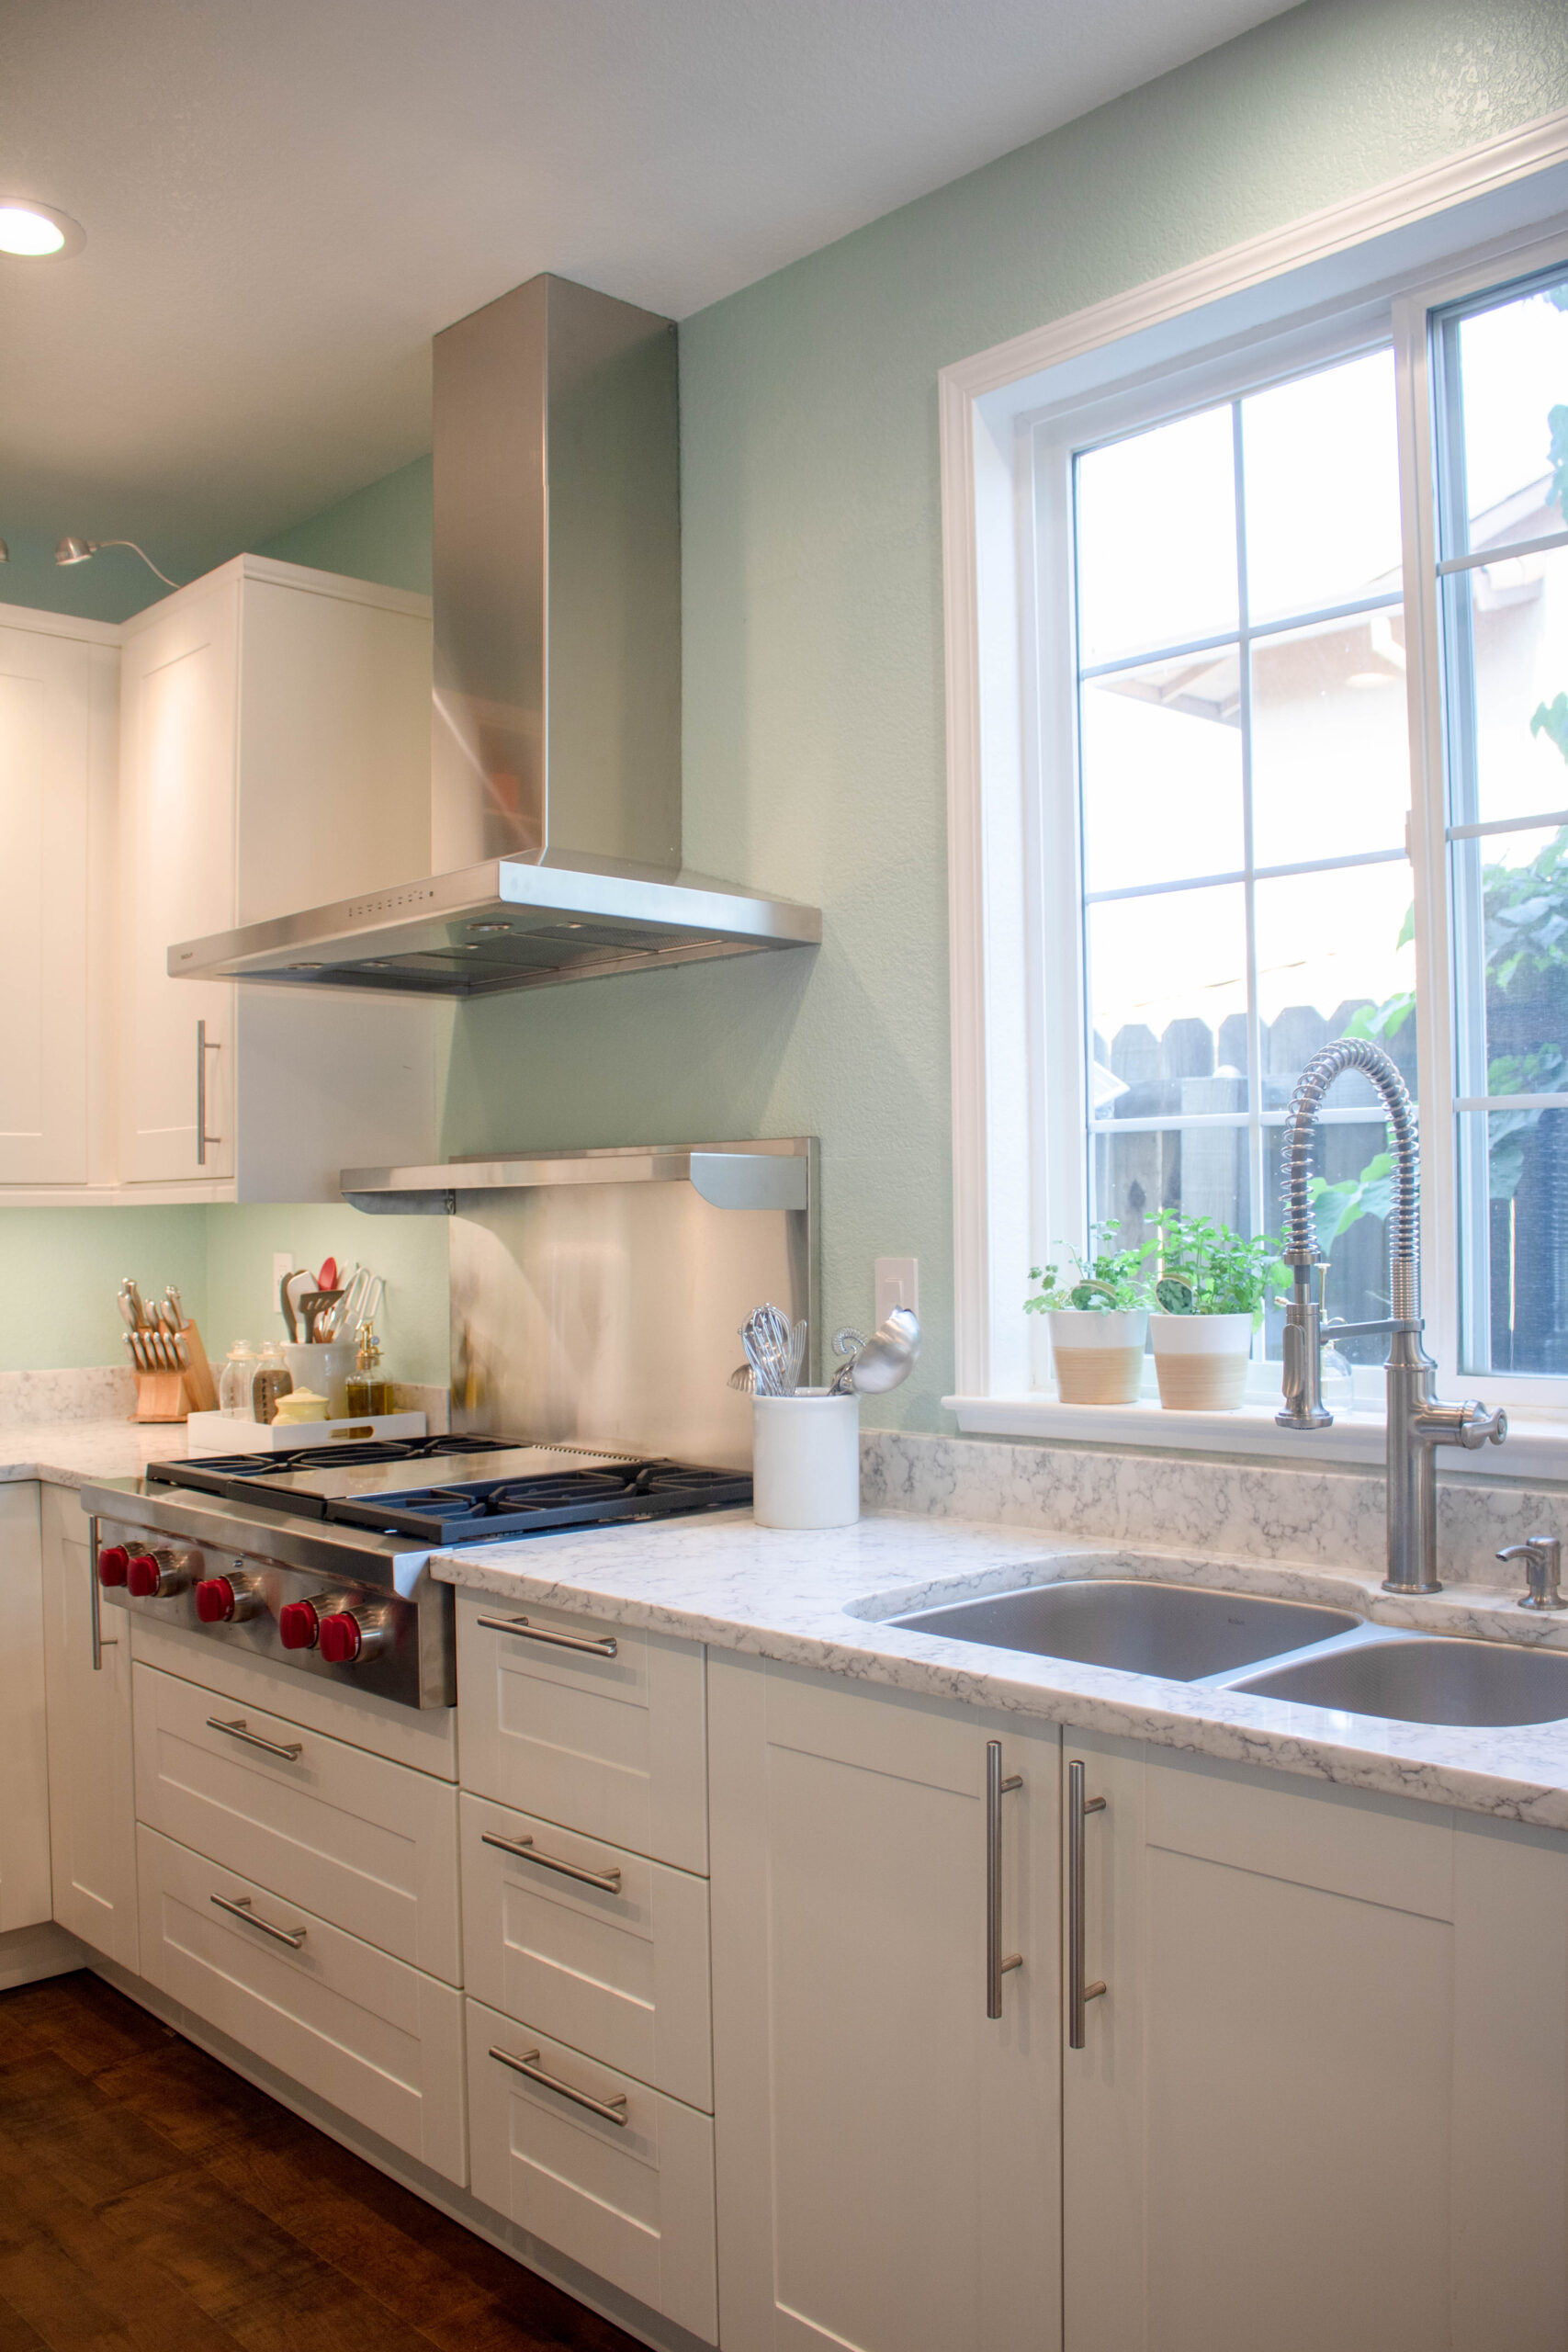

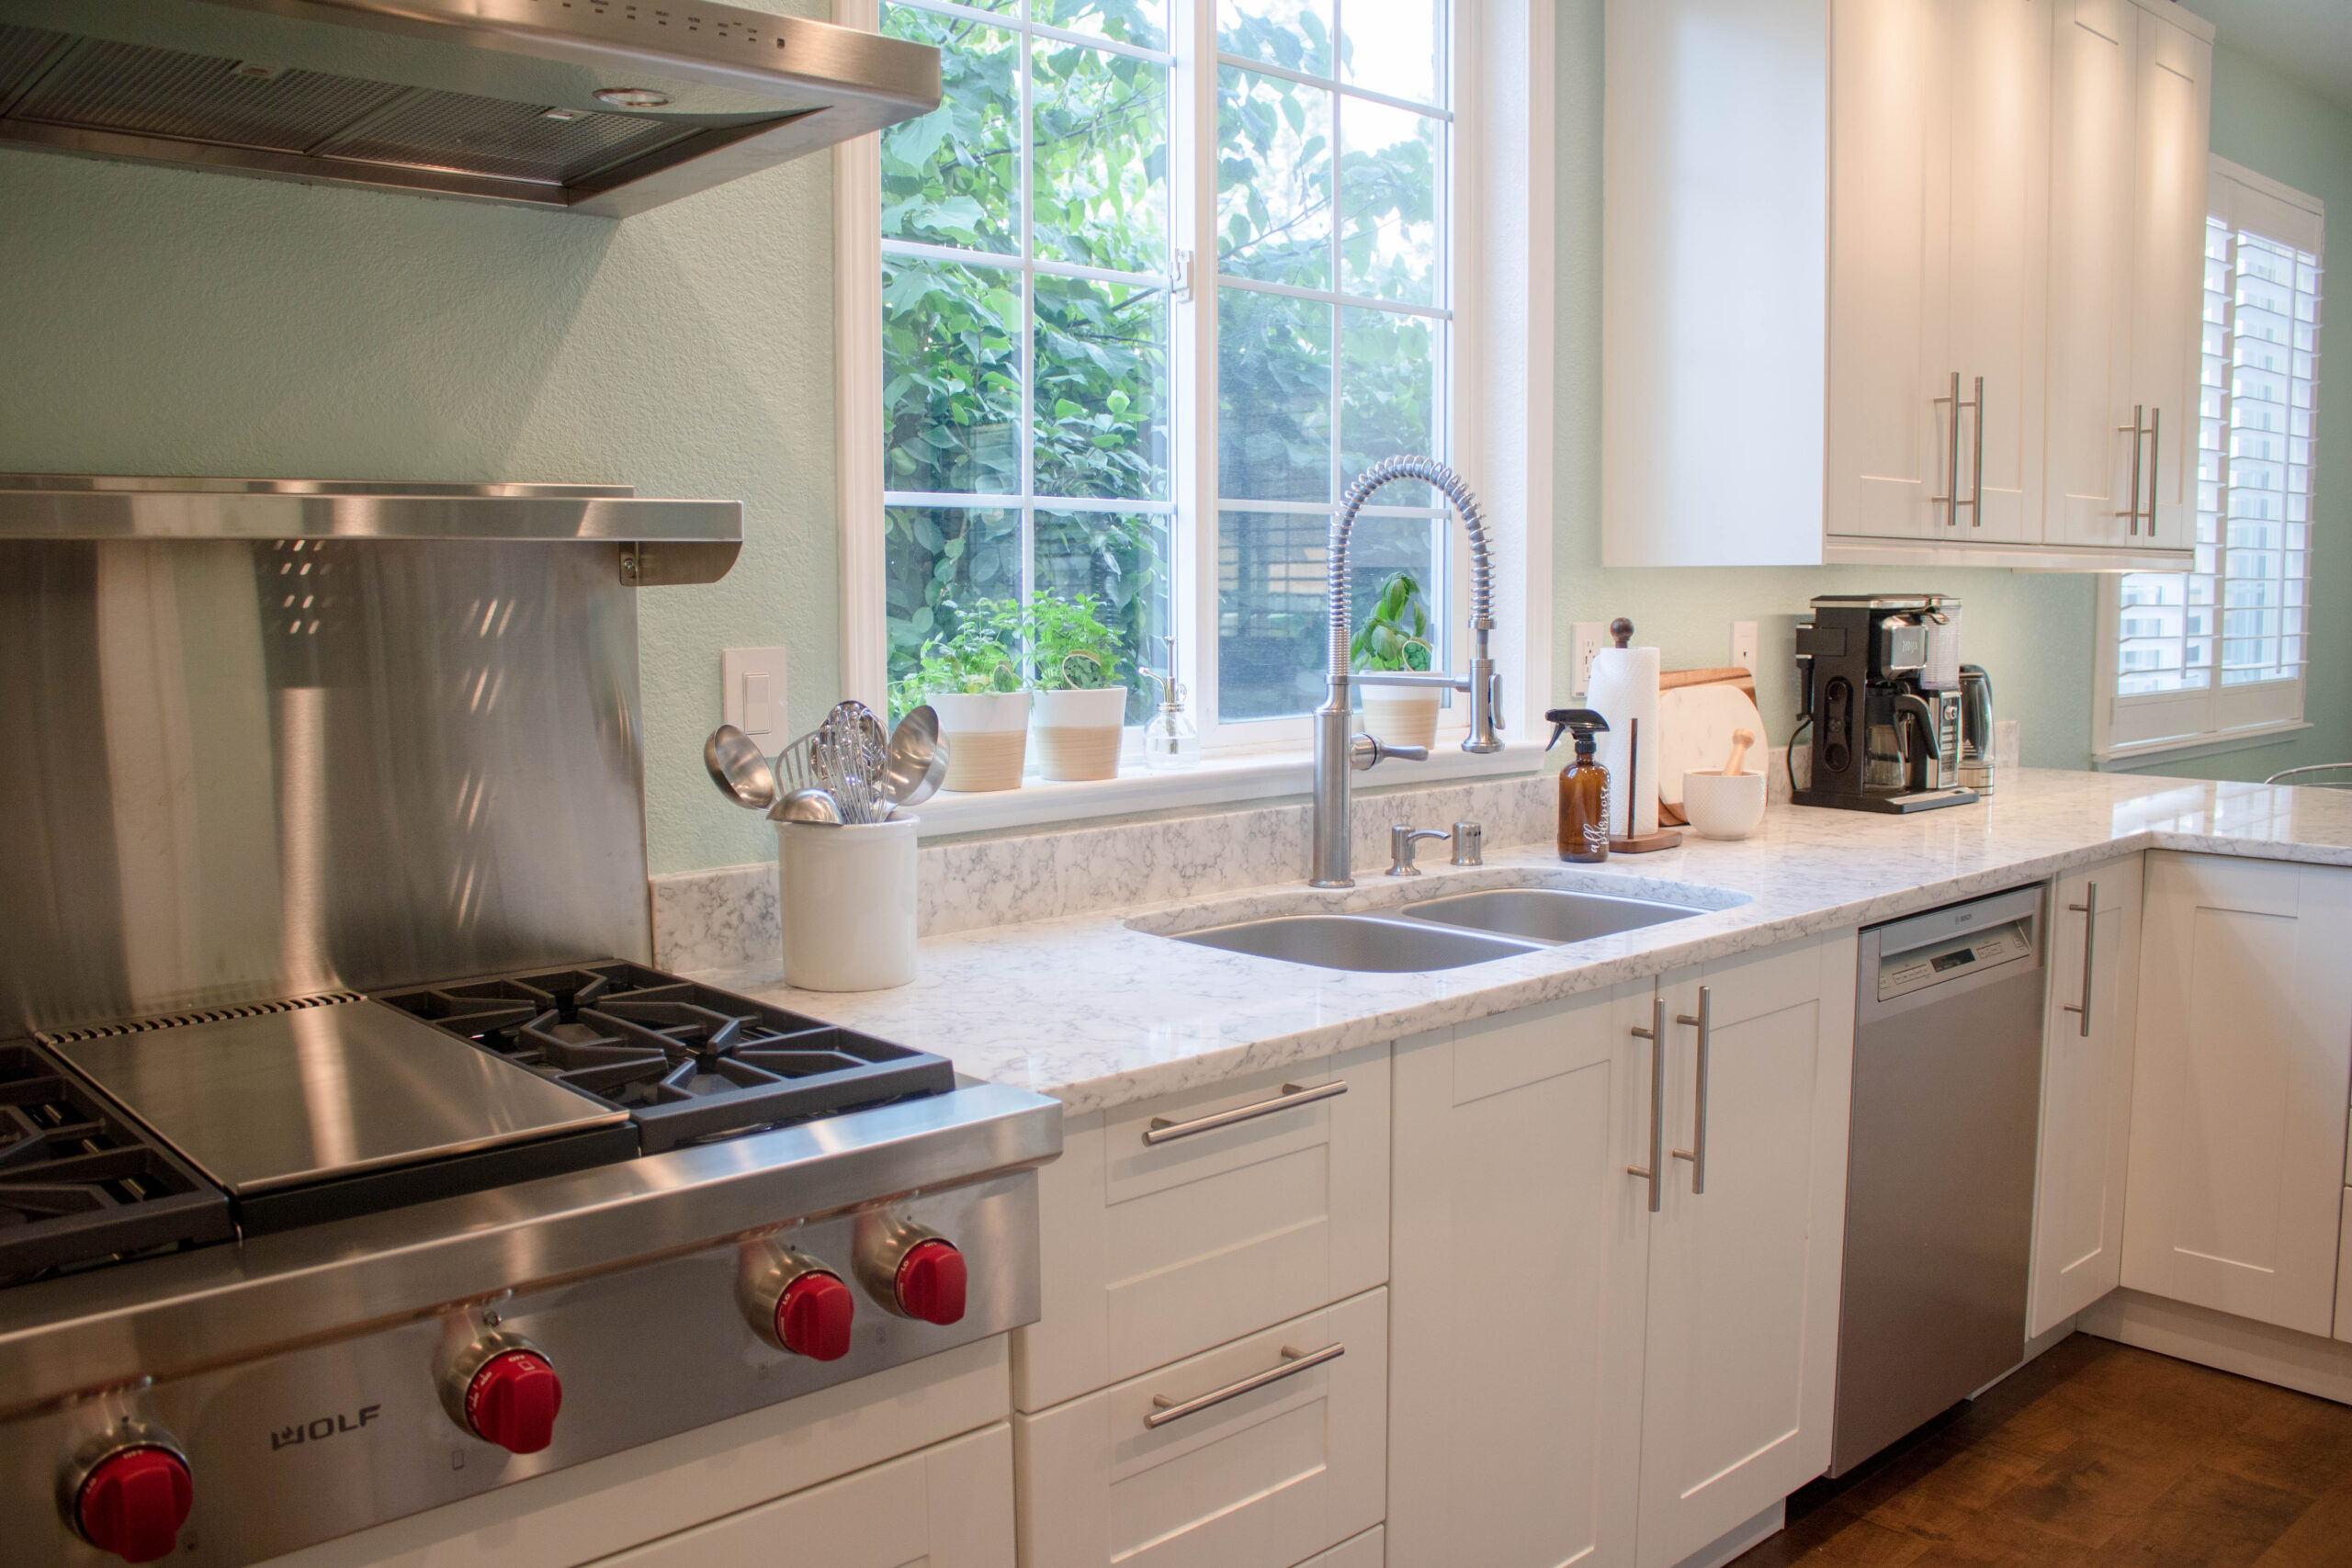
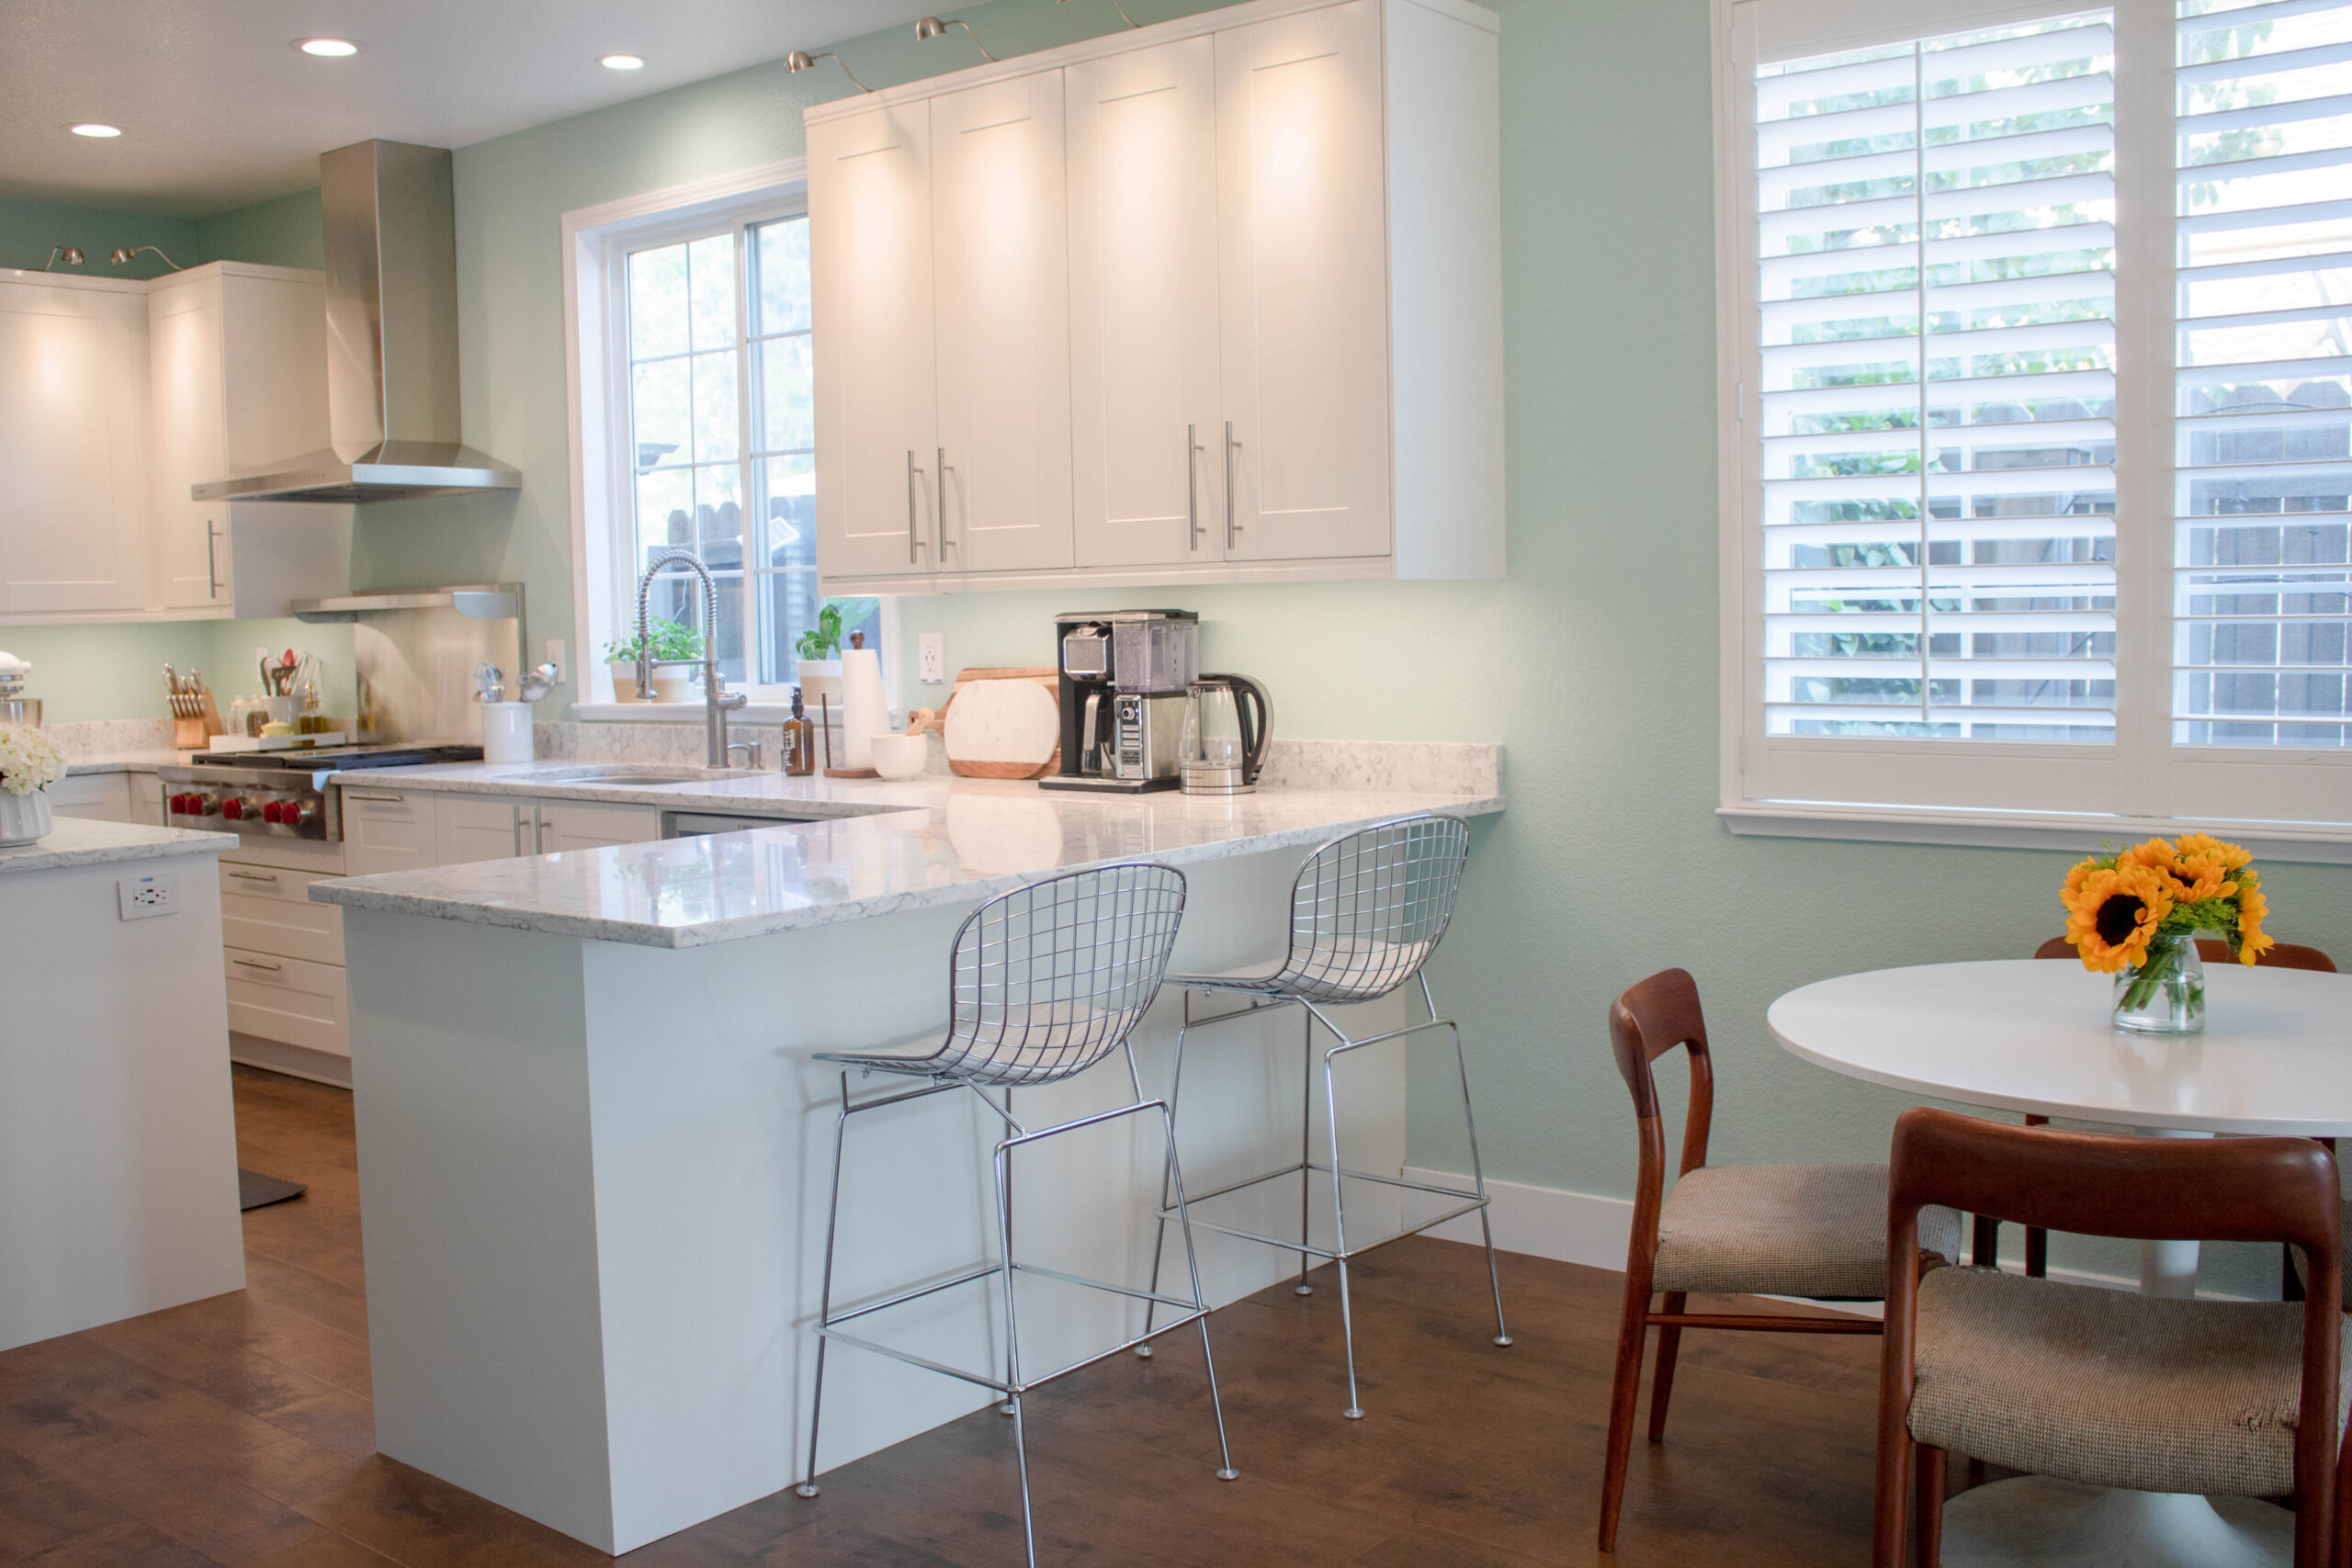
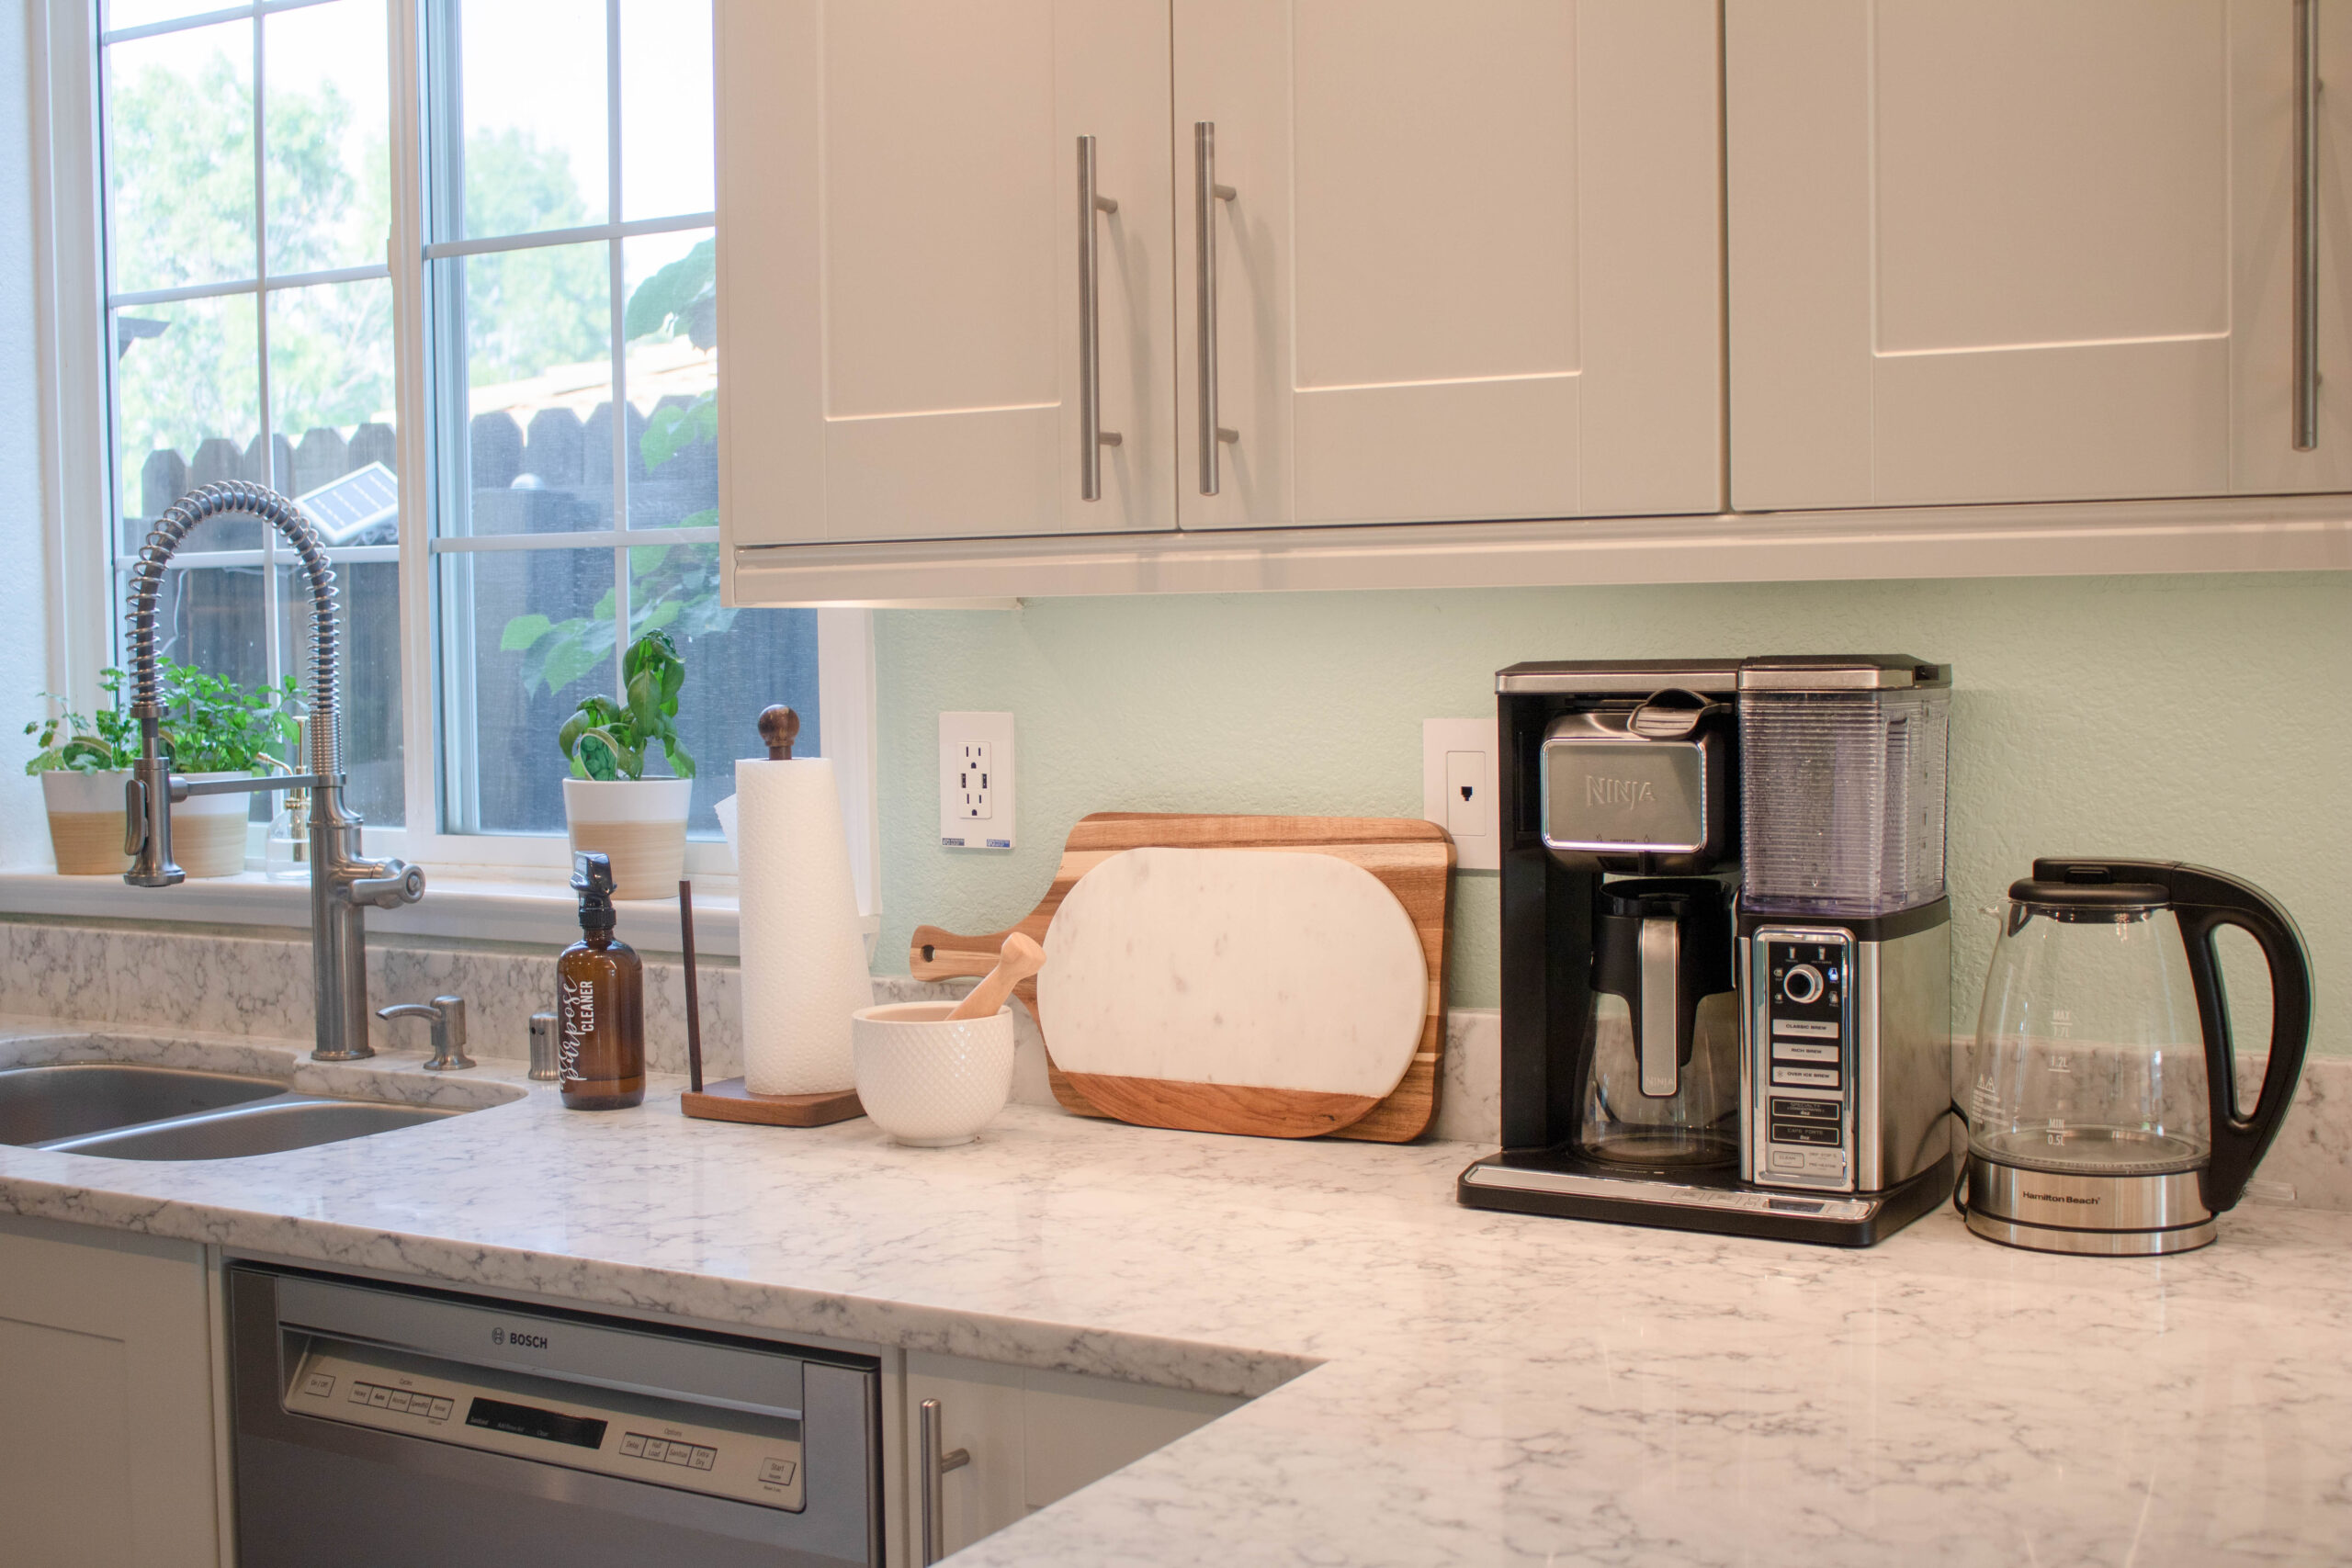
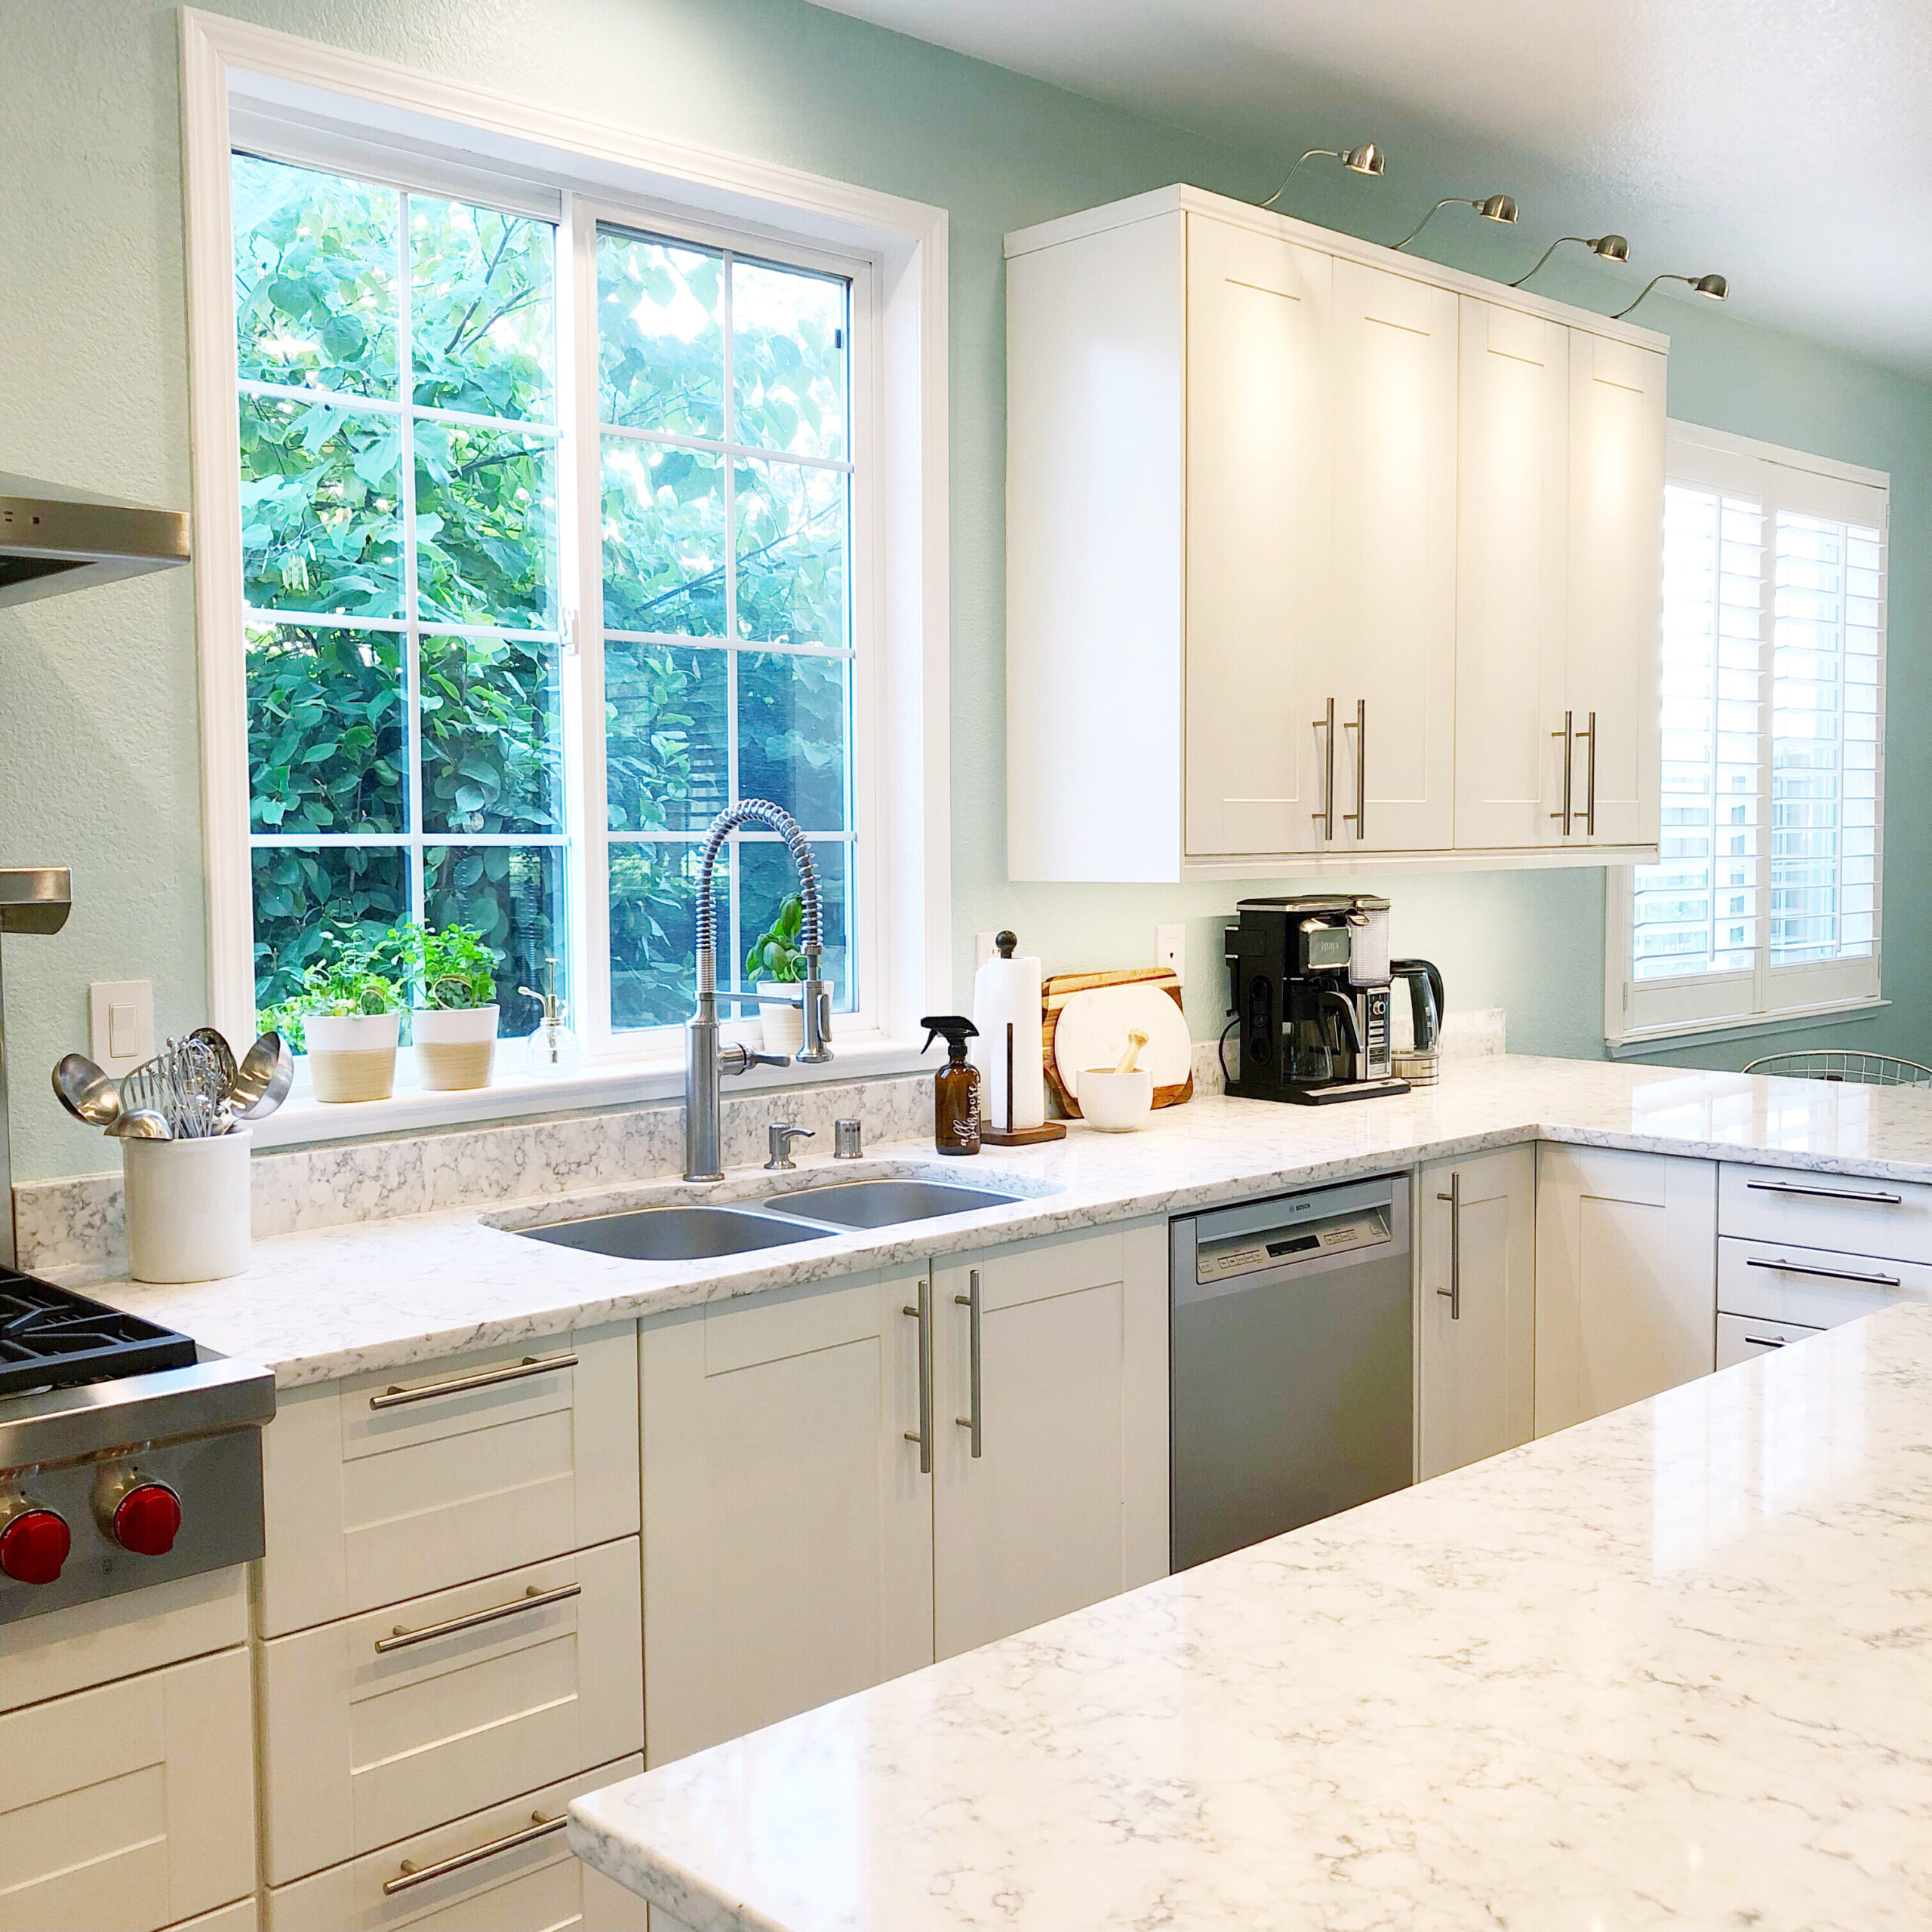
Aside from the overall kitchen, I really enjoyed styling the kitchen once it was done. Everything from the cutting boards you see here by the sink to the herbs on the sill to the cookbooks by the oven.

When we demoed the old kitchen we had to remove the shutters from the window because part of the granite countertop was acting as a window sill. We had a new sill created in its place and chose to not have shutters here. The shutters proximity to the faucet prevented us from ever opening the window, but now that it’s gone we can open the window and let more light in. Plus I now have a spot to grow some herbs. 🌿 Currently, I have cilantro, mint, and basil growing. I picked up both the pots and the herbs from Green Acres.
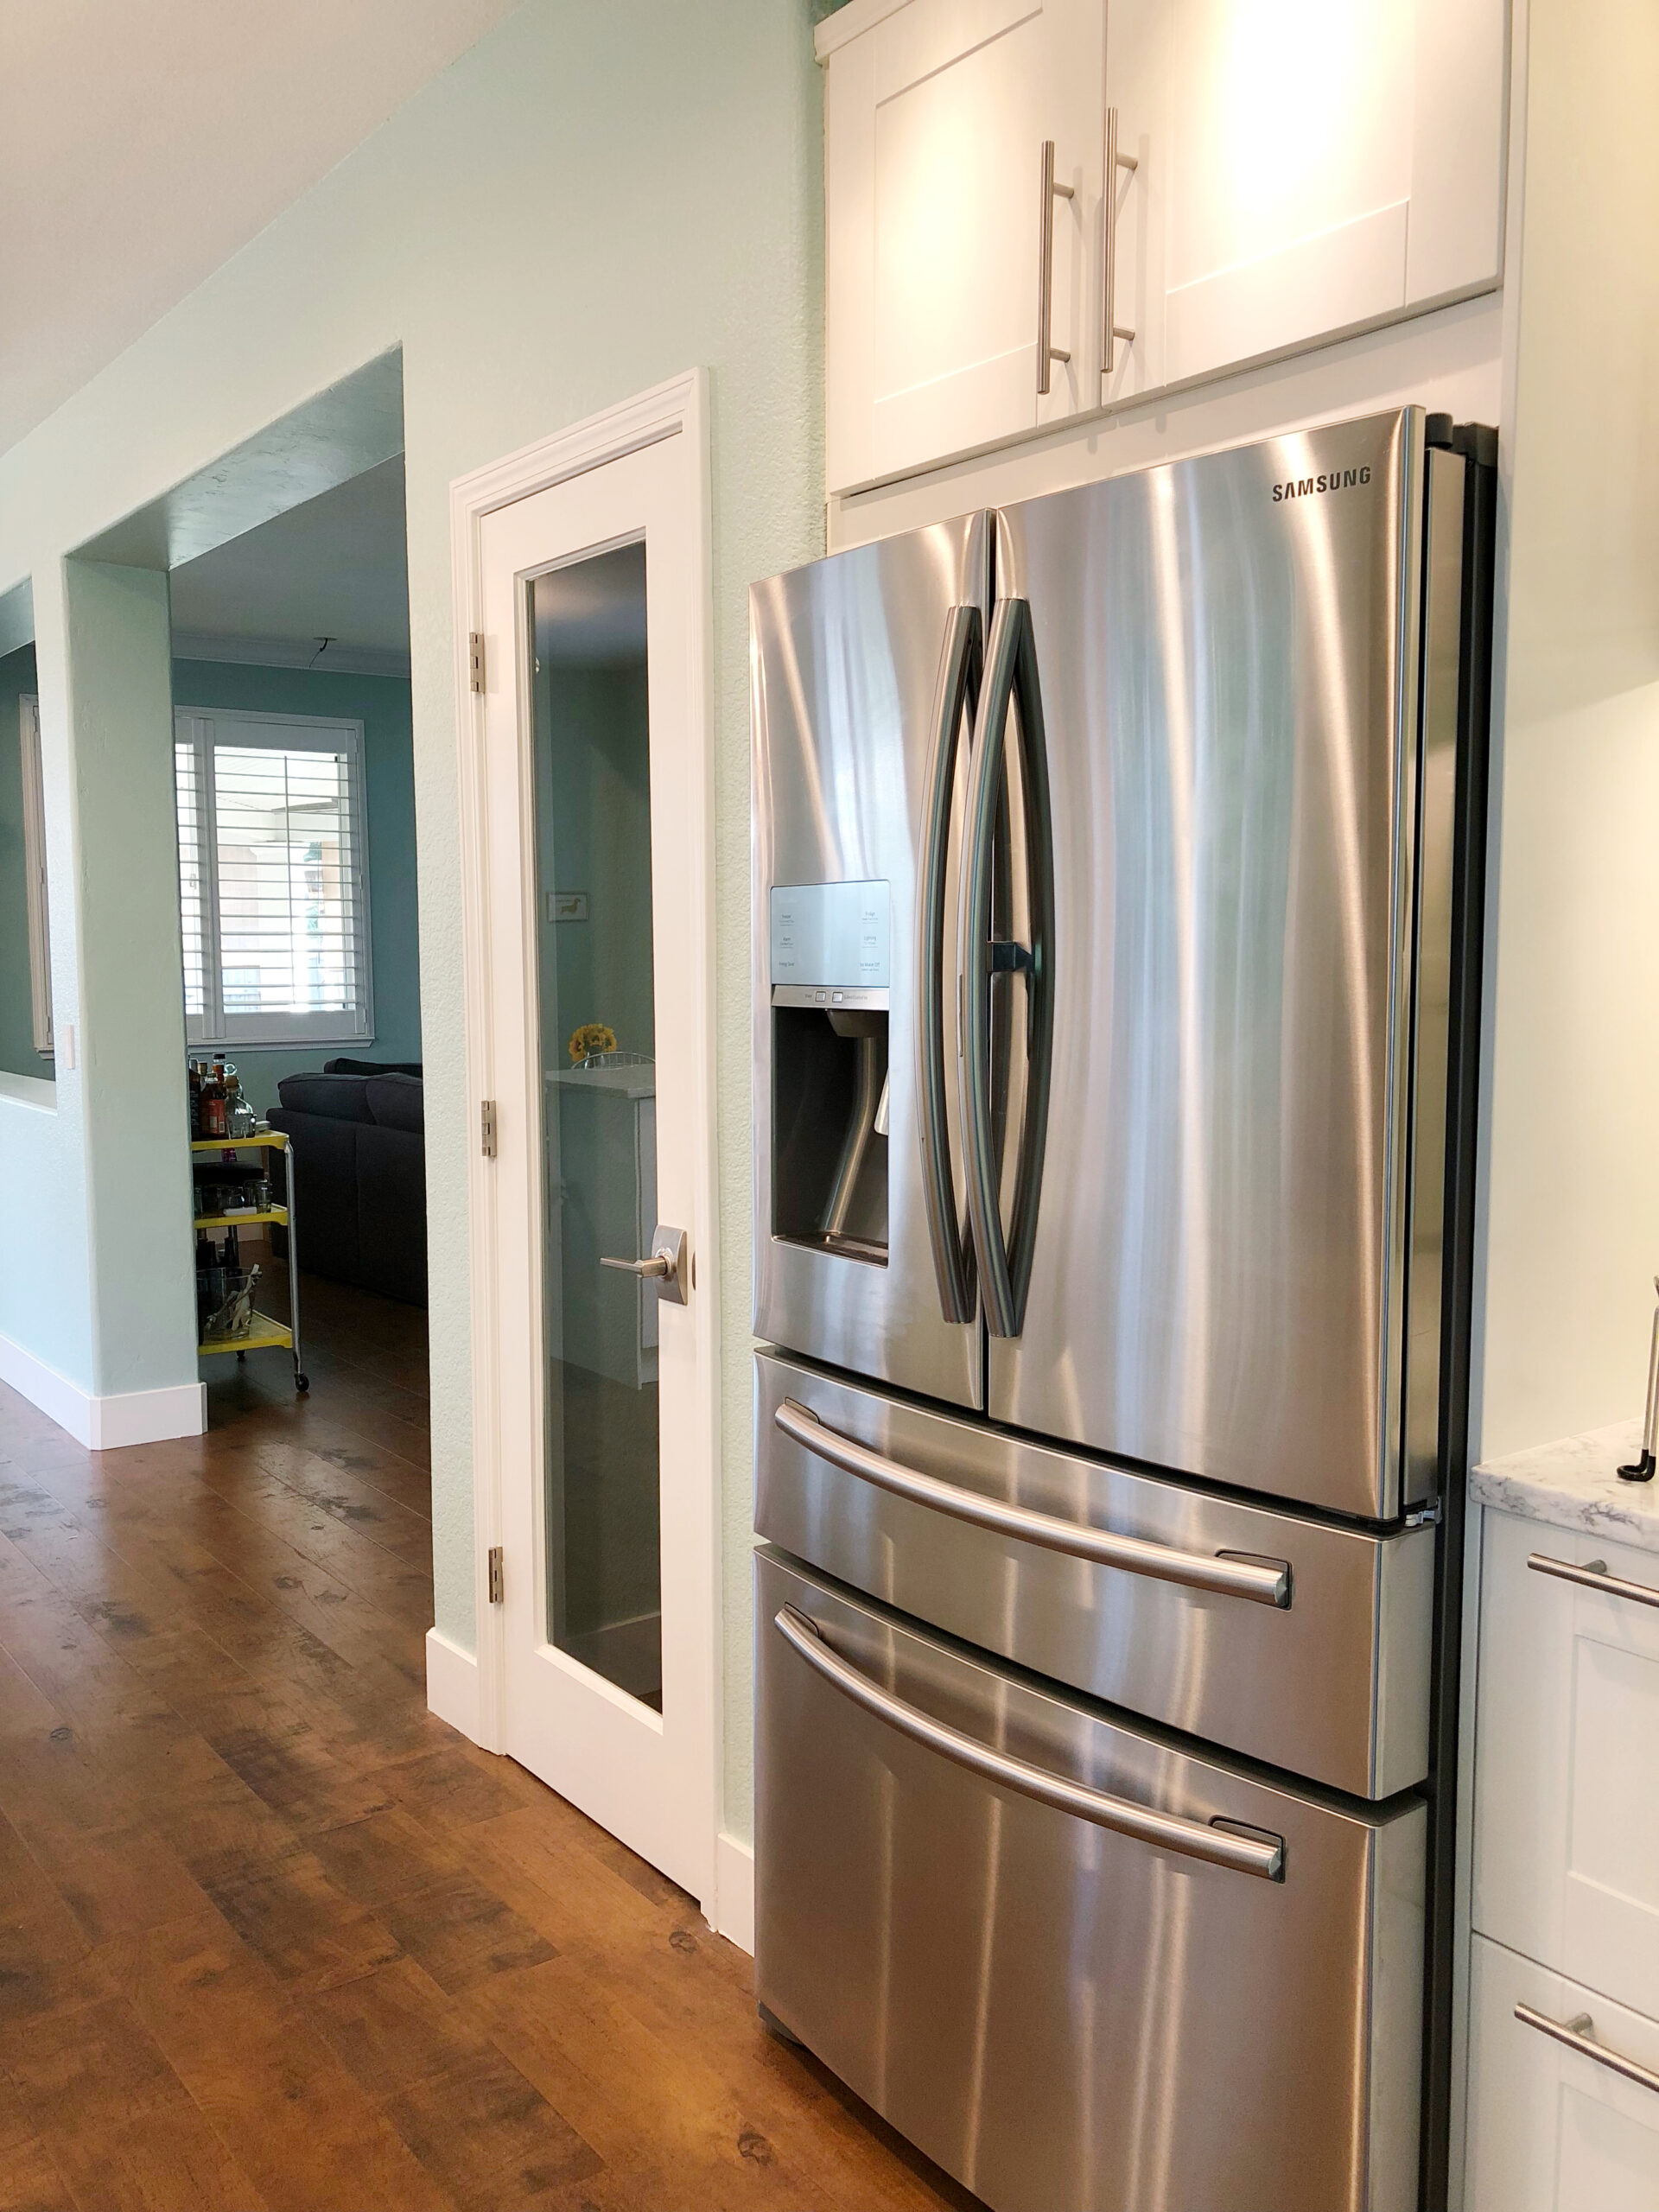
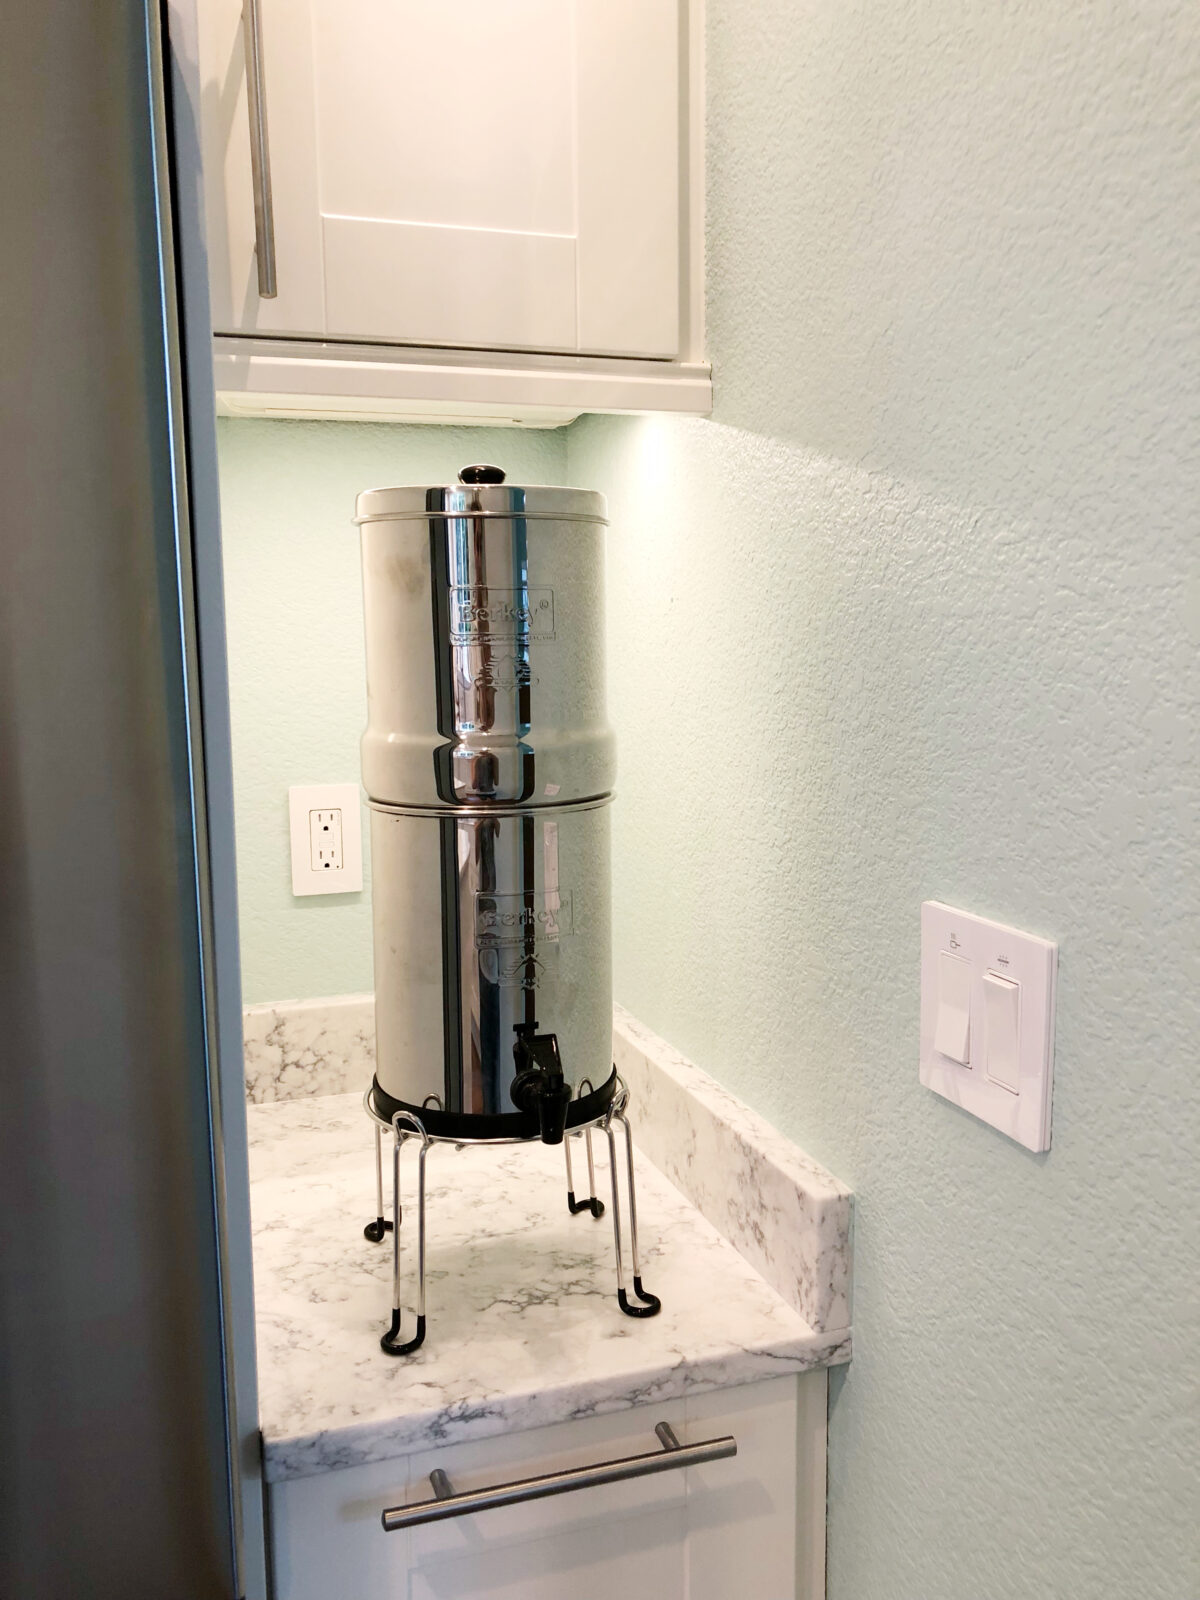
Over by the fridge, we have my Travel Berkey which is a top-of-the-line water filtering system (highly recommended in the wellness community). I made sure that when designing this side of the kitchen my Berkey would fit there. I keep all my supplements nearby in the cabinets.
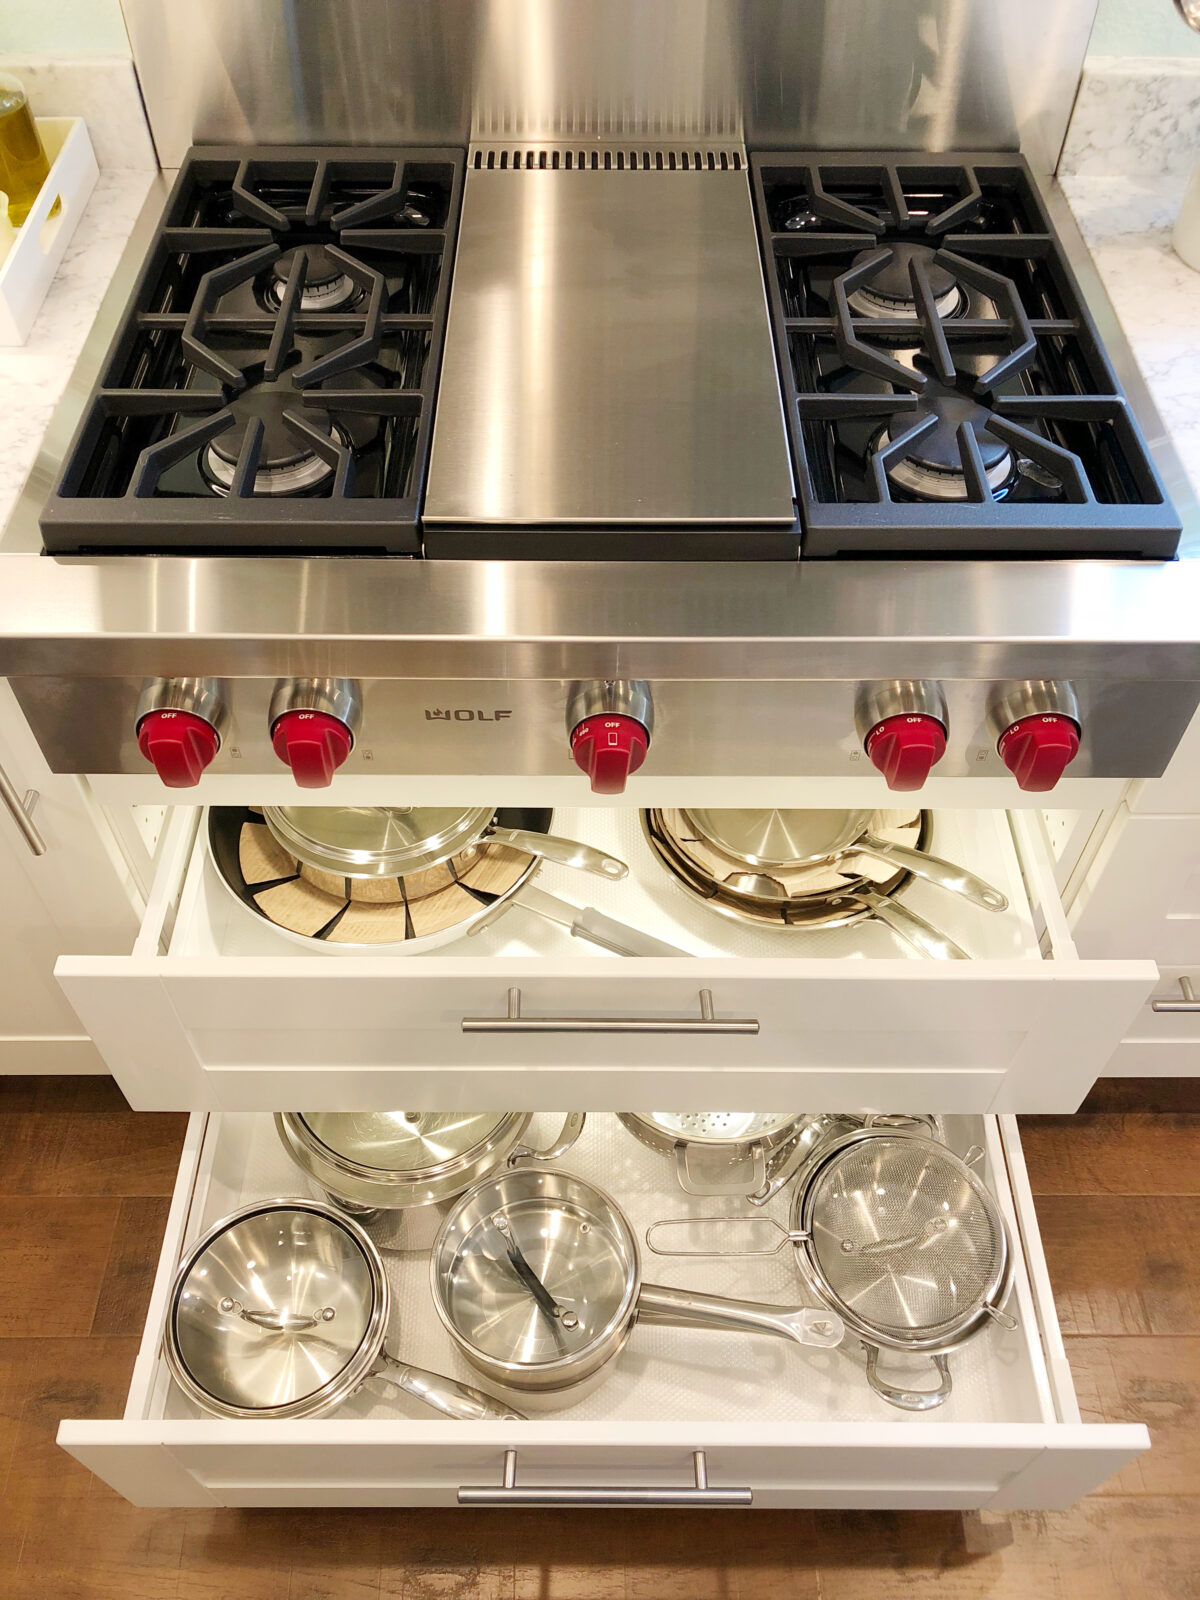
I absolutely LOVE my cooktop! It’s so great to finally have a really nice cooktop that actually works! The cooktop prior only had two working burners and was small, so it was hard to have multiple items, like pasta and sauce, cooking at the same time. Don’t have that problem with this one! Not only do I have 4 fully working burners but I have a griddle in the center which is perfect for Star Wars pancakes. 😉
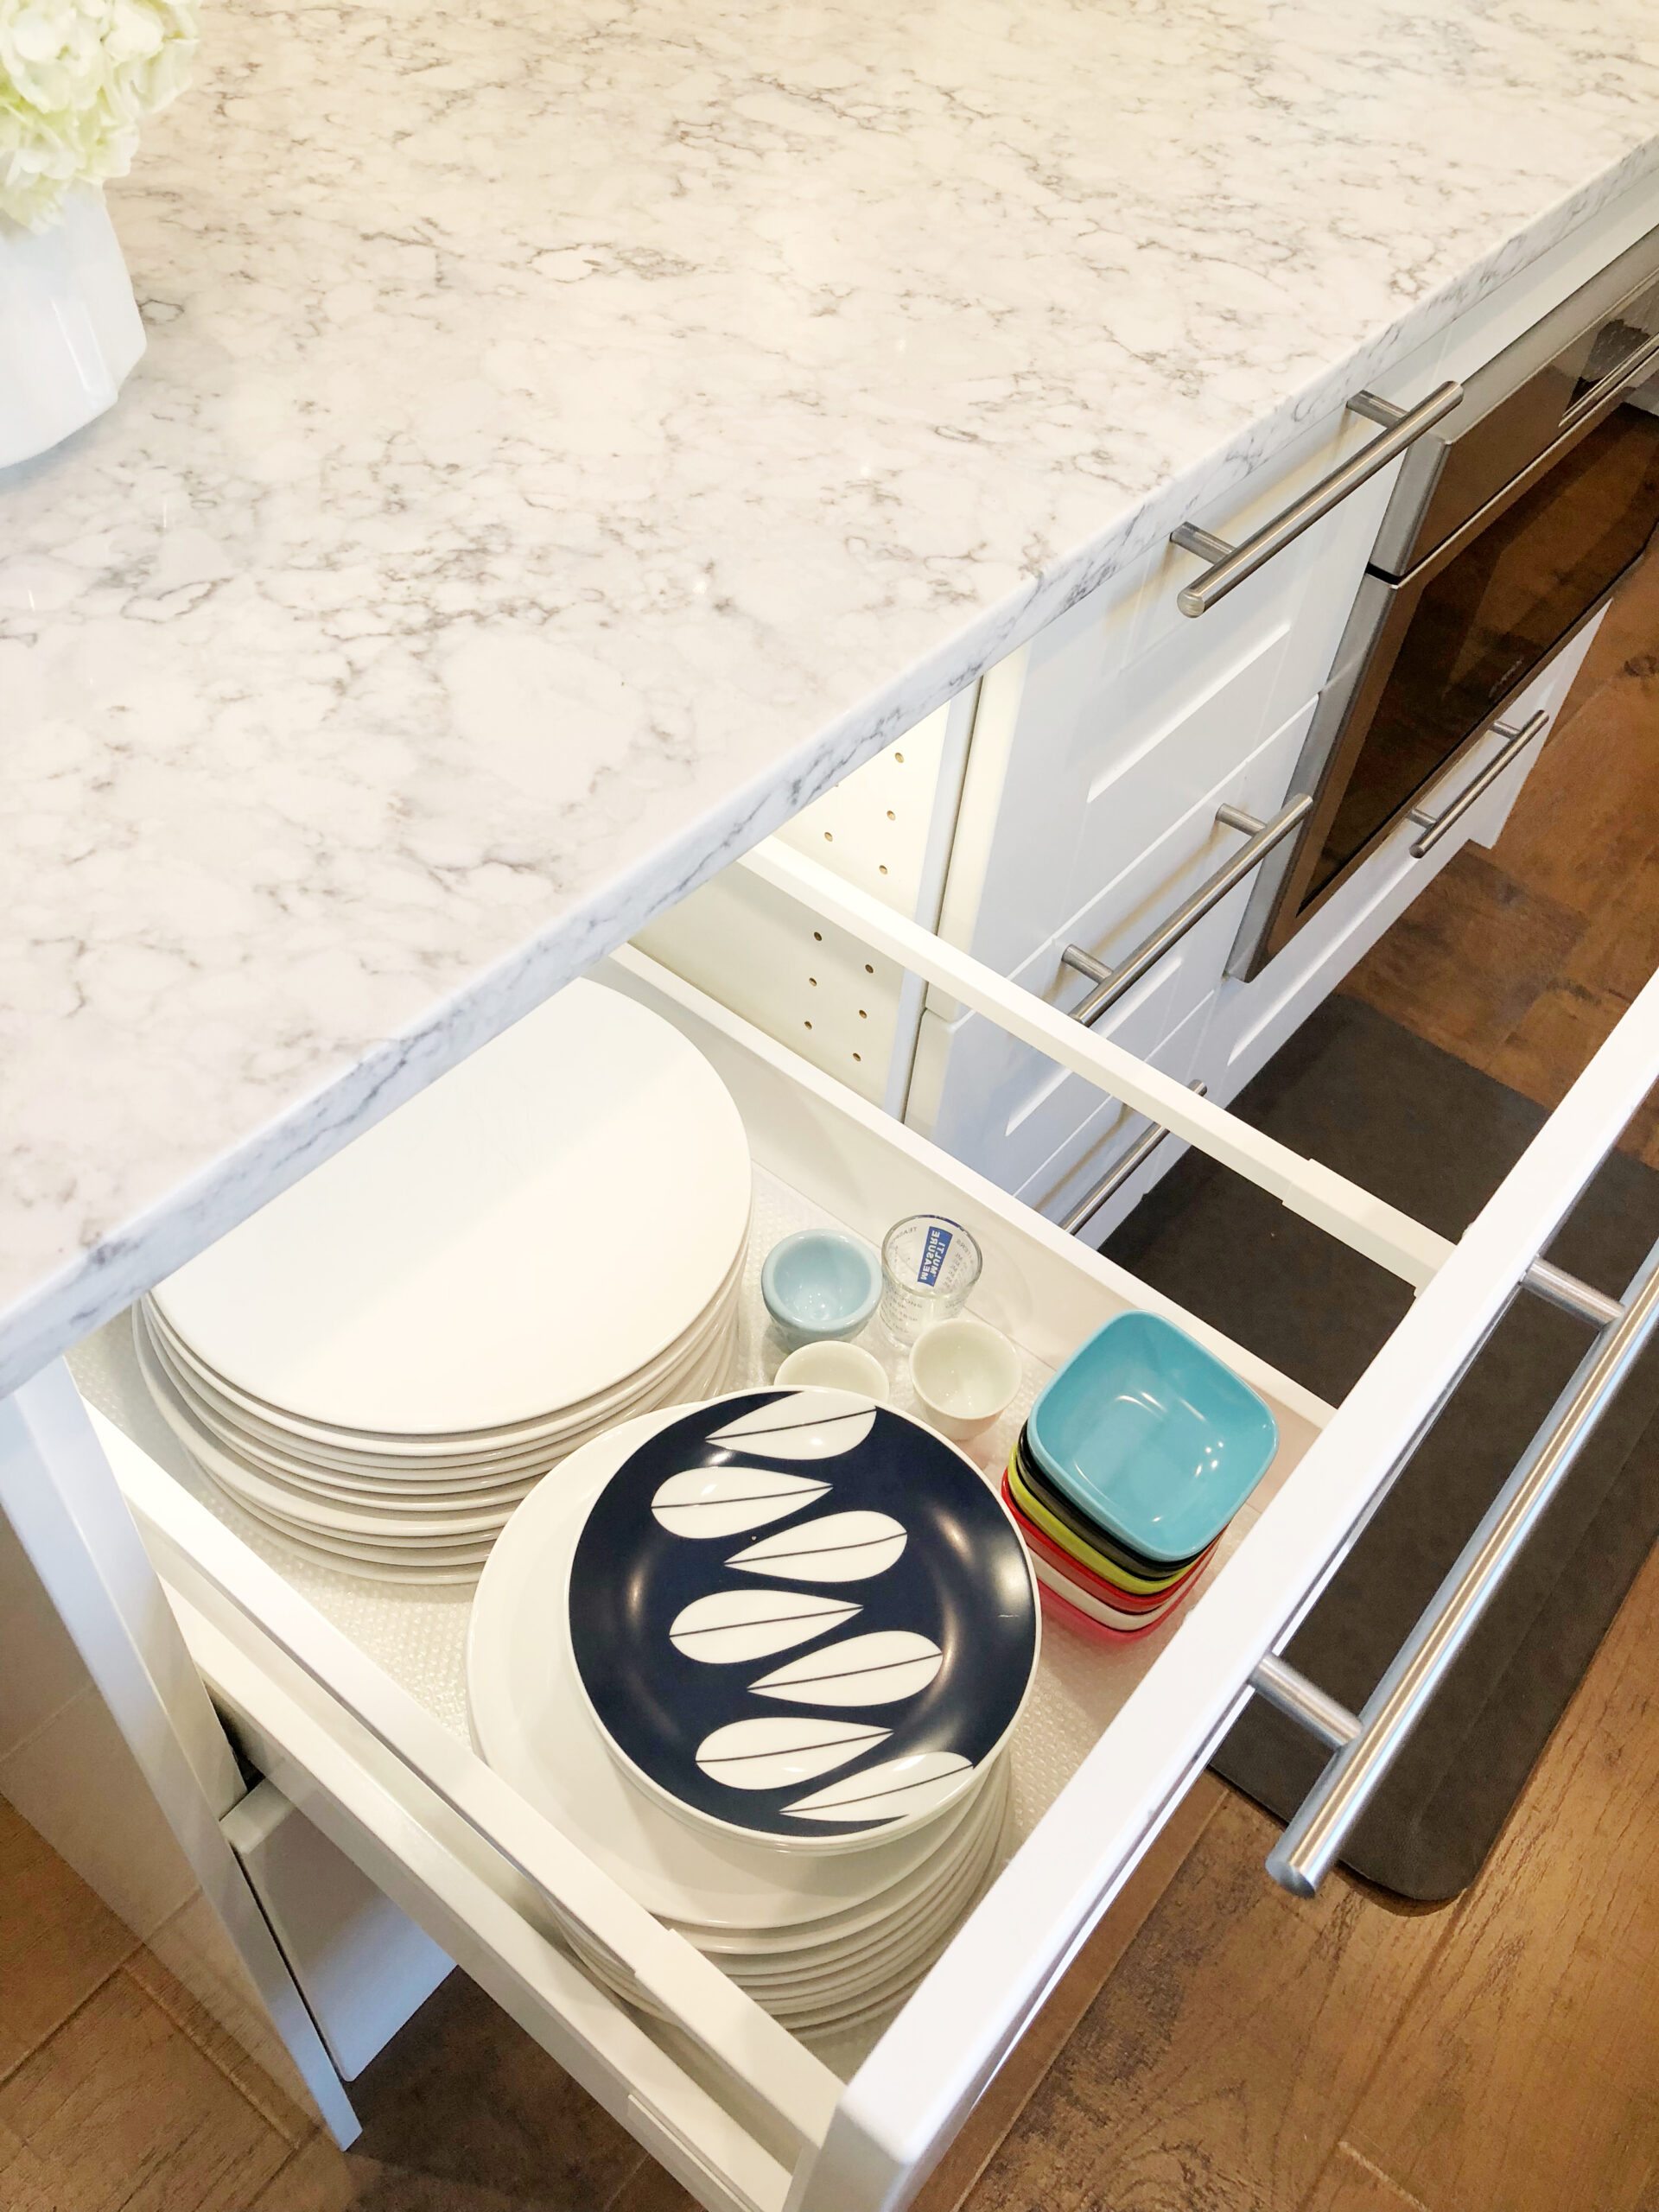
Every drawer has lights in them as well as drawer liners! It feels like an IKEA showroom kitchen with all the lighting and organizing features. And with the way we organized stuff, everything has a home!
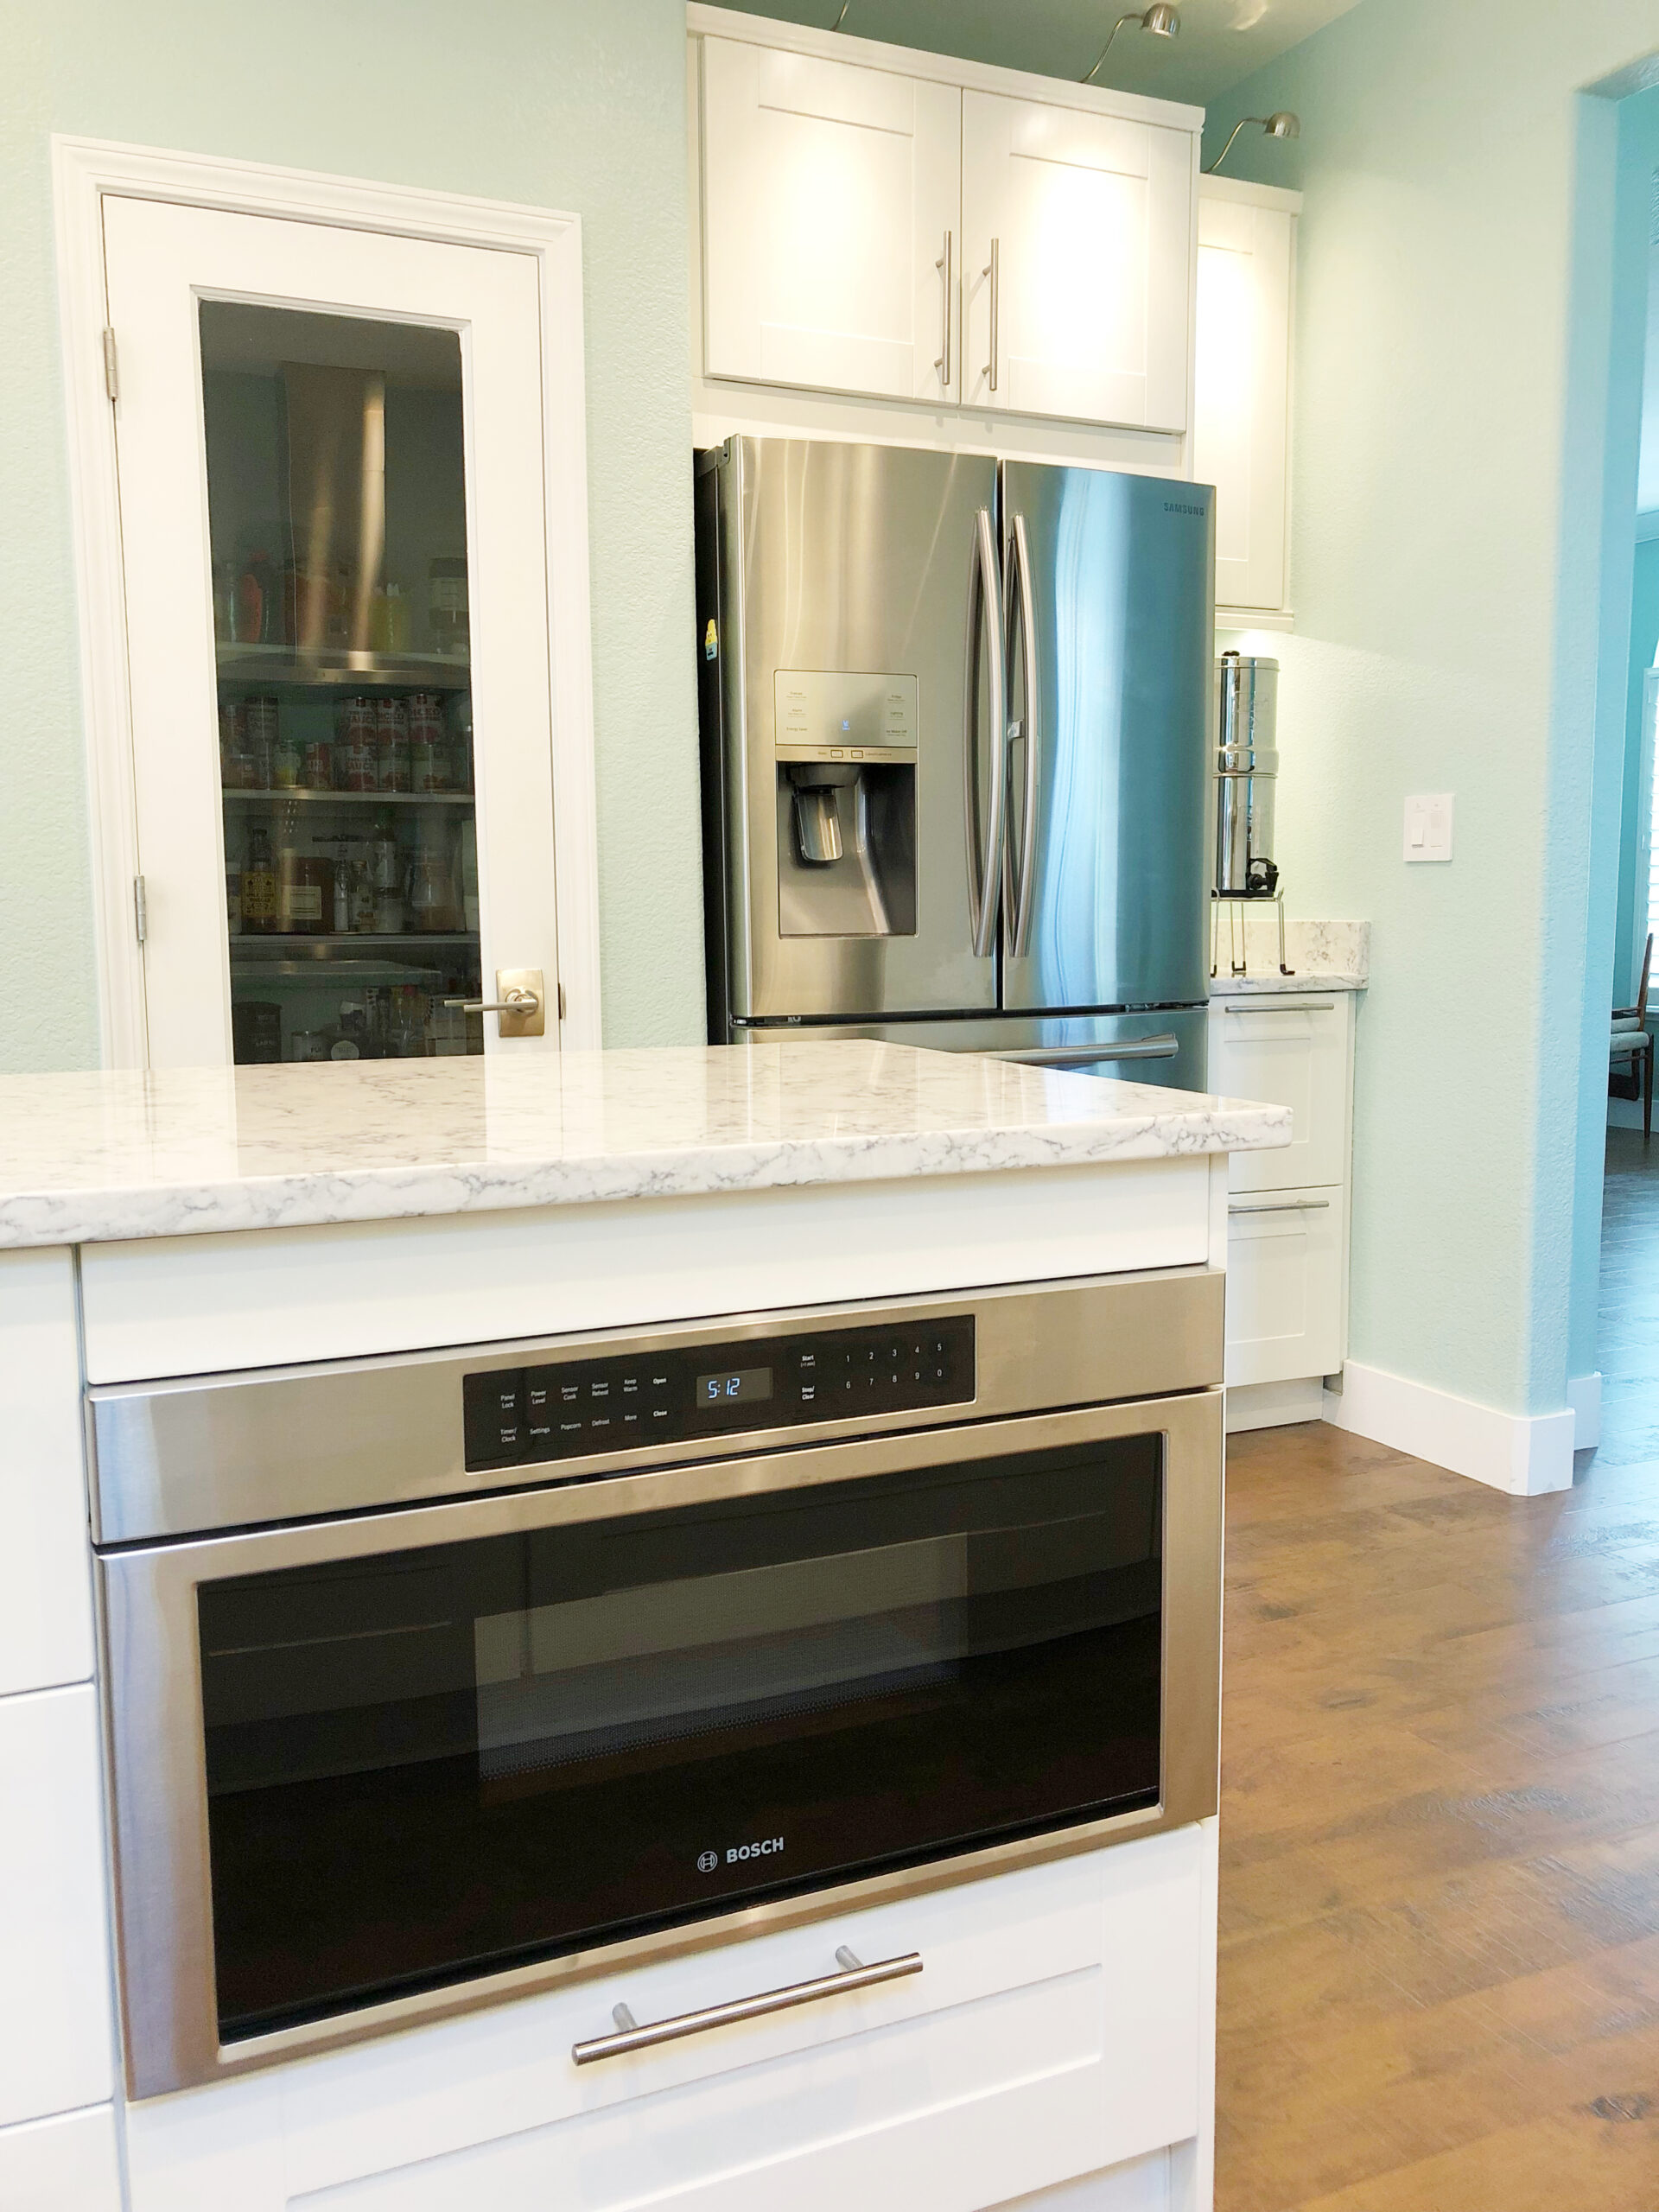
One of the dilemmas we ran into when designing the kitchen was figuring out the microwave. We knew we wanted to get a bigger cooktop but wasn’t sure if a 30” over-the-range microwave would go well over a 36” cooktop. Luckily this solution presented itself when we were looking at appliances: a microwave drawer in the island. Who would have thunk?
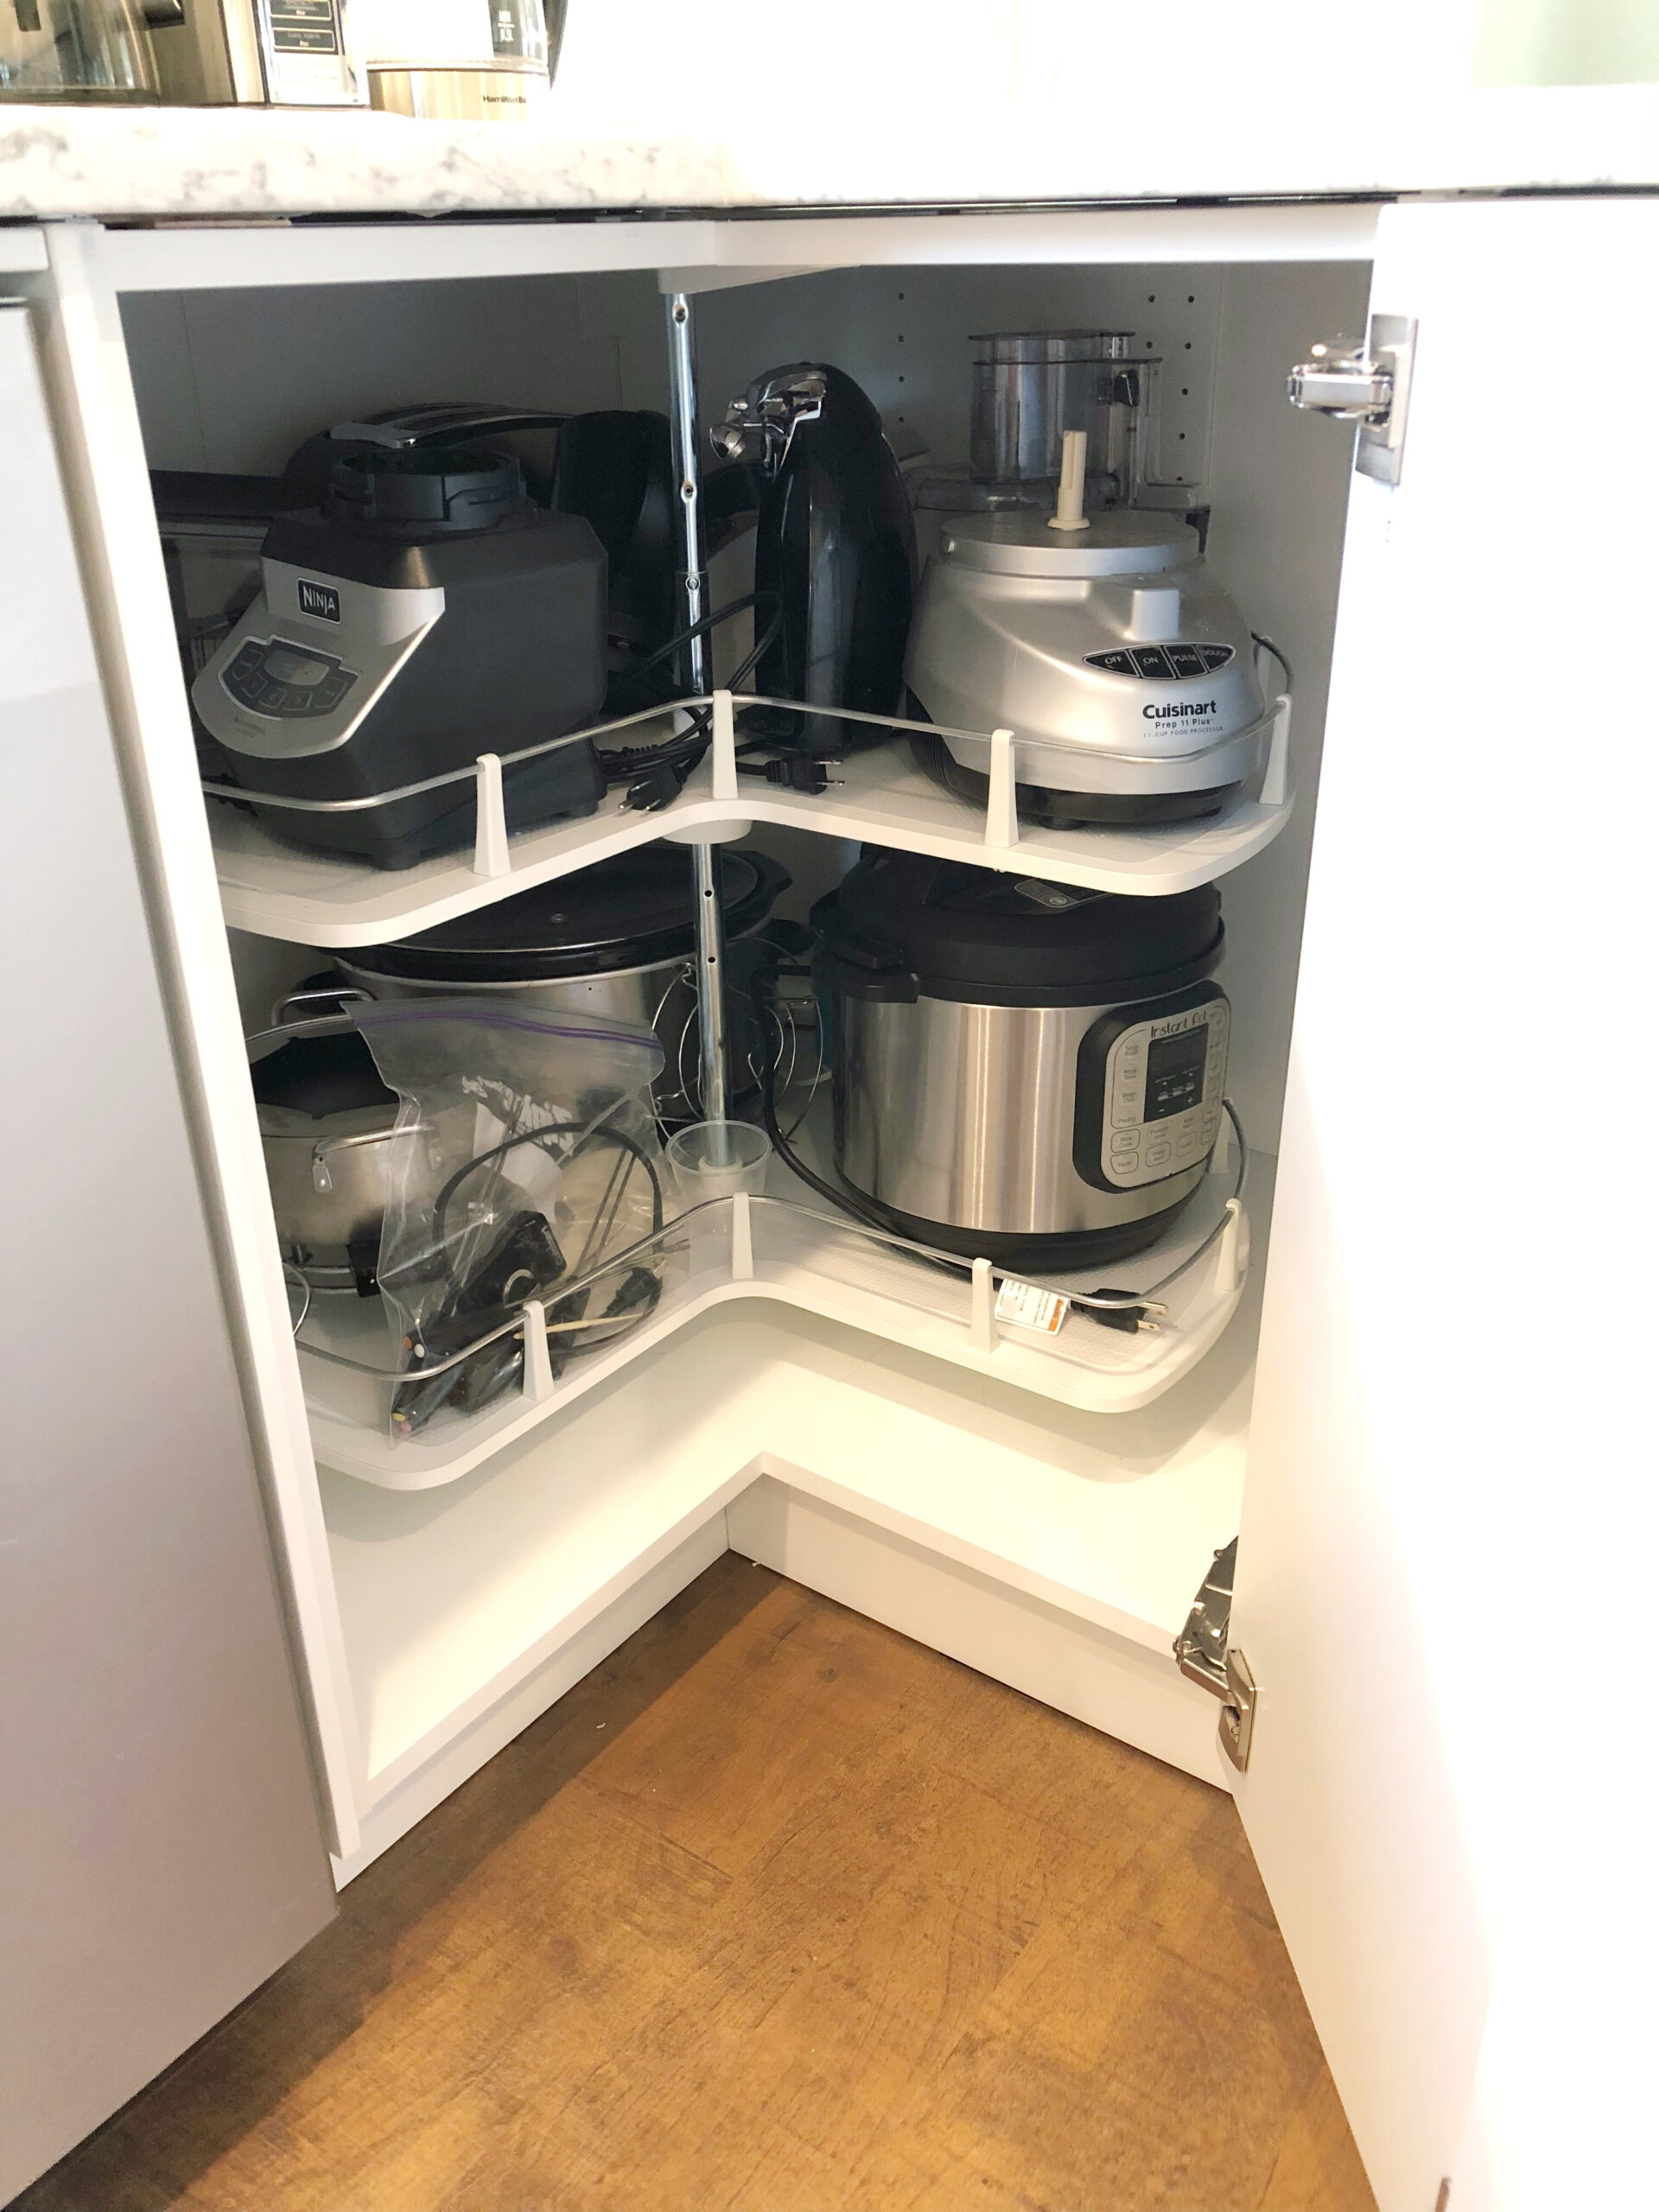
In both corners, we have these lazy Susan cabinets which are great for hard-to-reach areas. It’s the perfect solution for our small appliances.
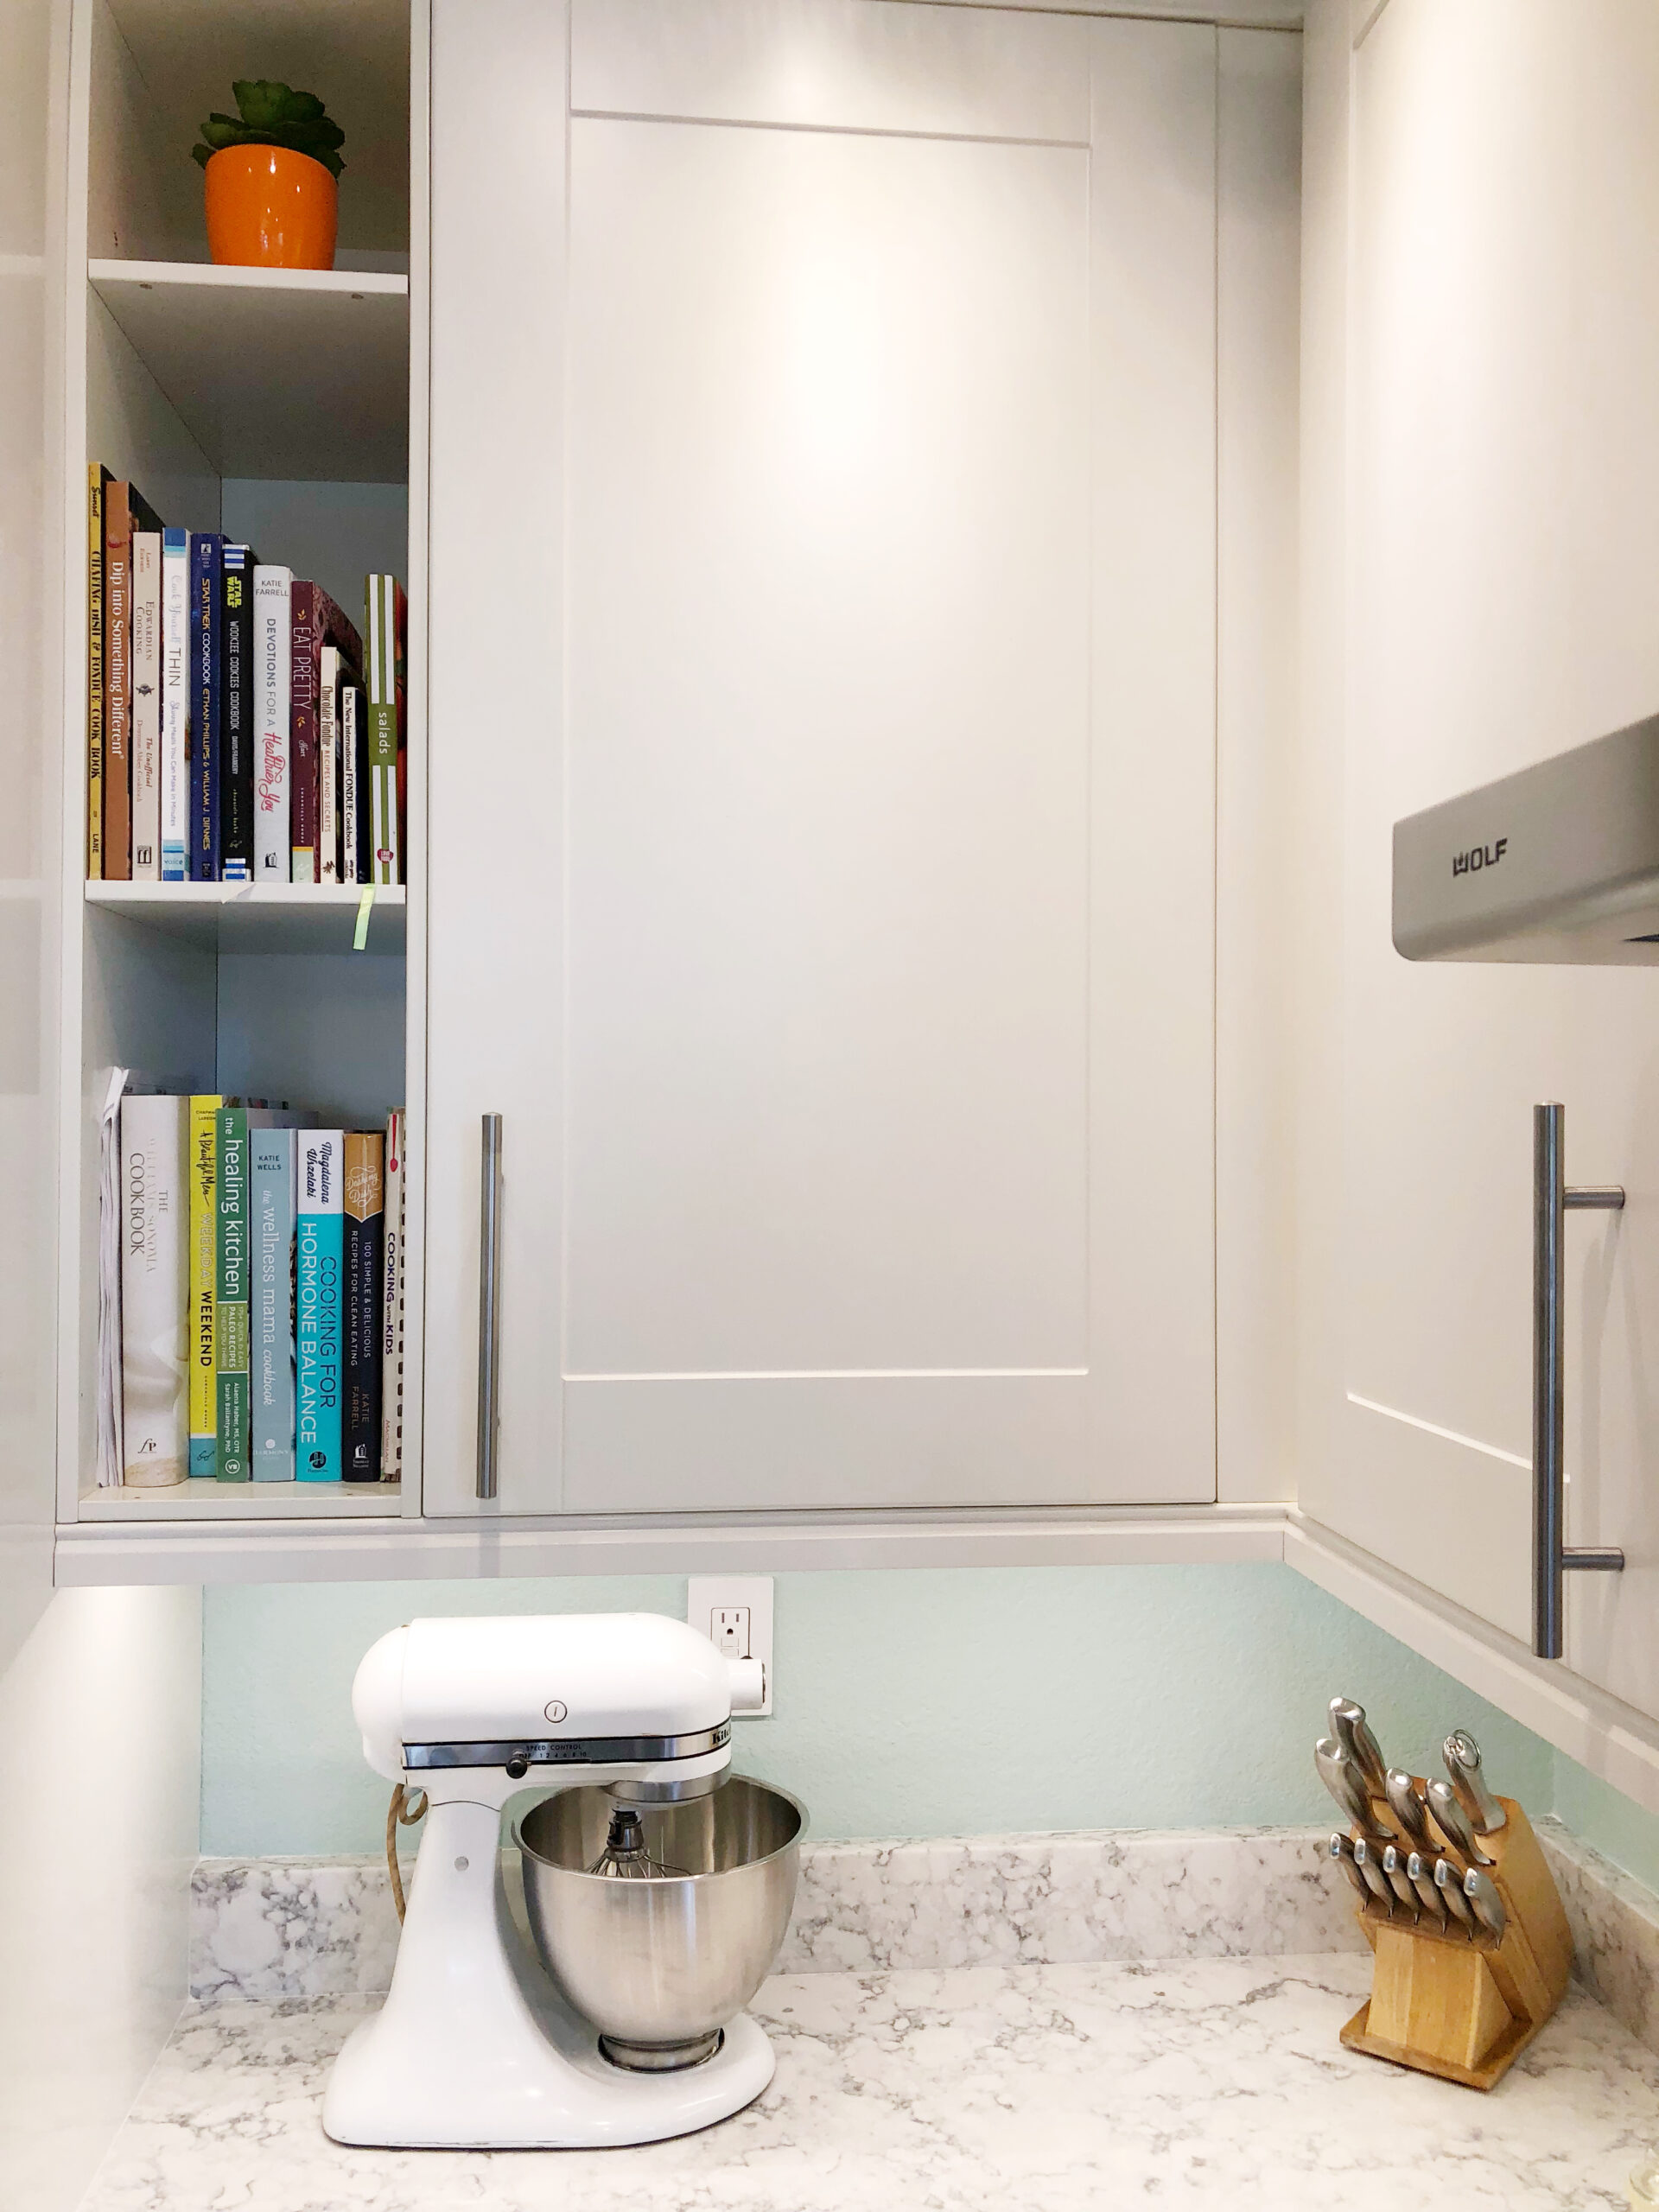
Next to the over we designed a space for my cookbooks, which I am super happy about! We simply hacked the wine shelves.
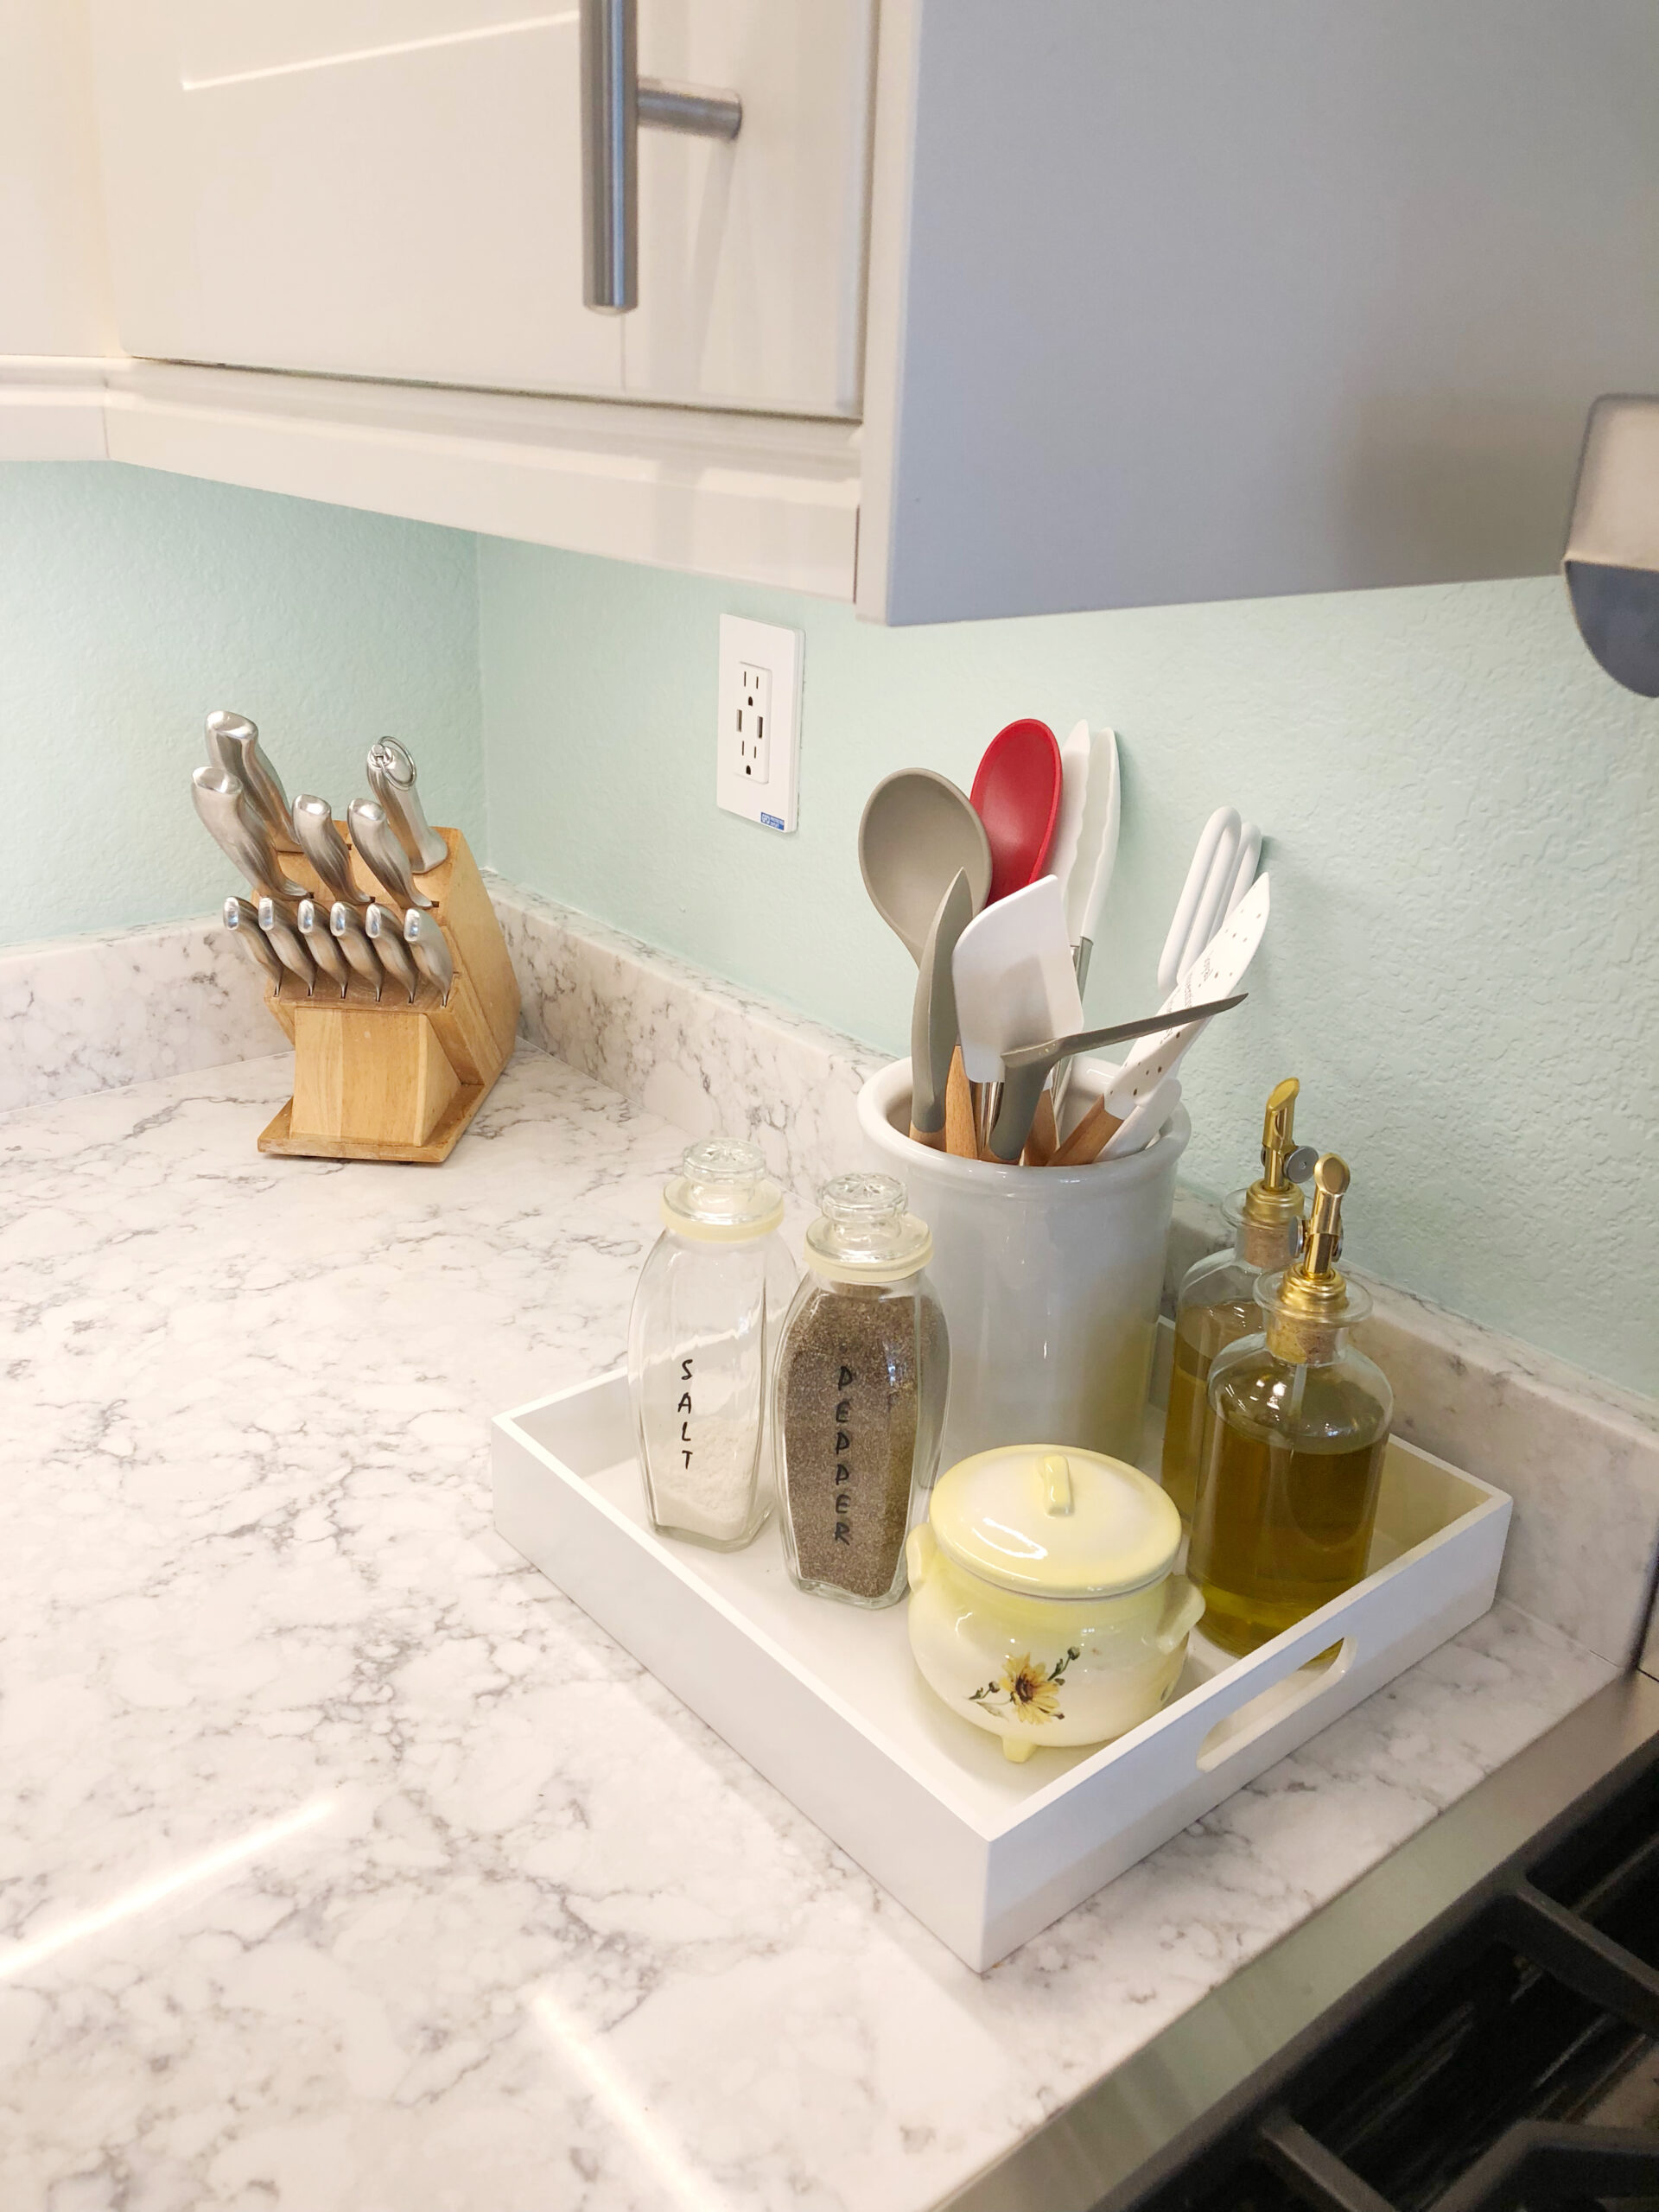
Being a shorty in the kitchen meant I needed to get a little creative with accessing things. I created this little area with my essentials and treated myself to some new utensils.

A HUGE shoutout to Joshua for working his 🍑 off getting everything organized and done. He did SO much to make this kitchen a reality, and it would not have happened without him! 😍 I can’t believe I get to call this kitchen mine.
Sources

- Cabinets: IKEA GRIMSLÖV
- Wall Color: Behr’s Aqua Smoke from Home Depot
- Countertops: LG Hausys Viatera in Rococo from Home Depot
- Range Hood: Wolf 36” Range Hood from Ferguson’s
- Cooktop: Wolf Range 36” 4-Burner Rangetop With Griddle + 20″ riser from Ferguson’s
- Microwave: Bosch Microwave Drawer from Ferguson’s
- Oven: Bosch 800 Series 30″ Built-In Double Electric Convection Wall Oven from Best Buy
- Dishwasher: Bosch 24” 300 Series Dishwasher from Best Buy
- Refrigerator: Samsung 22.4 Cu. Ft. Stainless French-FoodShowcase Door Counter Depth Refrigerator from Lowe’s
- Water Filter System: Travel Berkey Water Filter
- Counter stools: Morph 25″ Bar Stools from Wayfair
- Sink: Kraus Sink from Amazon
- Faucet: Kohler Sous Pro-Style Single-Handle Pull-Down Sprayer Kitchen Faucet in Vibrant Stainless from Home Depot
- Chandelier: Possini Euro Nimbus 30″ Wide 15-Light Sputnik Glass Pendant from Lamps Plus
- Various accessories: Williams-Sonoma, World Market, Target, West Elm, and Green Acres
You Might Also Want to Read...
Note: This article may contain affiliate links. I only link to products that I know, love, and use. For more info, please view my disclaimers.
JOIN the LIST
Subscribe and stay up to date with the latest blog posts.
JOIN the LIST
Shop My Posts
Want to know where I get #AllTheThings from my blog or Instagram posts? Find what you're looking for below (or just ask).
LIKETOKNOW.IT
Amazon store




It looks great – so much brighter, lighter and modern!
Thanks, Jem, that was the goal! 😁
It is gorgeous, will you redesign my kitchen for me?
Of course! 😆
I am in love with it. You both did a awesome job. It’s so bright. I can’t wait to see it in person. Hopefully some day soon. Lv ya both.
Thank you! Looking forward to having you guys over. Will discuss details soon!
[…] Hi Sugar Plum Source: The Lovely Geek Source: Pretty Little Row House Source: One Brick at a Time Source: Alma Homes Source: Blushing […]
[…] Source: thelovelygeek.com […]
[…] Source: thelovelygeek.com […]