How to Create Your Christmas Wish List with Amazon
⚠️ Note: As of March 2023, Amazon discontinued their Amazon Assistant extension which allowed you to add non-Amazon items to your wish list. They’ve also omitted the Save Idea feature. To combat this, I have now built my own wish list on Notion.
Today’s post was inspired by my sister, who did not know that you could add items to your Amazon Wish List from any website. 🙃
The Christmas season is in full swing. Everyone’s posting their gift guides, and the countdown is on to Christmas. That also means it’s time to tell Santa what we want for Christmas! Every year my mother-in-love has us write Dear Santa letters in which we share our wish lists.
Over the years I’ve tried a variety of methods: pen and paper, circling all the things in a catalog (my cousins used to do JC Penney catalogs back in the day), typing it up in a Word/Google doc, Wishroll/Wishpot (don’t exist anymore), Pinterest boards, Amazon Wish Lists, and saying nothing and hoping for the best (Santa’s just suppose to know, right?).
With all these methods, I always keep coming back to Amazon’s Wish List feature. Not only can almost anything be bought on Amazon these days, but God forbid they don’t have it they have a handy way you can add things from other sites. I’ve used Amazon as my wish list on and off for years, and they’ve definitely come a long way to the point where I don’t ever see myself not using it.
Pinterest is okay too, but I’ve found it’s only good if you have a small wish list. If you have a ton of stuff, especially if you have a large family where you need to include a lot of gift ideas, it can be cumbersome to scroll through all of this on one Pinterest board. Amazon allows you to create multiple lists which means you can break things up into categories.
Setting up a wish list is super easy, and that’s what I’m gonna share with you all today.
How to Create Your Wish List
Step 1. Get an Amazon.com account.
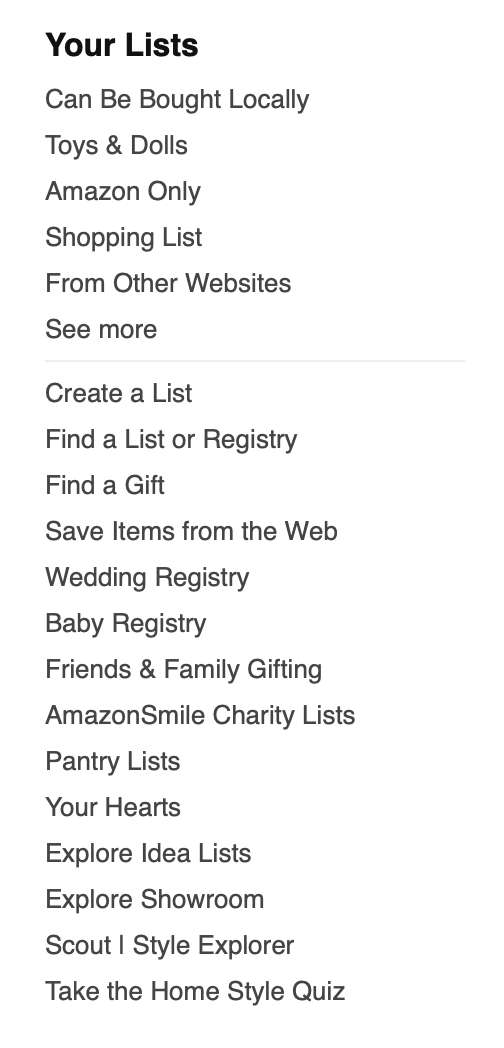
If you don’t have an Amazon.com account already, sign up for one. Once you’re signed in, you’ll see in the upper right corner a drop-down called Account & Lists Lists.

Hover over it and select Create a list. You’ll see in my screenshot that I have several lists going already (more on that later).
Step 2. Create your wish list.
Next, you’ll get a pop-up asking if this is a Shopping List or a Wish List. Since this tutorial is all about wish lists, select the radio button next to Wish List. Give it a name and select Public.
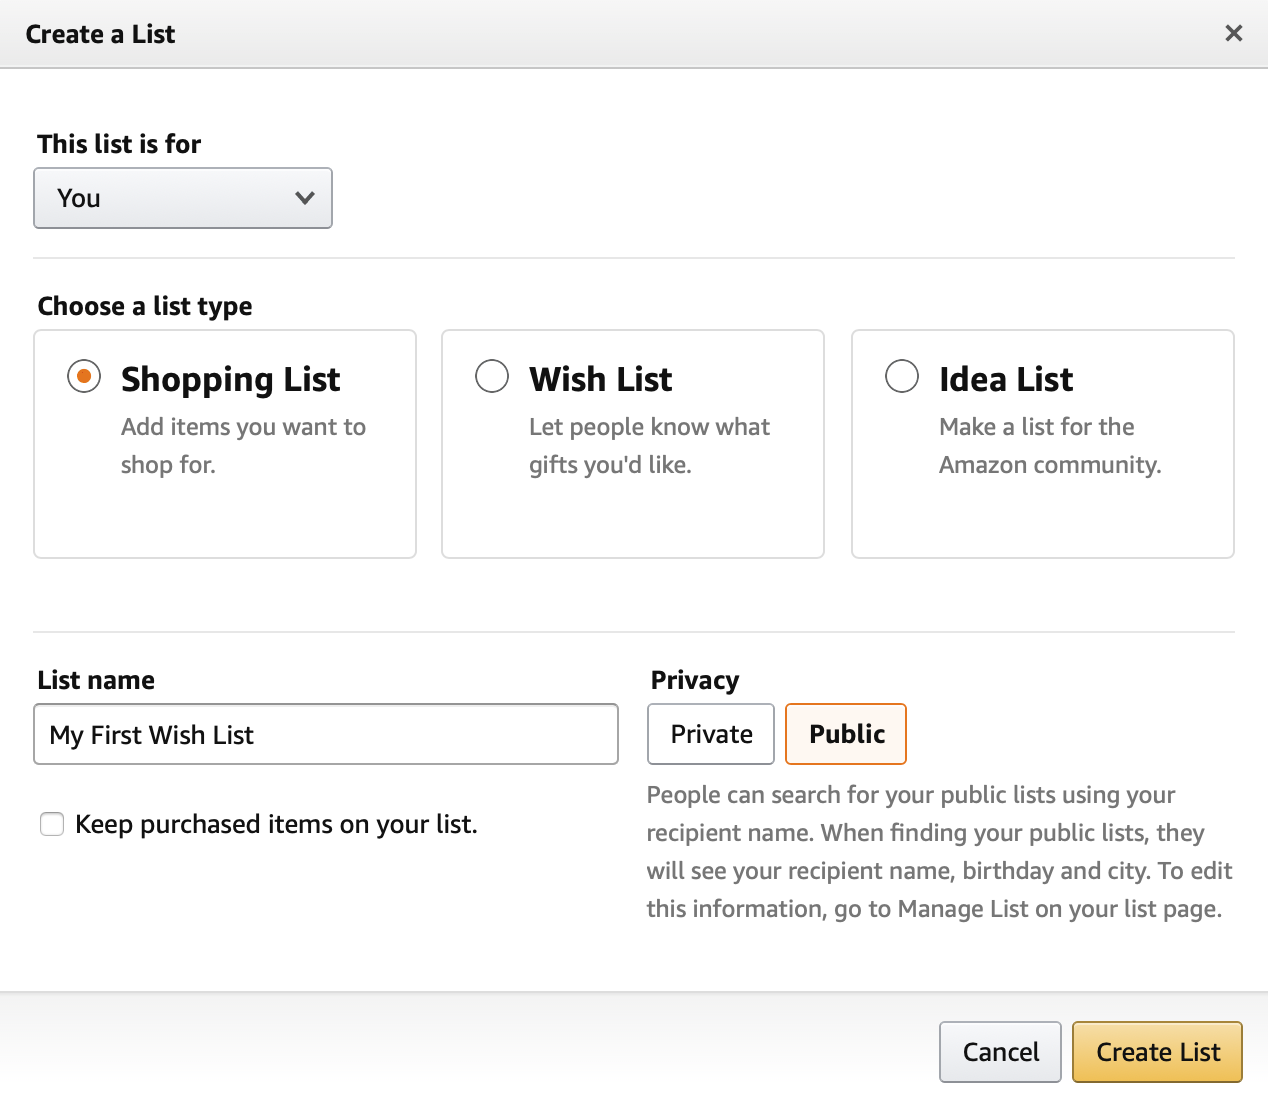
If you’re creating a Wish List for the first time, this will be your default one. I called mine “Can Be Bought Locally” indicating the items that can be purchased in the area as well as online. This is helpful for my parents who don’t shop online and would prefer to buy gifts locally.
Once you’ve filled out your settings hit that Create List button!
Step 3. Add all the things!
Now comes the fun part where you actually get to start listing things! There are three ways you can add items to your wish list.
a. Find it on Amazon.com. Start browsing Amazon.com and when you come across a product you want to add, view the product and click the Add to List button below the Add to Cart button on the right hand side.
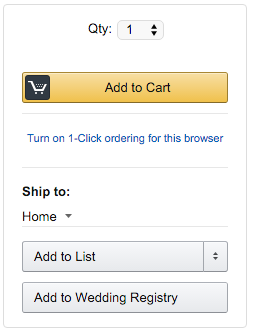
Keep in mind, if you simply click the button it will add it to your default list. If you have multiple lists and you want it on a specific one make sure to click the little arrows on the Add to List button.
b. Save an idea. If you’re on your actual list there is an area where you can type in anything. This is great if you want something in general. For example, I used this to say that I want a new lunch bag. I didn’t have a specific one in mind, I just want it to be adult and feminine and that you can find some at either Target or HomeGoods.

This link appears above all your lists. When you click it, a form appears.

Once upon a time, you used to be able to add an image, but they have since removed that feature.
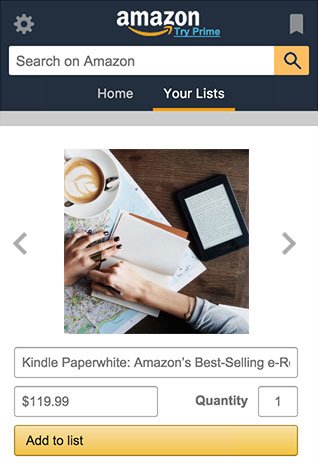
c. Add it from another website. Add items to your wish list from other websites using the Amazon Assistant extension for your browser.
Follow the instructions to install the extension, and then click the Amazon icon when you see something you want on another website. It’ll then guide you through adding it to your wish list.
Multiple Lists
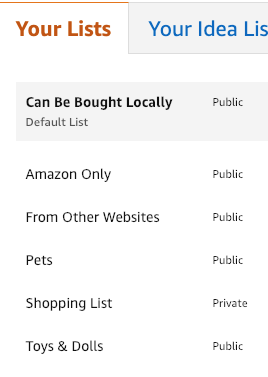
Okay so you’ve created your list and now it’s starting to get a little long. How do you break things up? Well, you can create multiple lists! Here’s a look at mine…
I’ve broken mine up into categories, so that way it makes it easier to look through. To create multiple lists you simply go through the same steps you would to create your first wish list.
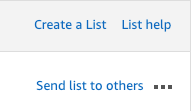
You’ll also find at the top of your lists links to Create a List, List Help, Send list to Others, and the dotted menu reveals options to Manage list and Print List.
Sharing Your List
Once your lists are done, share them with your family and friends. Each list will have a link up at the top right to Send list to Others.

This will pop up a window giving you the option to copy the short link it generated and/or share your list via email.
Oh, and in case you’re wondering, my wish list(s) can be found here:
Additional Resources
You Might Also Want to Read...
Note: This article may contain affiliate links. I only link to products that I know, love, and use. For more info, please view my disclaimers.
JOIN the LIST
Subscribe and stay up to date with the latest blog posts.
JOIN the LIST
Shop My Posts
Want to know where I get #AllTheThings from my blog or Instagram posts? Find what you're looking for below (or just ask).
LIKETOKNOW.IT
Amazon store
I just have books and toys on my wishlist XD
If you add something new to your wish list after you have shared it, will people be able to see the new item too?
Hi Kari! Yes, they will. The share link doesn’t change, so whenever people visit your wish list it’ll be the latest version.